
|
|
|
|
by Editor Lourens Durand
Edited and published by Yvette Depaepe, the 12th of June 2024
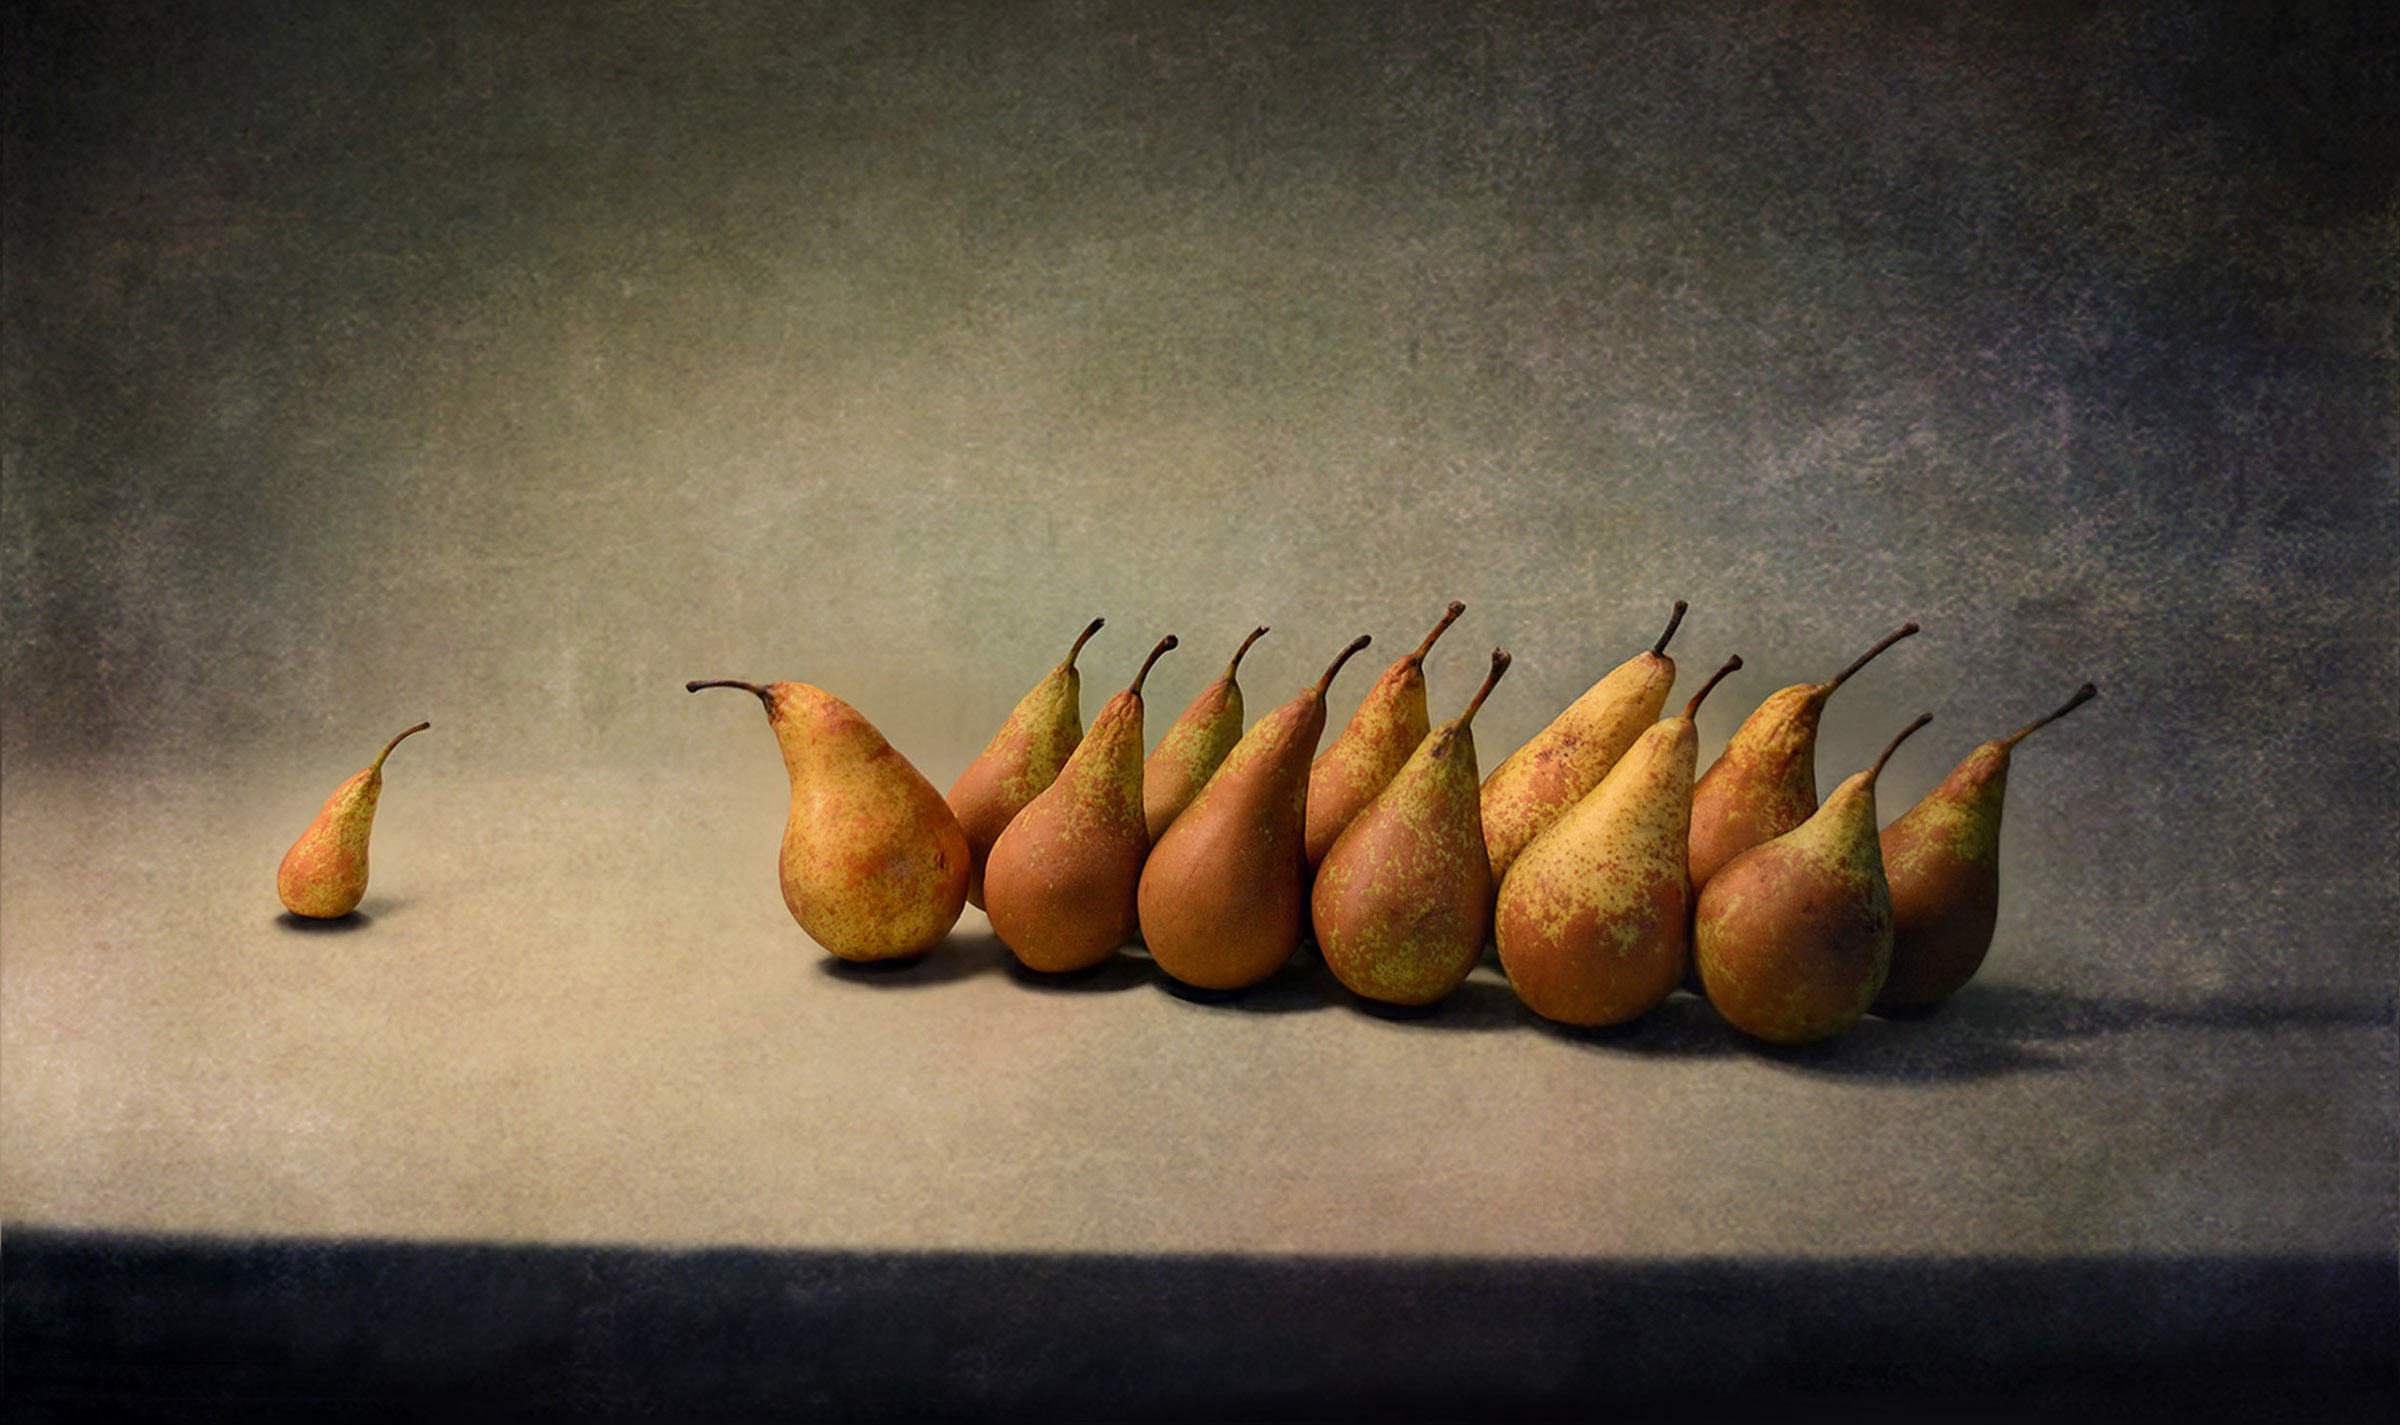
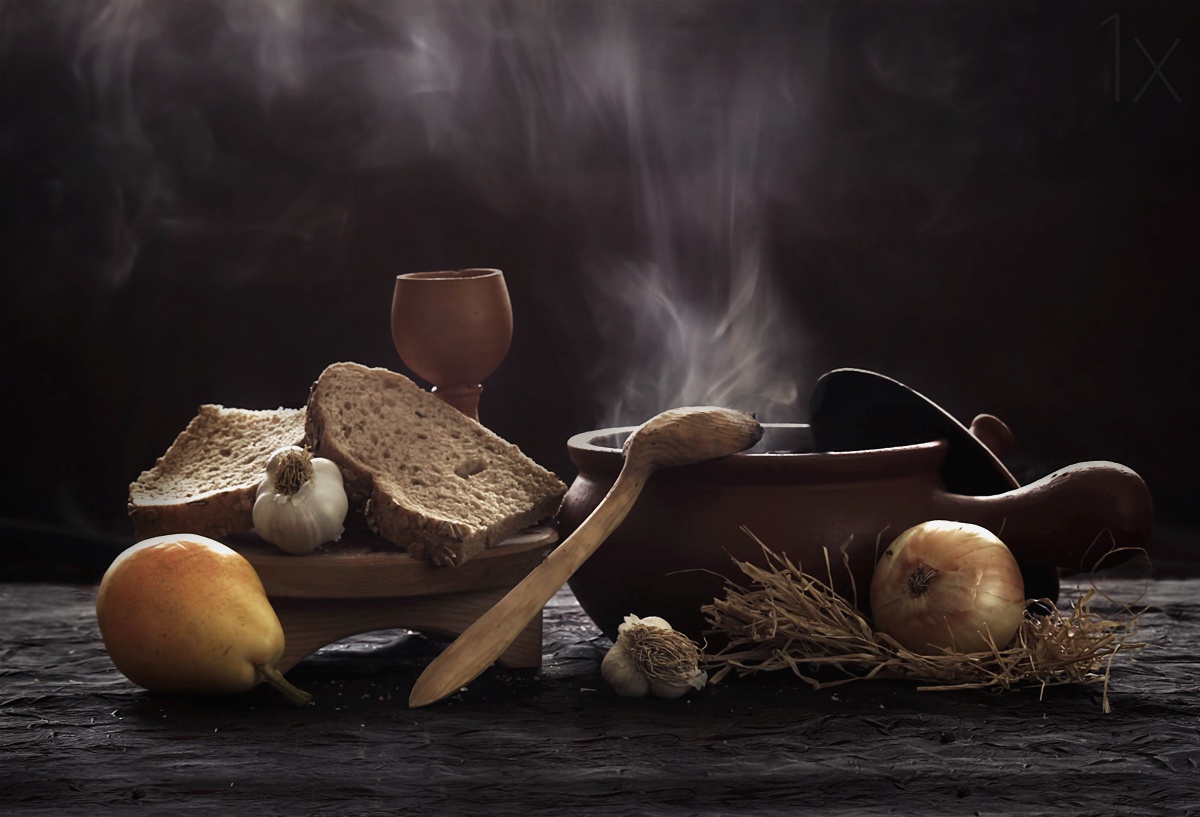
'Come On, Catch Up' by Paul Wullum
In a previous article 'Light – The Key to Photography' we looked at the differences between hard, soft, natural, and artificial lighting and at how the various lighting types and set-ups influence the final results, mainly in portraiture.
In this new article (part 2), I will expand on the use of studio lighting in:
Still Life
Tabletop
Product
Food
And Macro photography
But first, a bit of theory. In physics they teach you that the angle of incidence of light equals the angle of reflection. This is particularly important in the types of photography discussed here, and is sometimes called the Family of Angles (Light: Science and Magic: An Introduction to Photographic Lighting, Fil Hunter, Biver and Fuqua, First published 1997)
It means that, for a flat surface, the angles at which your lighting hits the subject will equal the angles at which it is reflected back into your camera. If the camera is placed within this angle, or so-called family of angles, there will be bright reflections or hot spots on your image.
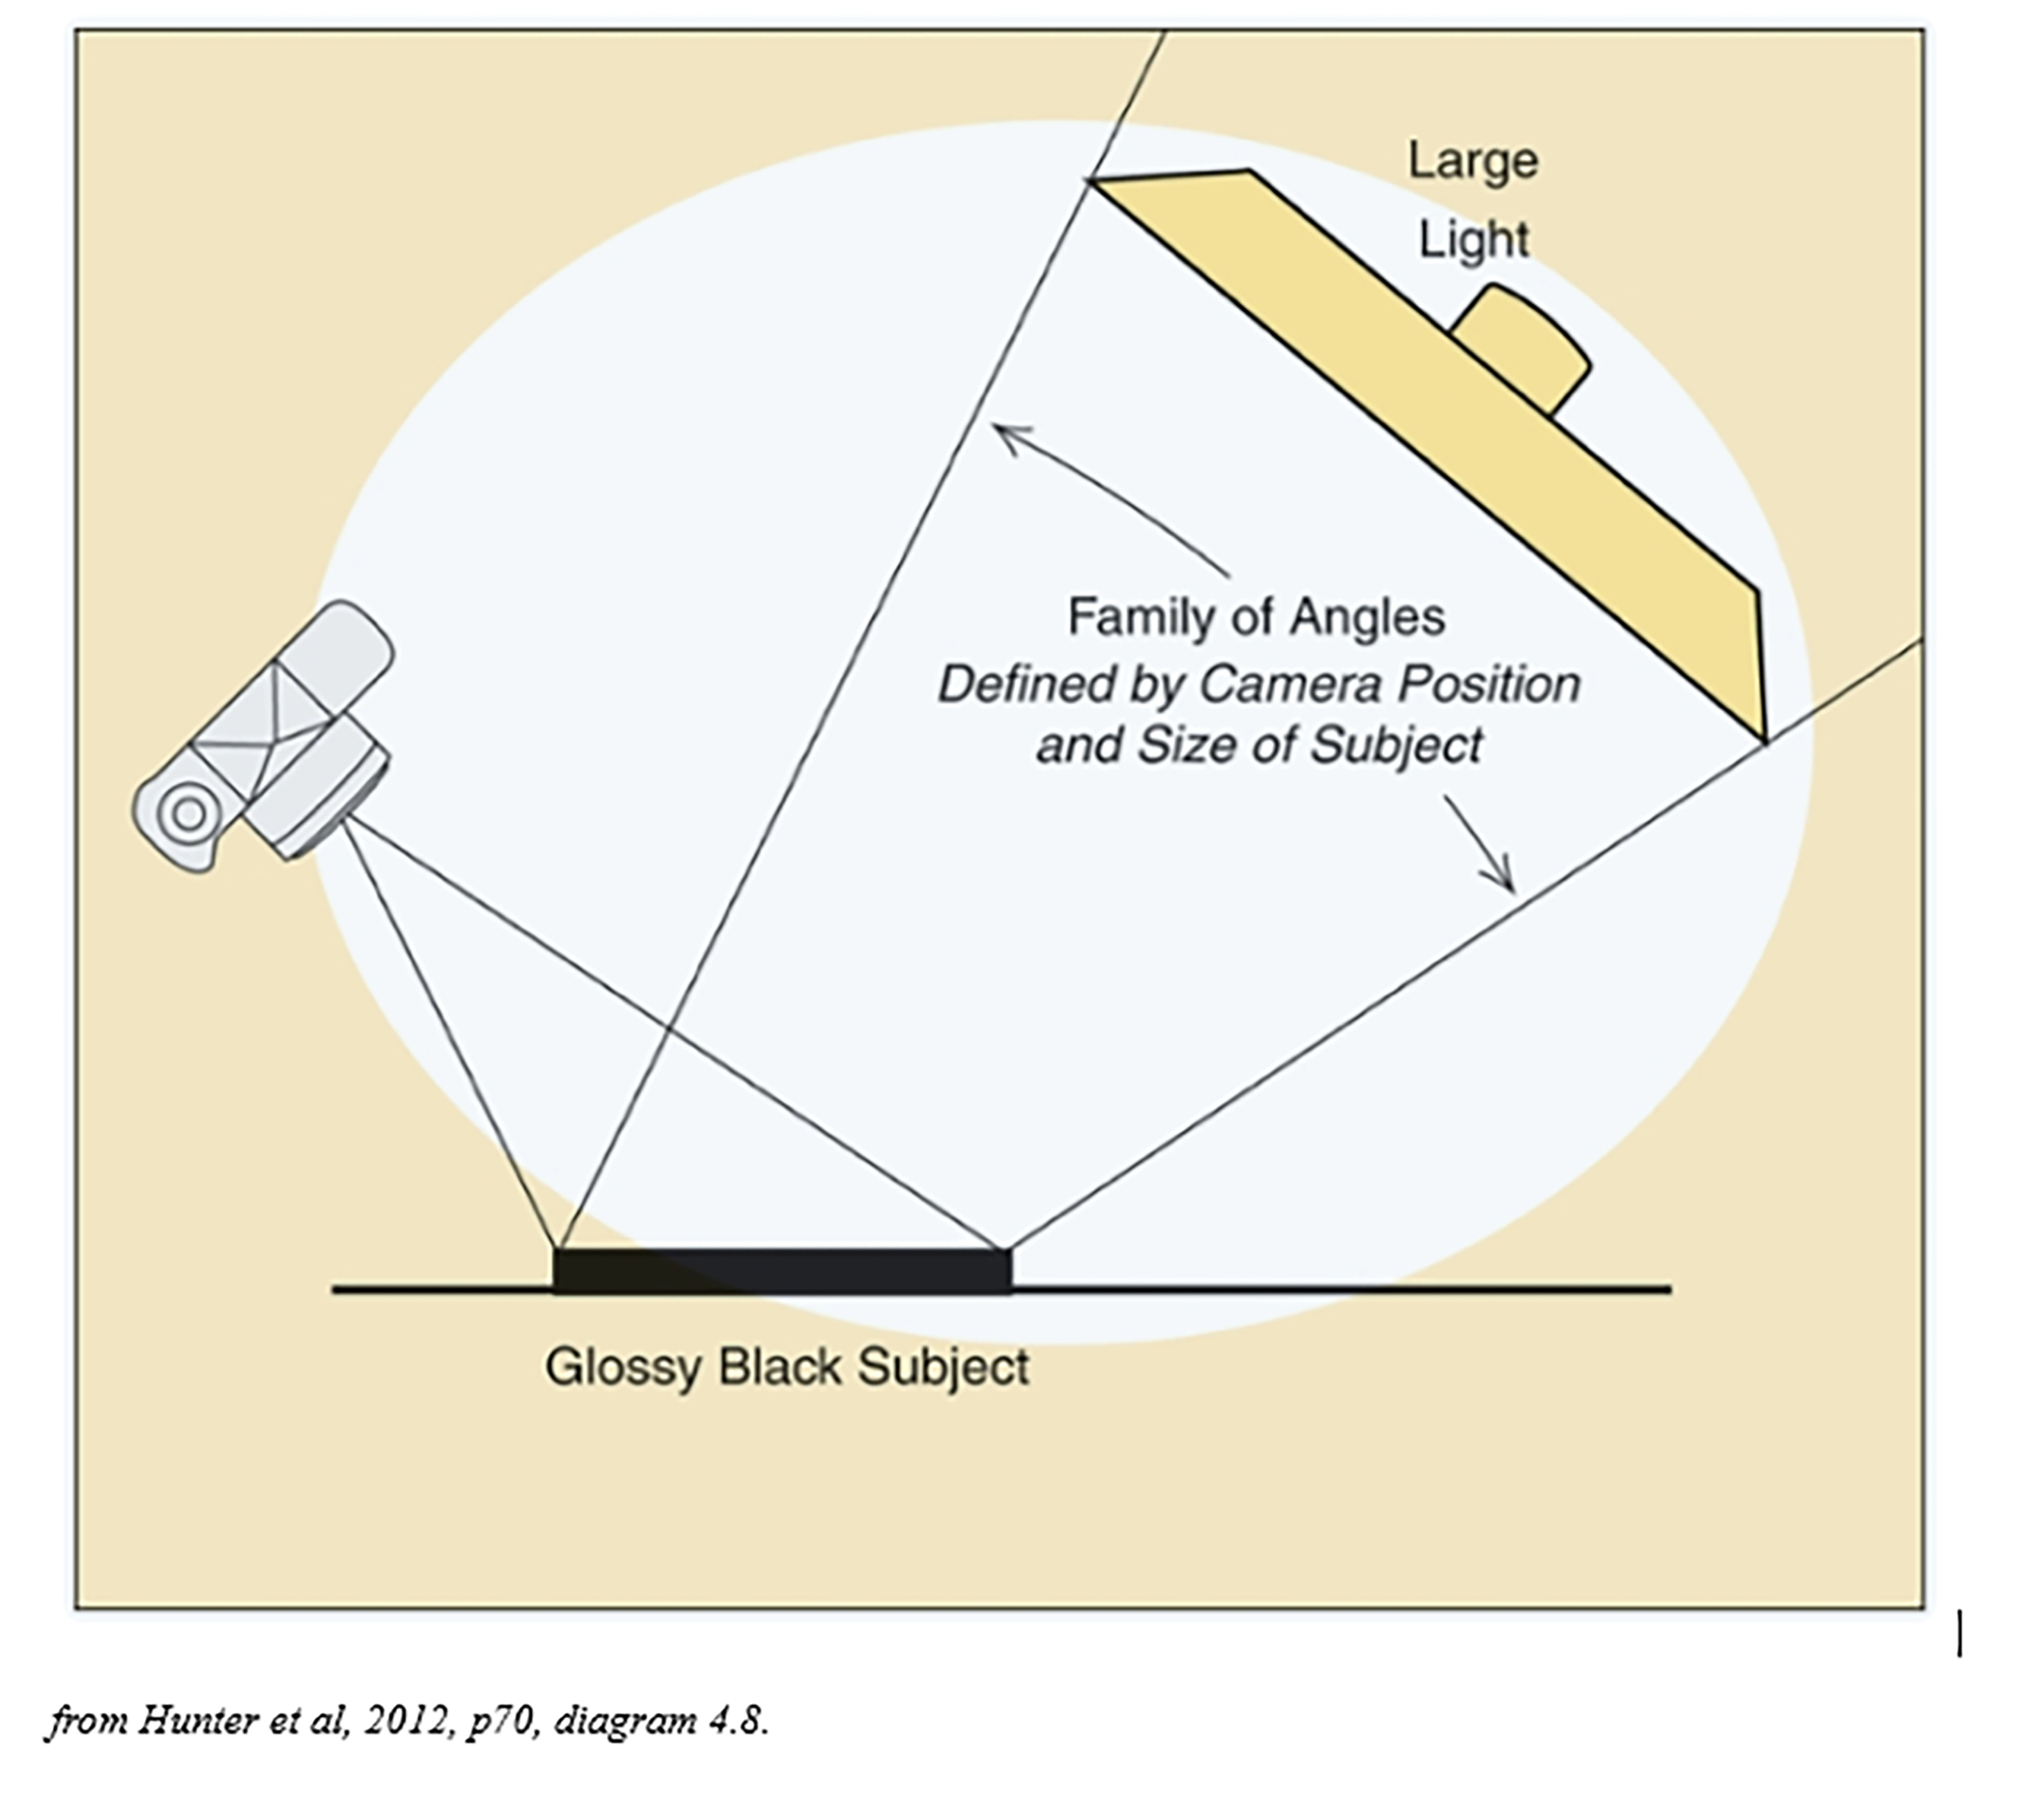
This may, or may not be a problem, but the point is that, to avoid unwanted reflections, you would either have to move the camera further away from the subject (perhaps using a longer focal length), move the lights, or use masking techniques to block out areas of light.
Many of the objects that we photograph are, however, not flat, but have cylindrical or compound shapes, with multiple families of angles, in which case we must move camera and lights around to find the optimum, or use flagging techniques to mask isolated areas, or both.
LIGHTING FOR STILL LIFE, TABLETOP, PRODUCT AND FOOD PHOTOGRAPHY
I have grouped these together because, although they are different genres, the lighting requirements are similar.
Natural light from a lace-curtain window gives a pleasant soft light but limits the time of day that one can shoot, varies in intensity, and it is more difficult to create different moods and contrasts of light and shade.
In classical still life scenes, we want to create mood with lighting, be it strobe or continuous. There are a number of ways to do this, but general advice is to start with one key light and build the scene up slowly, creating a blend of light and shadowy areas by adding more lights, reflectors and even flagging areas using dark cards in front of the light to remove harsh lighting.
Soft-boxes work well in this type of set-up, yielding soft light and diffused shadows, depending on the angles and distance from the subject – the closer to the subject the softer the light.
A useful start is, for example, to use one soft-box to the right of the camera, adjusting the height, intensity, and angle to give a nice mix of light and shade. Then add another soft-box, of lower intensity, to the left of camera just to soften the scene and produce a range of darker areas. If necessary, add a white reflector board above the subject to reflect down onto the more difficult parts of the subject - a bouquet of flowers for example. Maybe add a reflector low in front of the subject to lighten up any harsh shadows at the base of the subject.
Sometimes, one can use a snoot, barn doors, or a beauty dish to highlight part of the subject.
For added interest it is possible to place a soft-box low down behind the subject to light up part of the background.
Bright items and glass are particularly difficult to light, because of the Family of Angles and unwanted reflections.
It helps to light the subject with a diffused soft light from behind using a soft-box, natural light from a lace-covered window, or a bounced light aimed at a white wall behind the subject. Whilst this avoids unwanted reflections it may look a little flat. The situation can be improved by adding a soft light or a white reflector on each side of the subject. Placing a black card in front of each of these lights, and adjusting their positions, one can emulate a strip light, creating attractive black lines on the edges of the glasses, giving a 3D effect.
An even more attractive effect can be achieved by placing a square black card between the back-light and the glass, making the edges of the glass stand out more and creating even more depth, as well as providing a dramatic backdrop.
Another possible set-up is to light from above, using a soft-box on a boom stand (or even just bouncing the light off the ceiling), and using a reflector card below to light the lower sections. Some photographers add a scrim above the subject to soften the light even more.
A special mood can be attained by a technique called Painting with Light. In this technique, long exposures of 5 seconds or more are made whilst selectively lighting up areas of a still life subject using a flash-light. Several exposures can be made and then combined in Photoshop, with interesting effects. One can even give a flash from the soft-box at the beginning of the exposure to give added effect.
All the principles apply to food and tabletop photography as well, except that the food must look particularly tasty as well. Food photographers have ways and means of “styling” foods to make them look mouth wateringly tasty, but that is a whole different subject.
Soft lighting with a soft-box is mostly preferred in food photography, and the lighting schemes above work well, but sometimes a hard light, with crisp shadows creates the mood required. Here you can use an unmodified strobe or flash. Hard side-lighting, from one side, can give an interesting three-dimensional appearance.
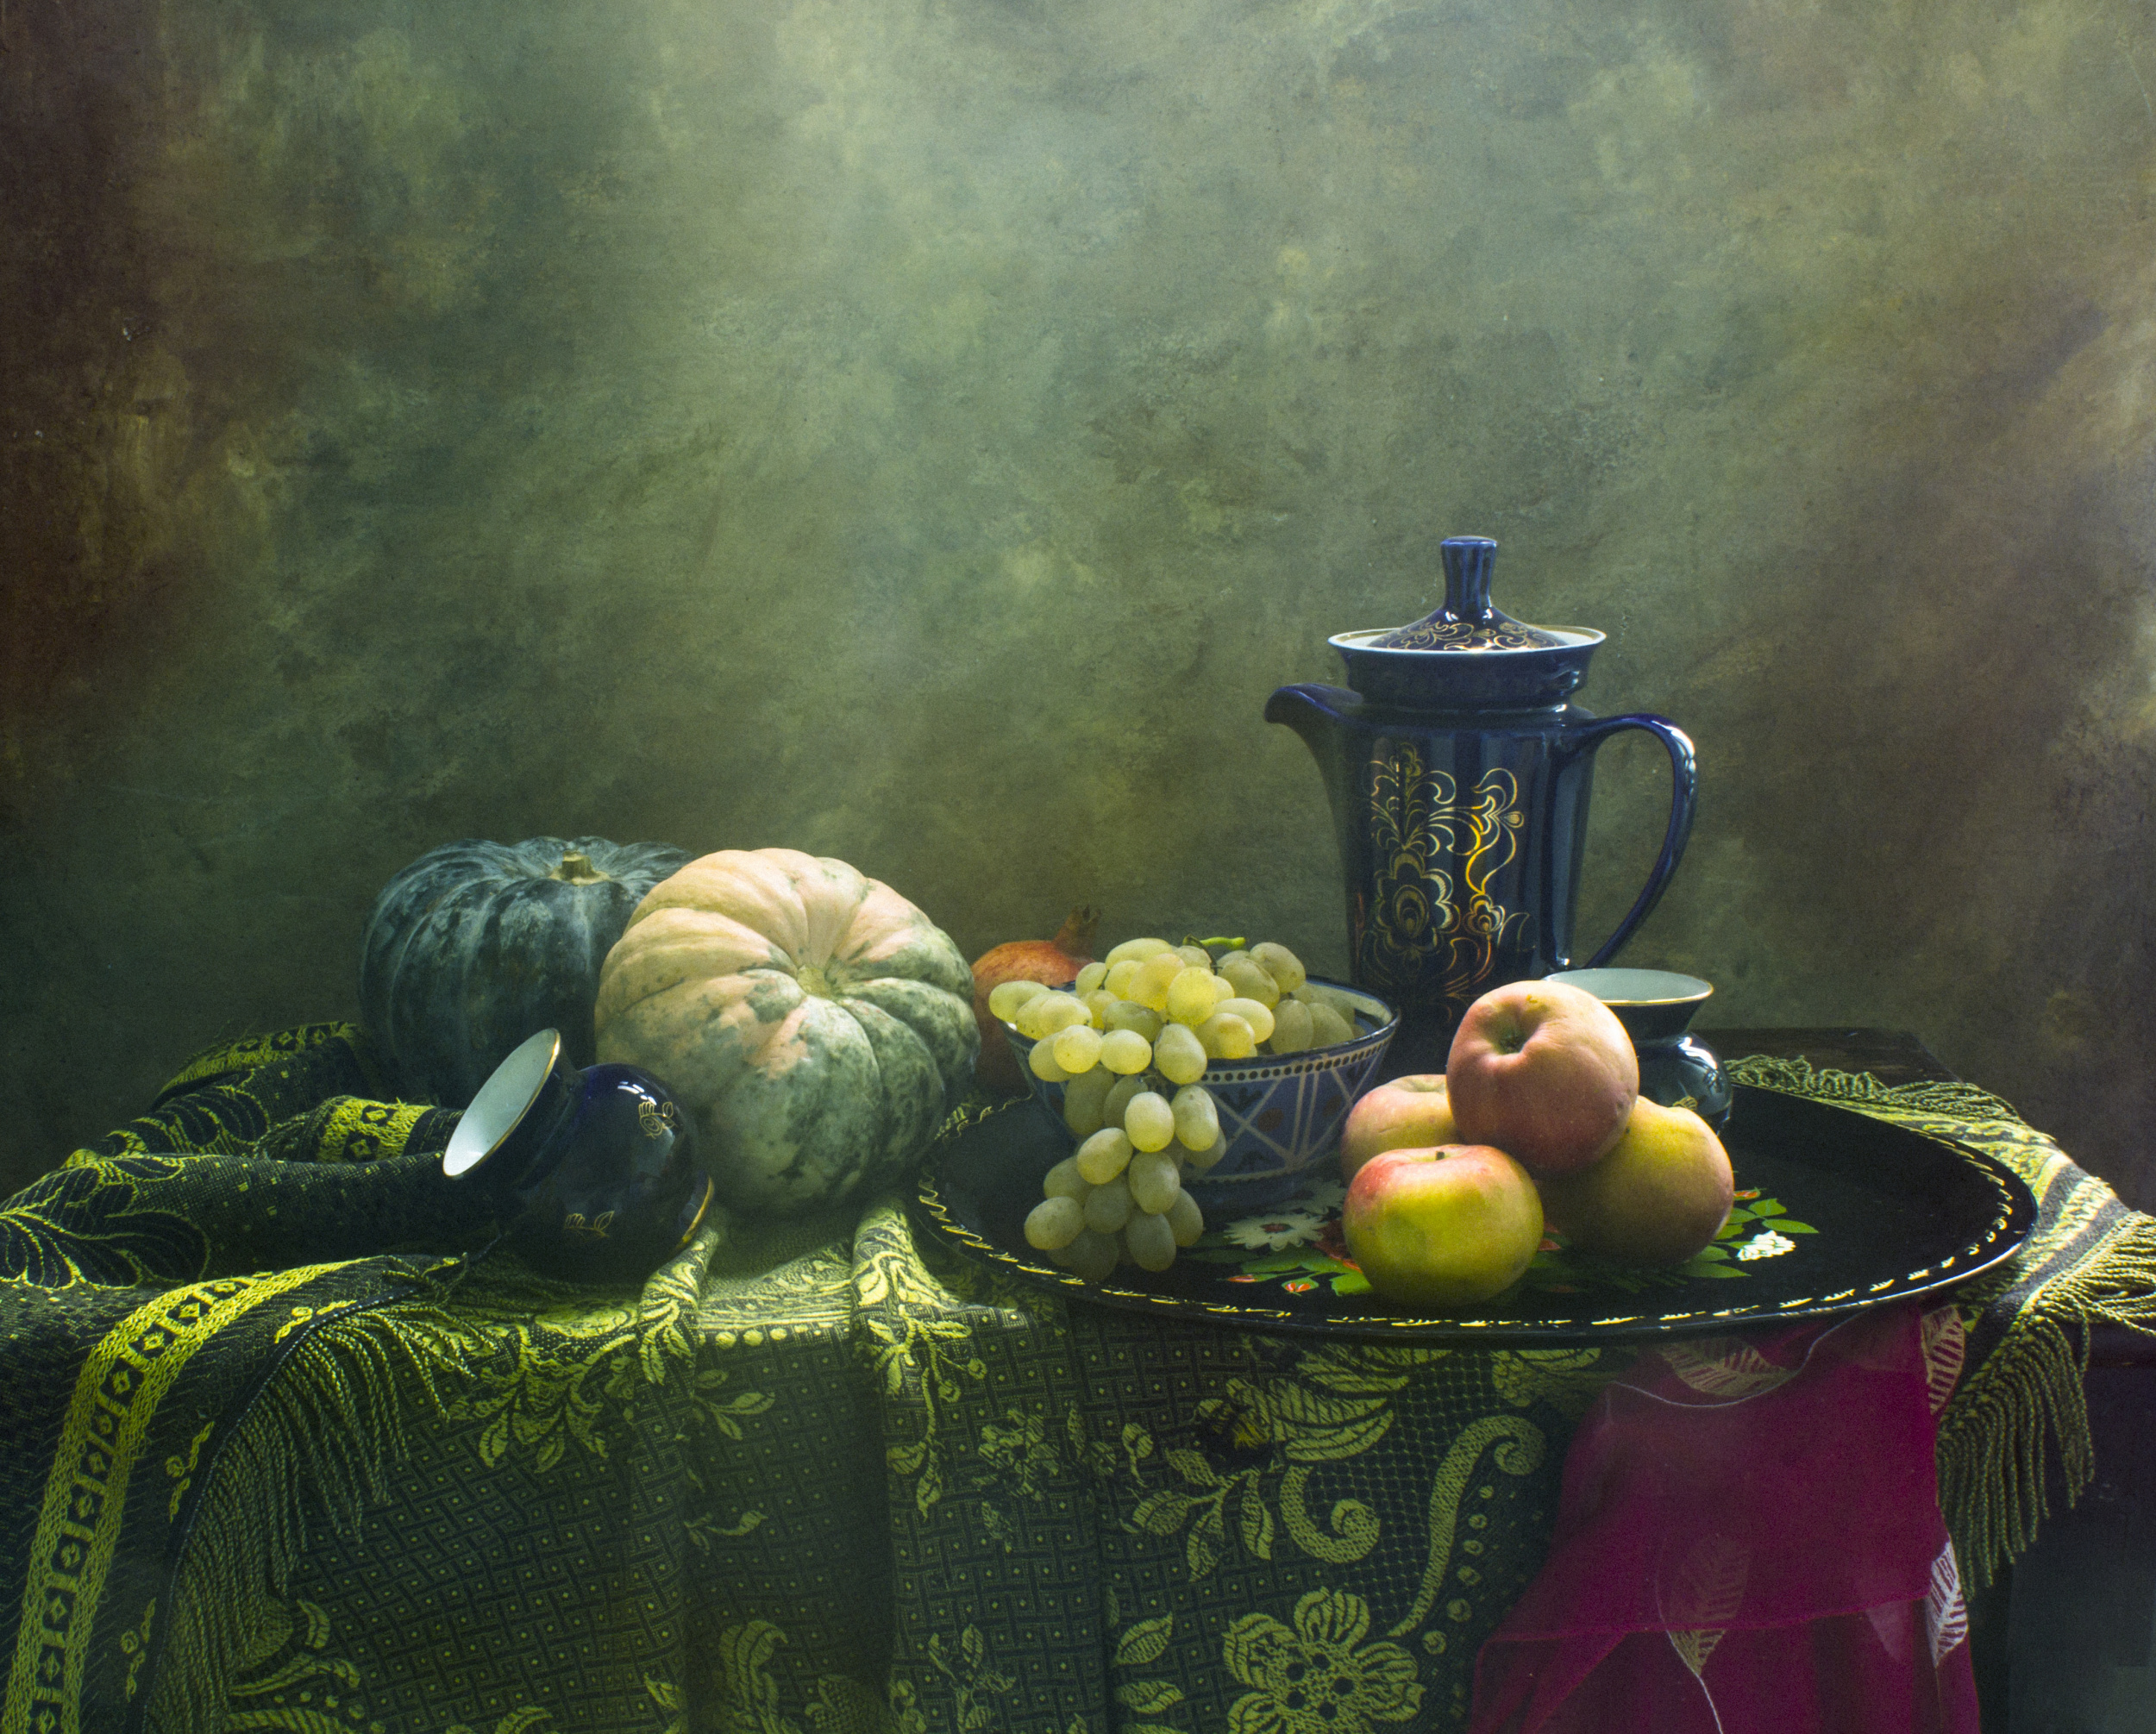
'Still life with blue Vases' by Ustina Green
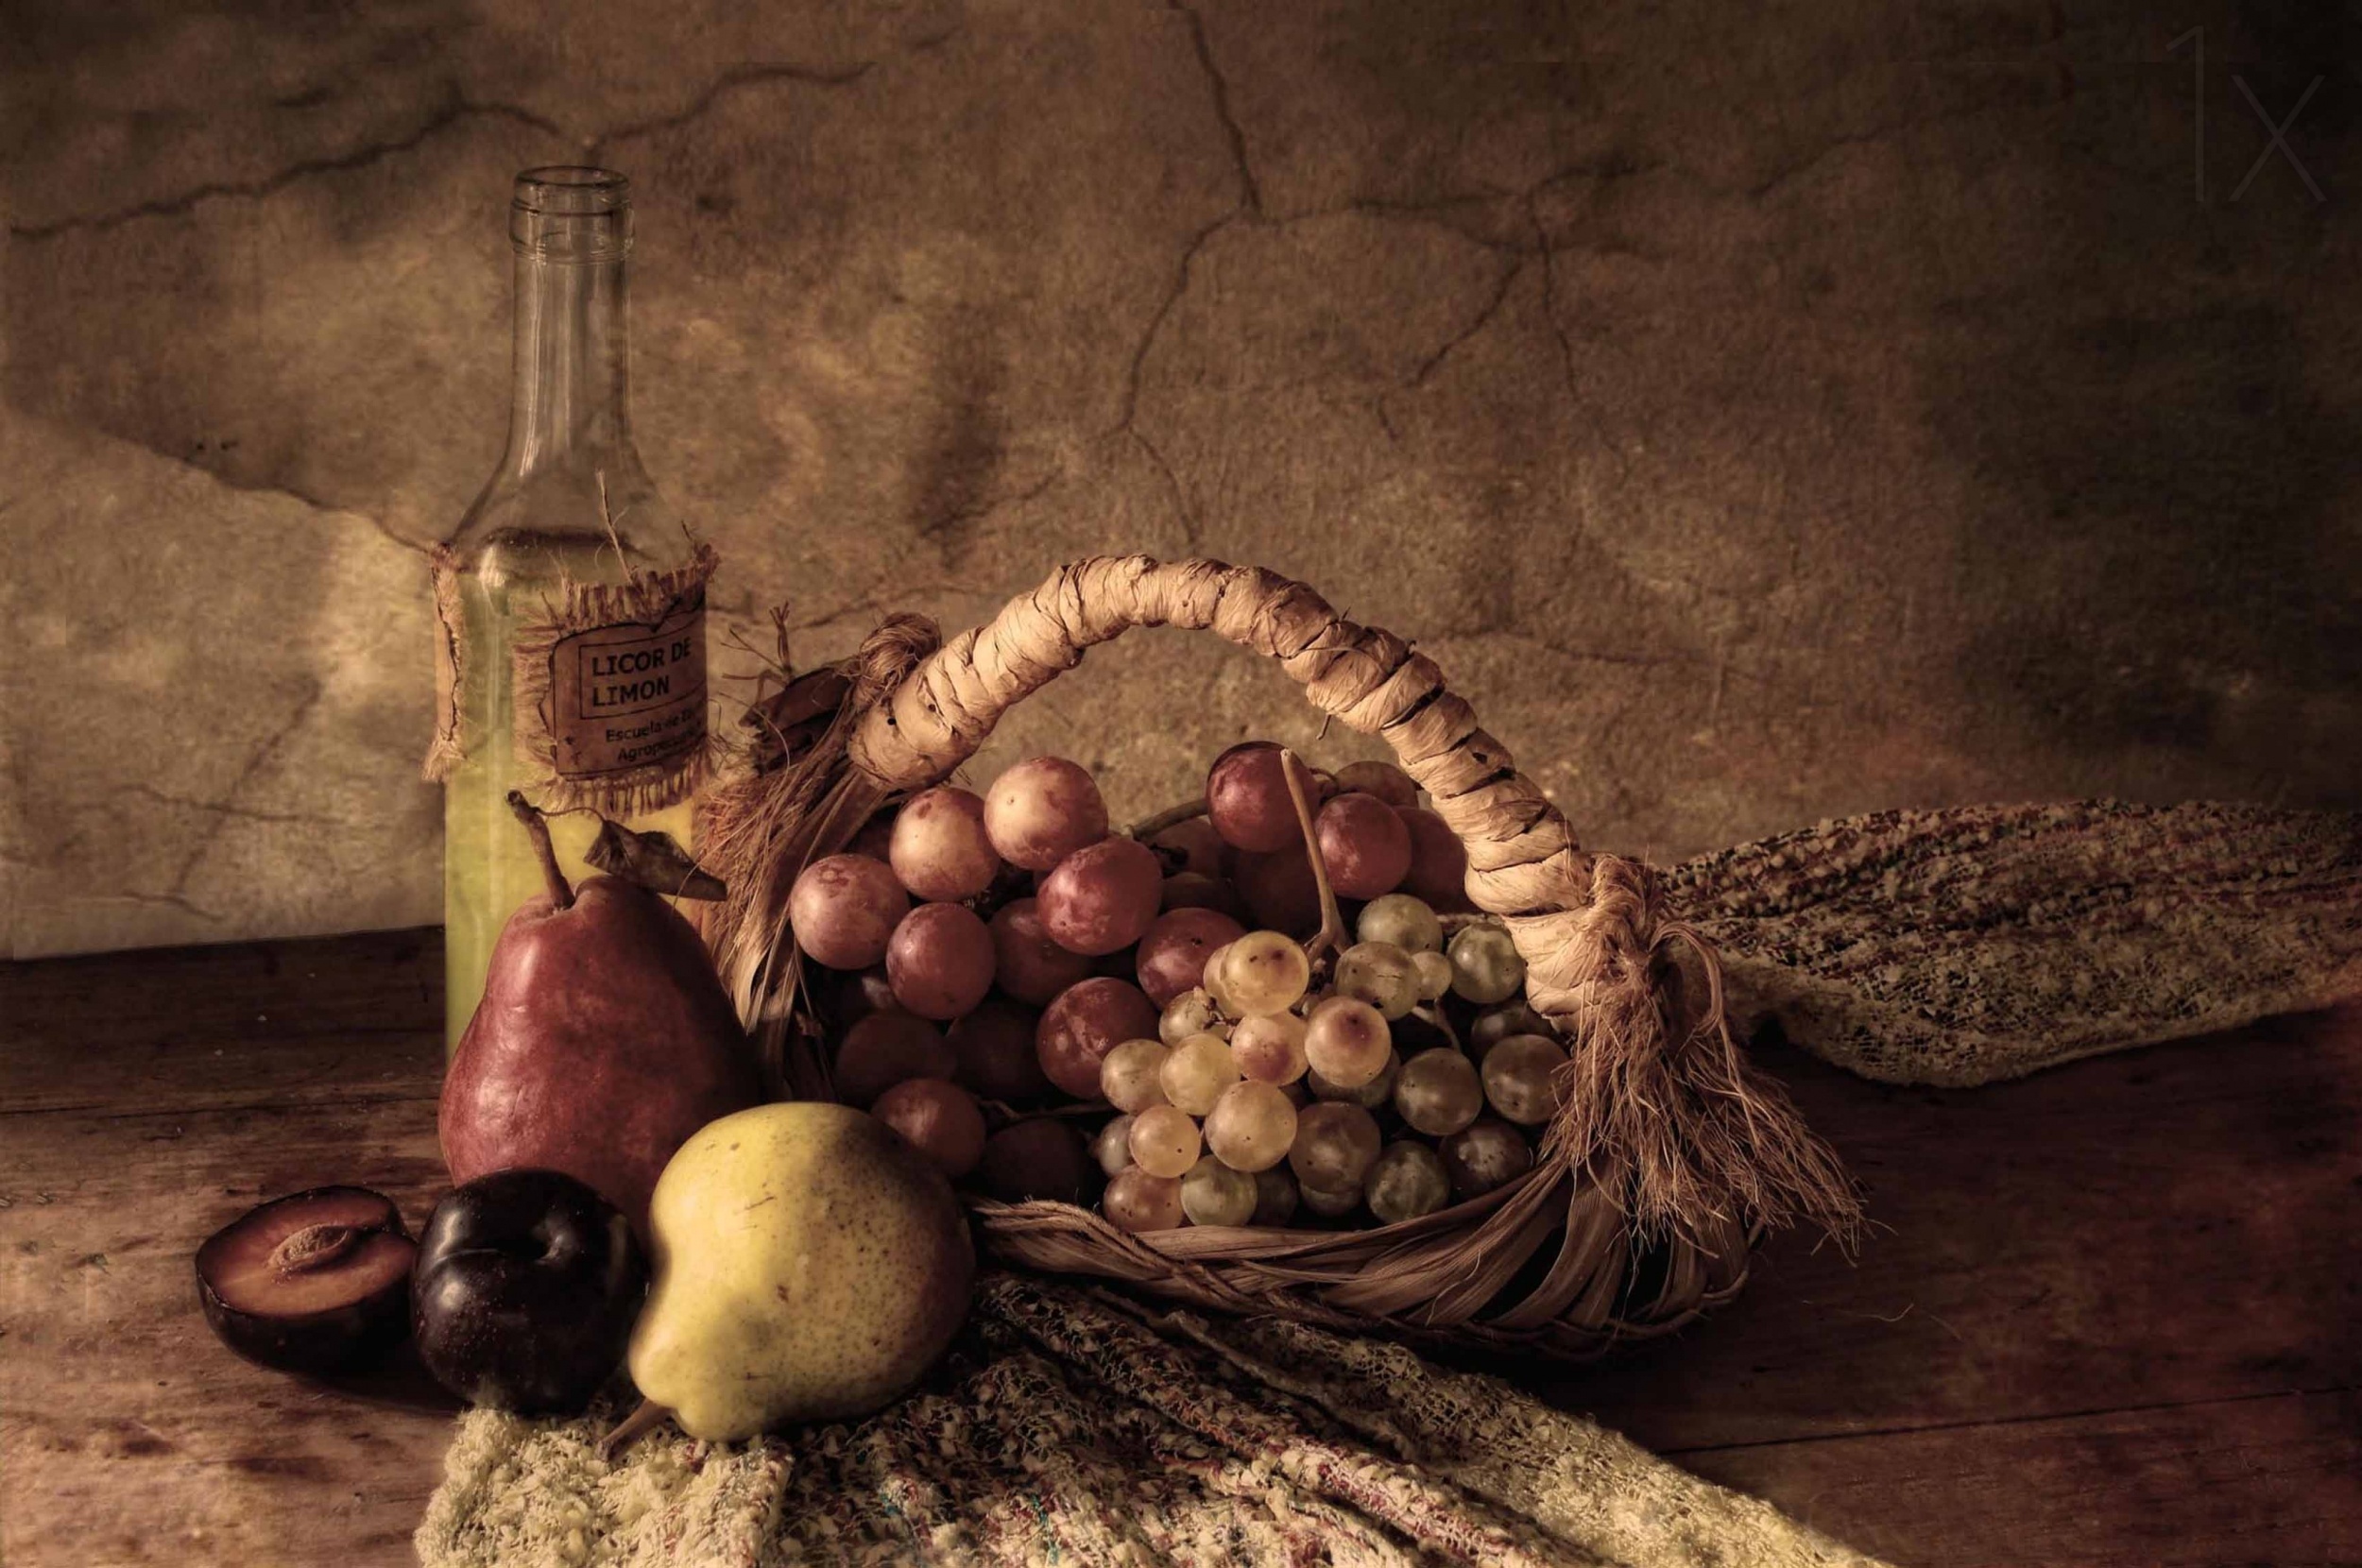
'Grapes' by Silvia Simonato
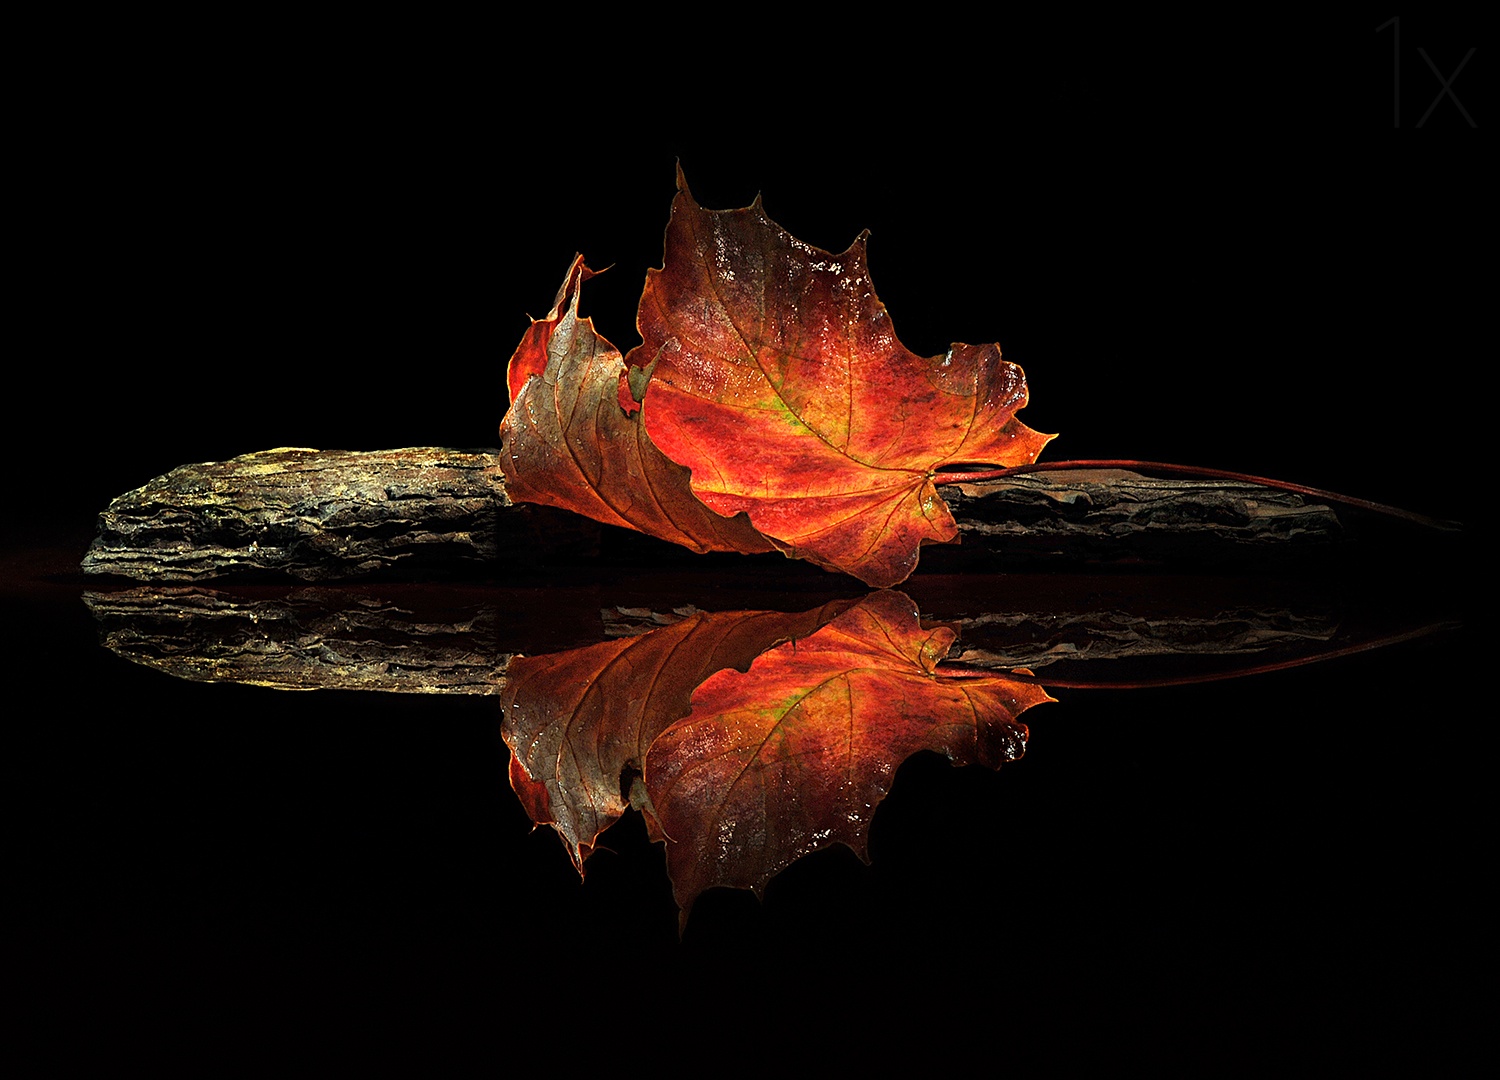
'autumn colors' by Aida Ianeva
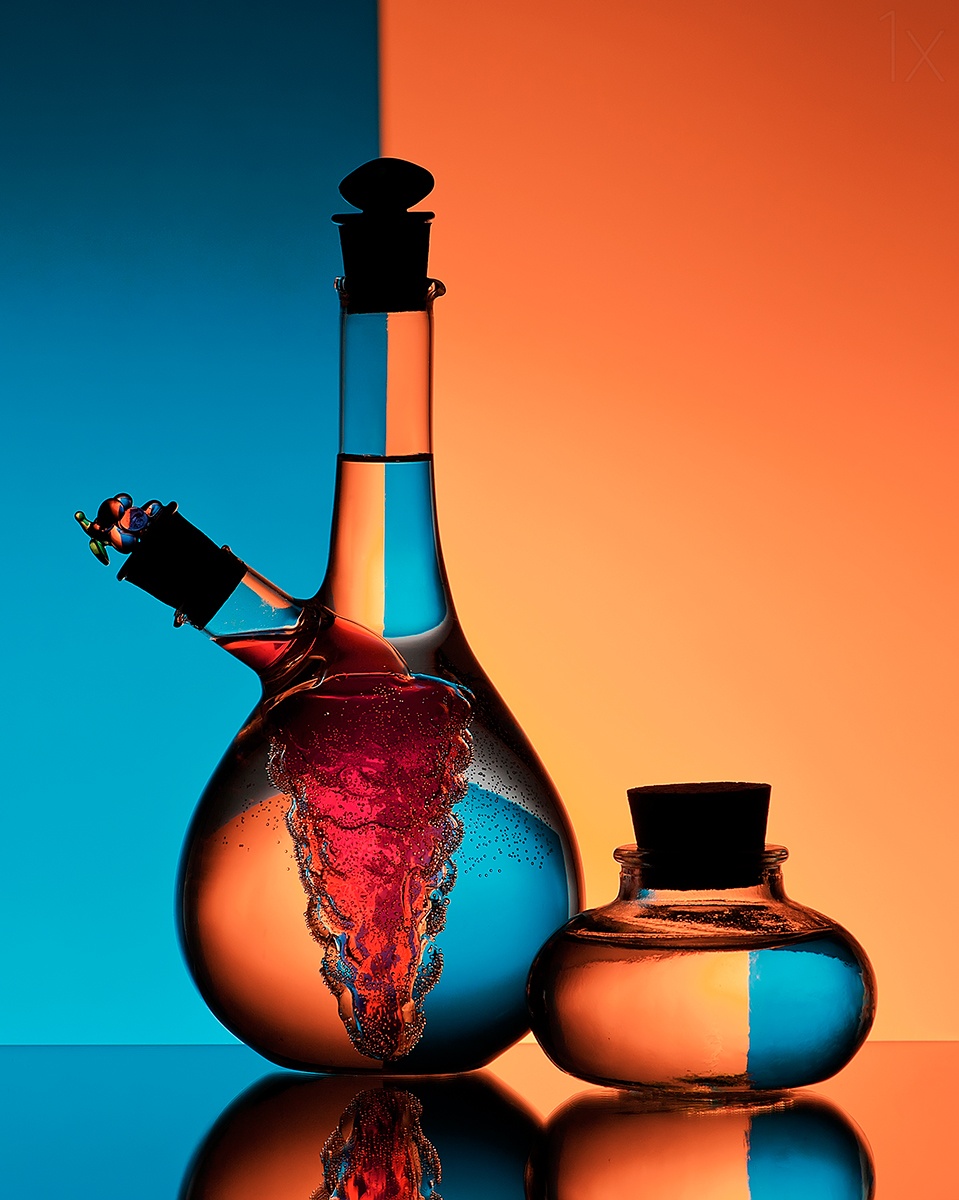
'Oil and Vinegar' by Aida Ianeva
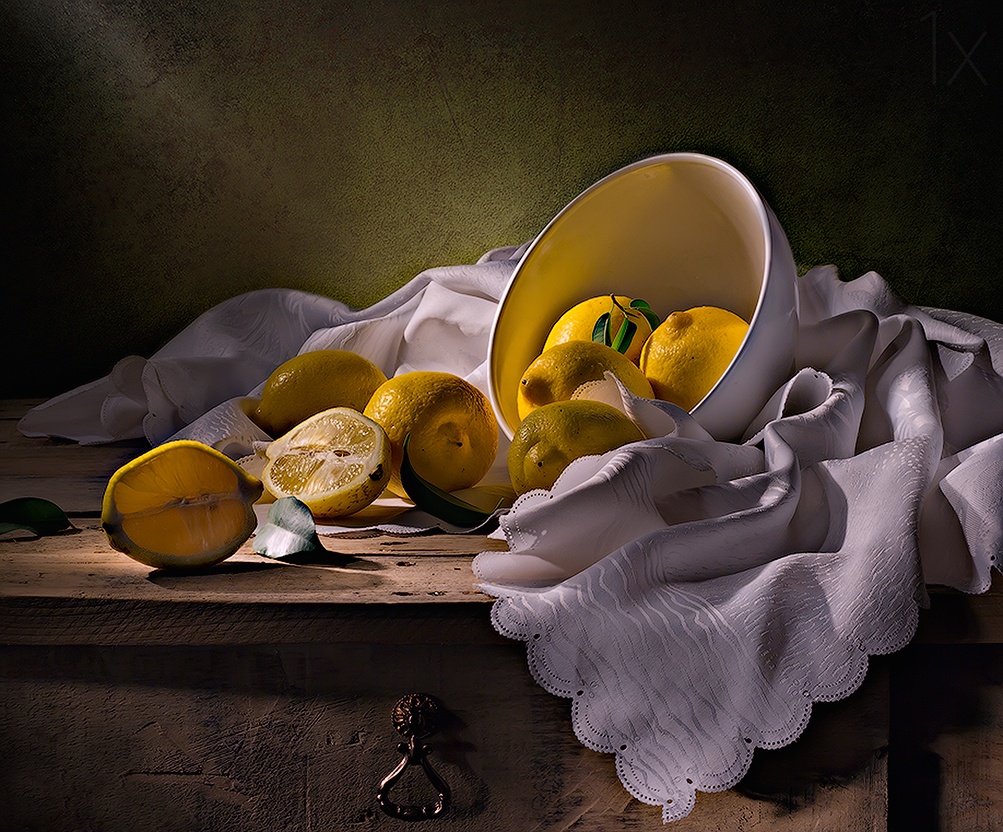
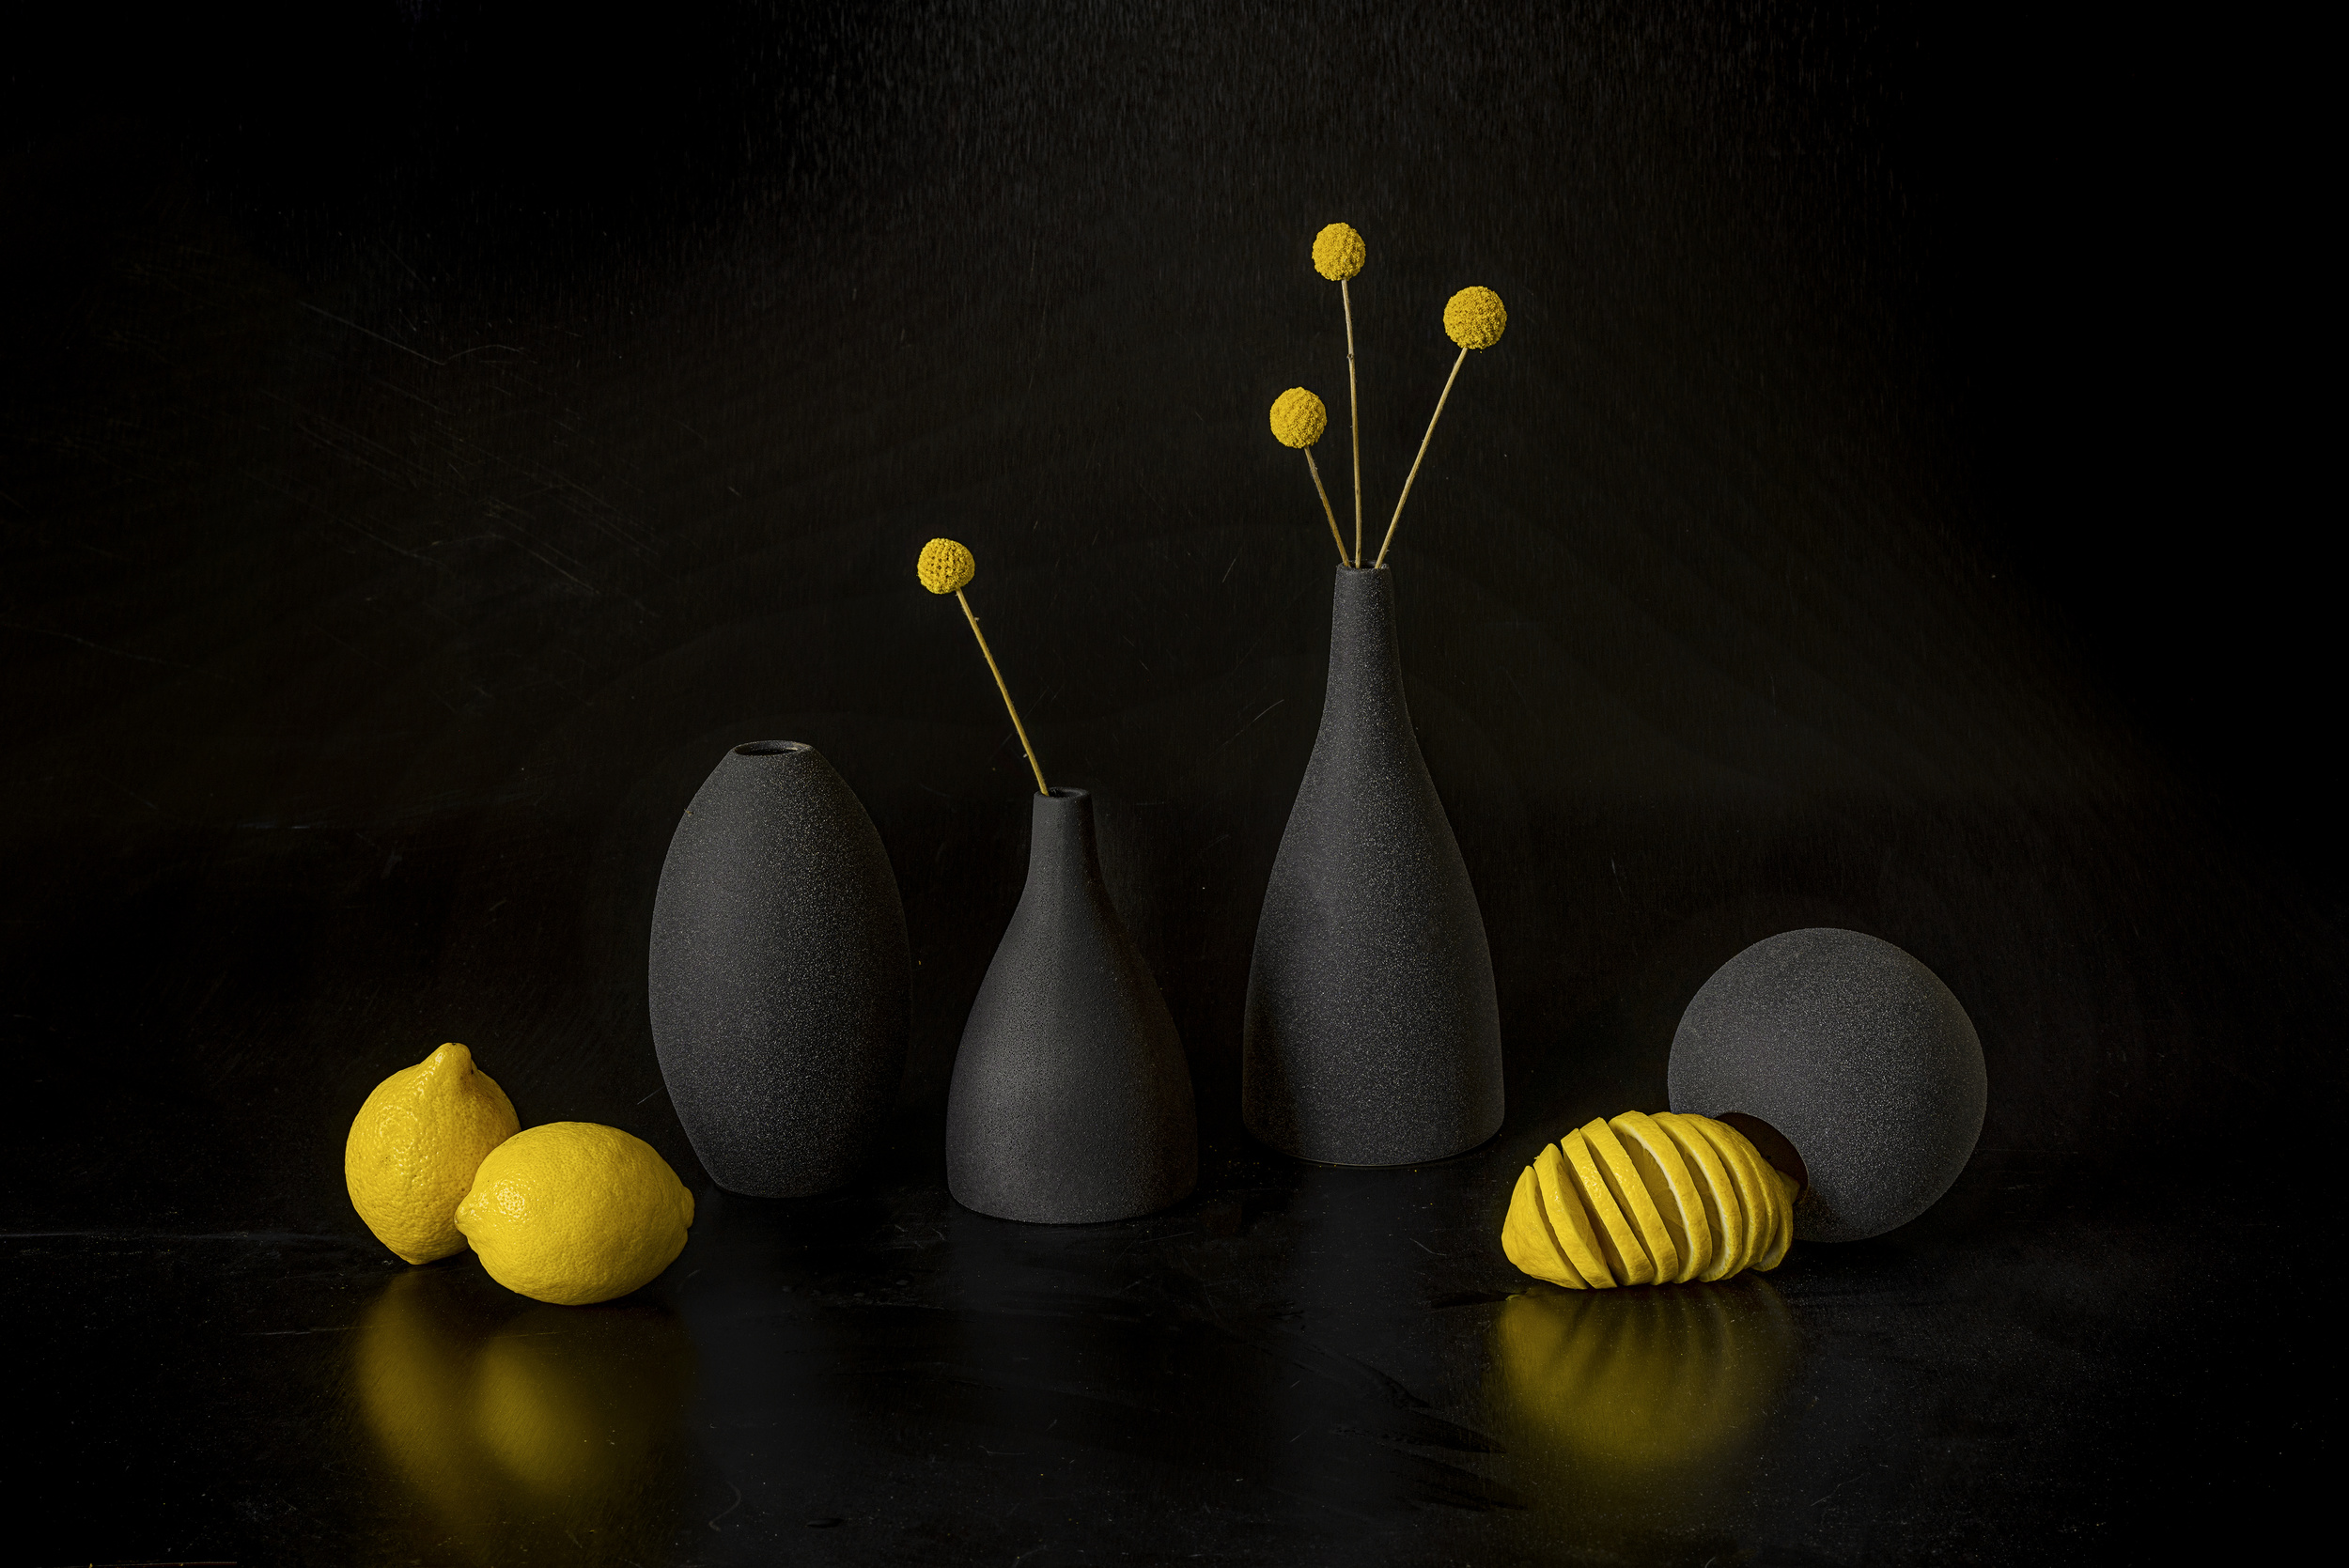
'Still life with lemons' by Svetlana L
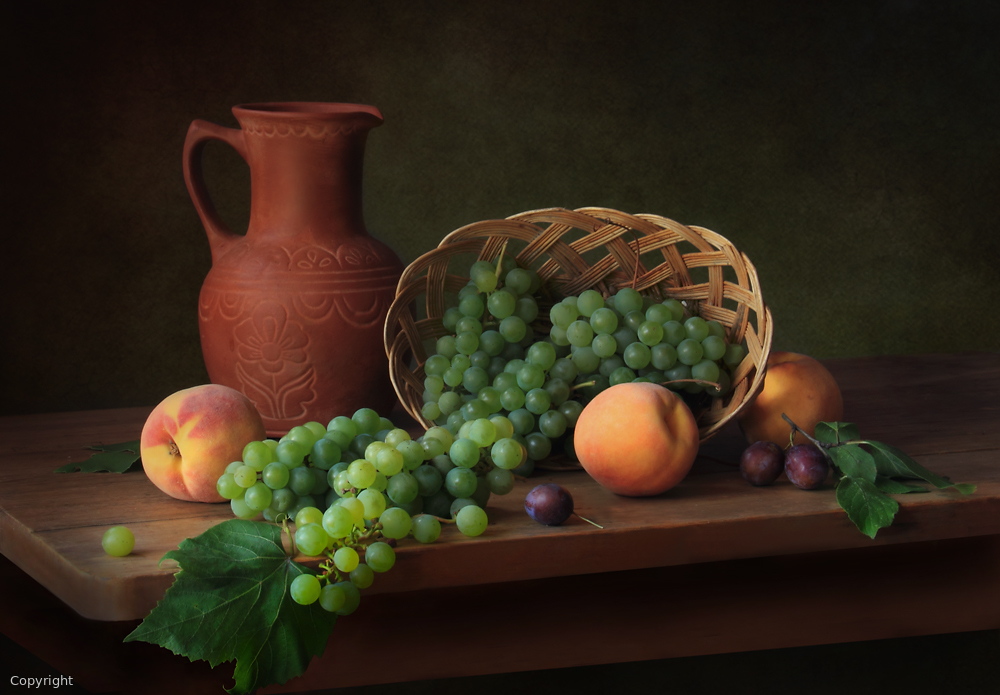
'with peaches and grapes' by Tatyana Skorokhod
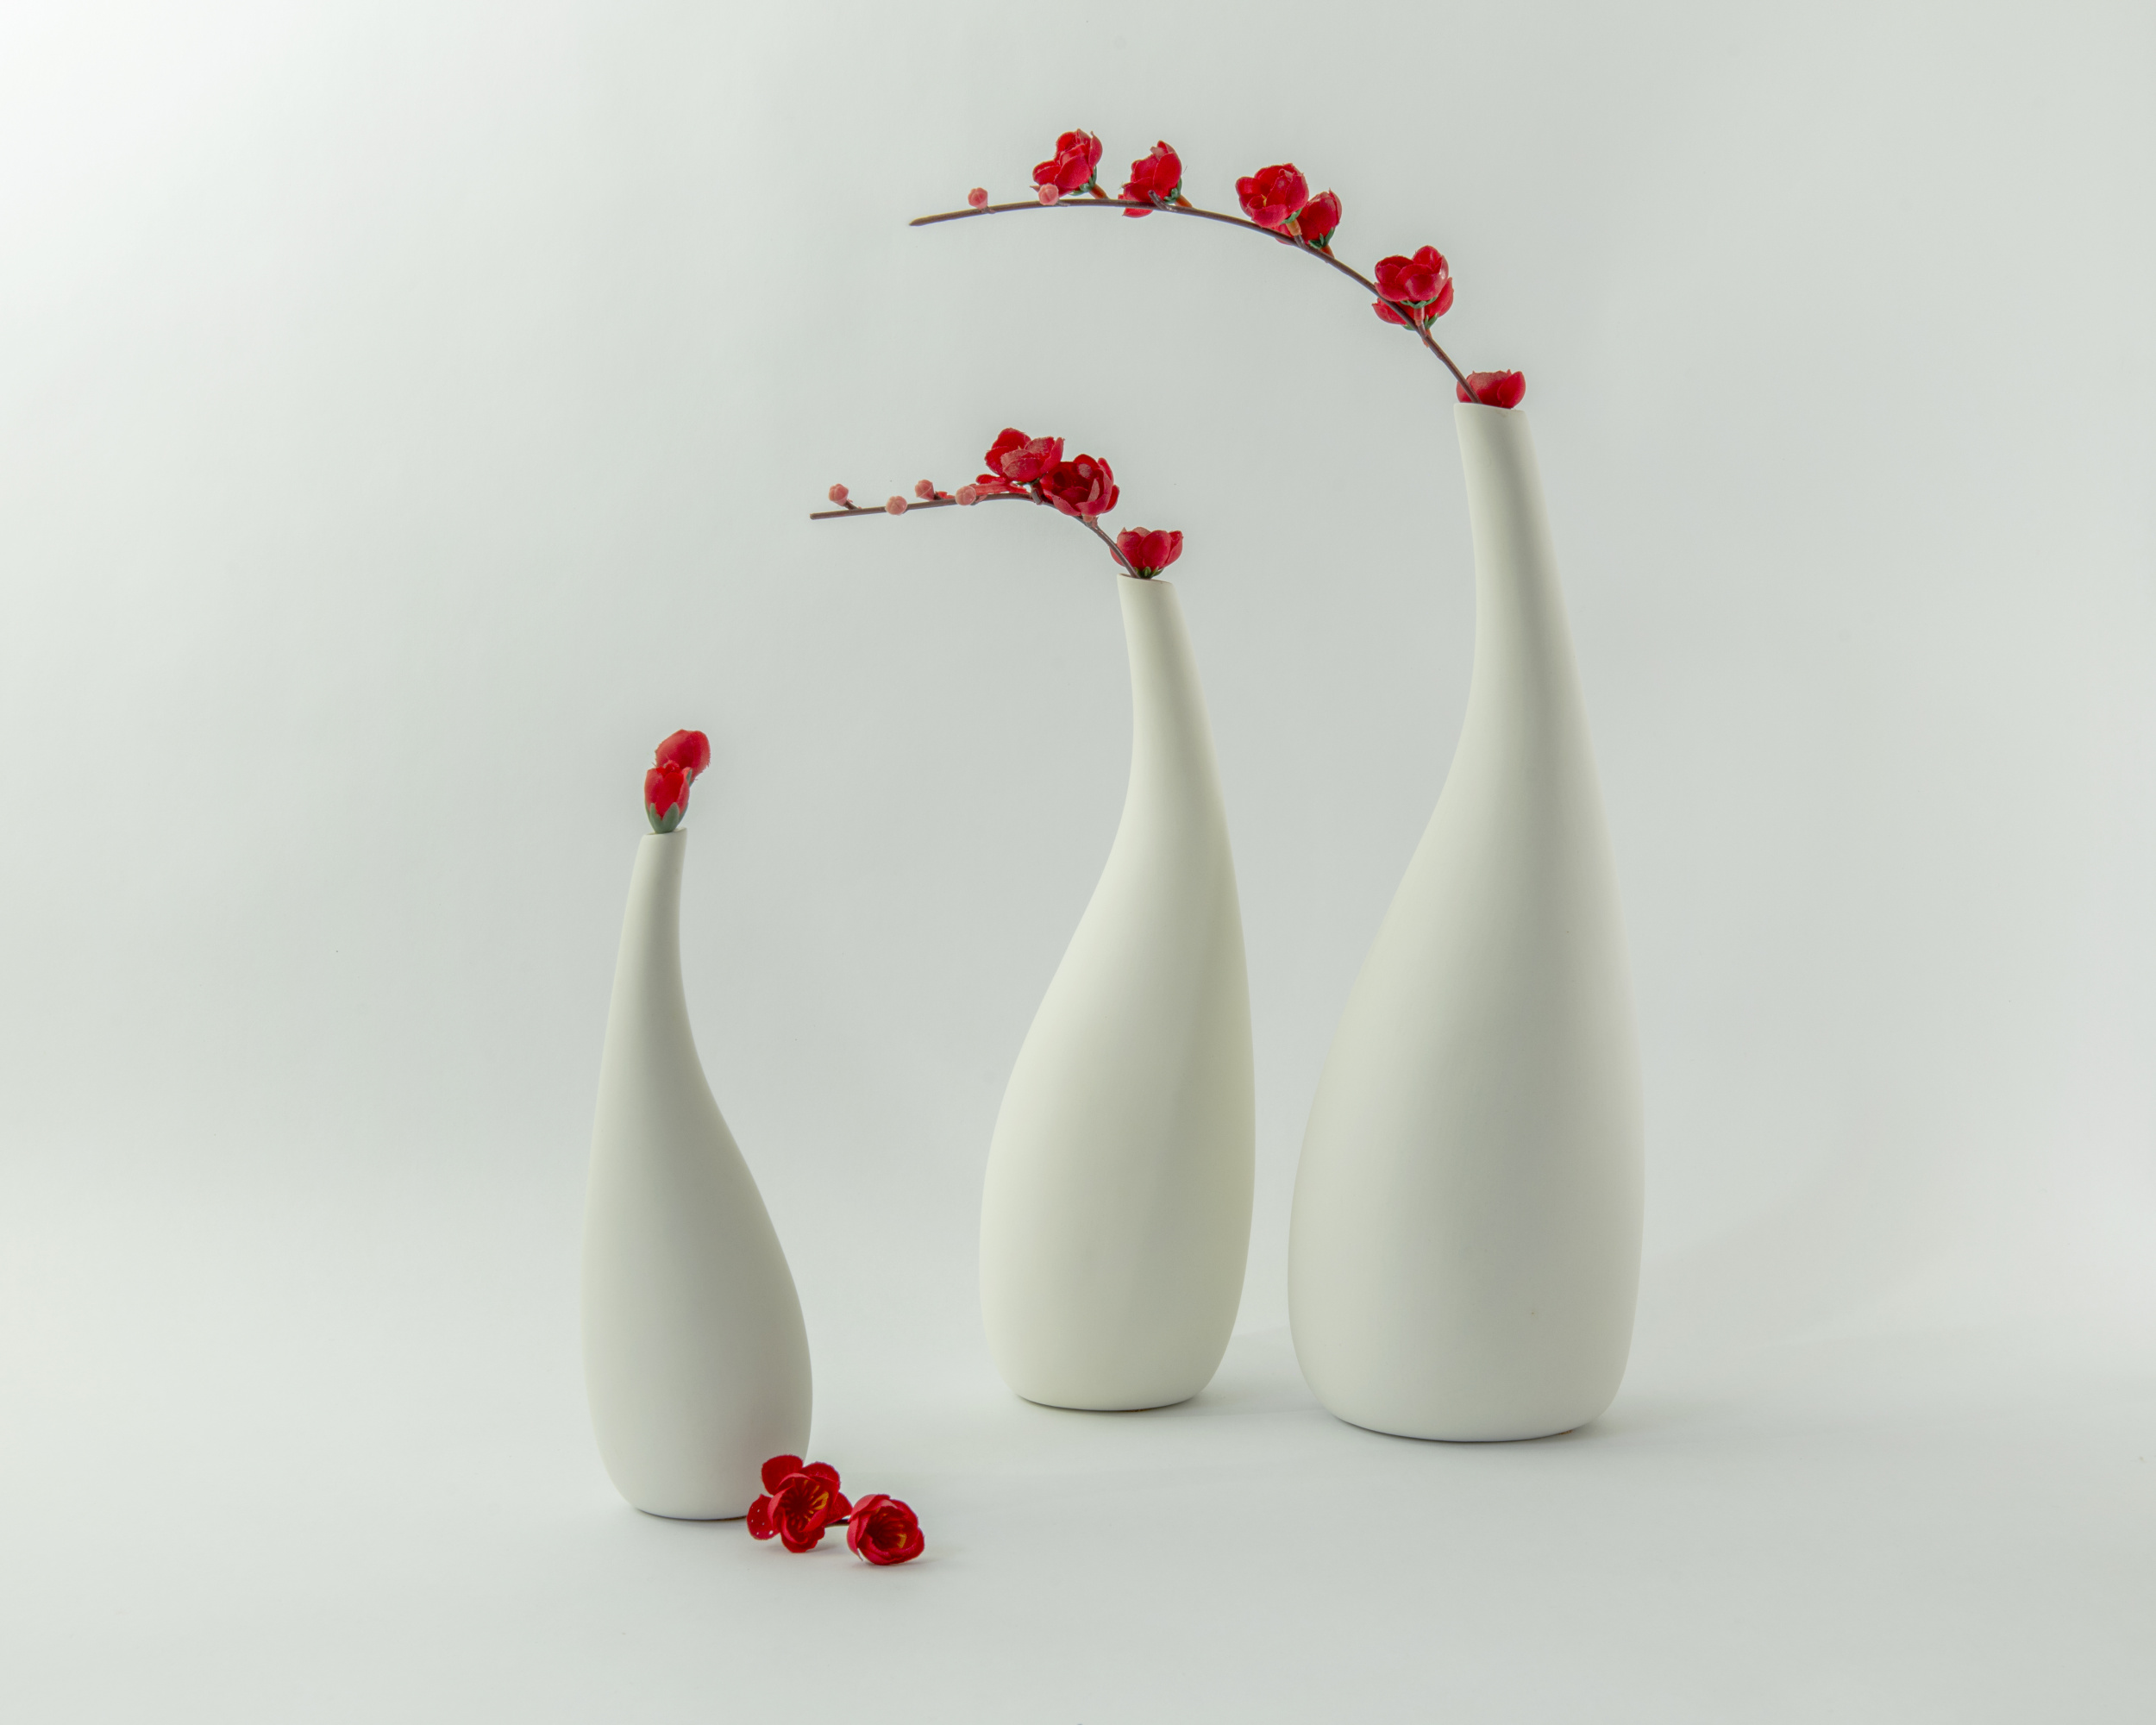
'Like a Family' by Louie Luo
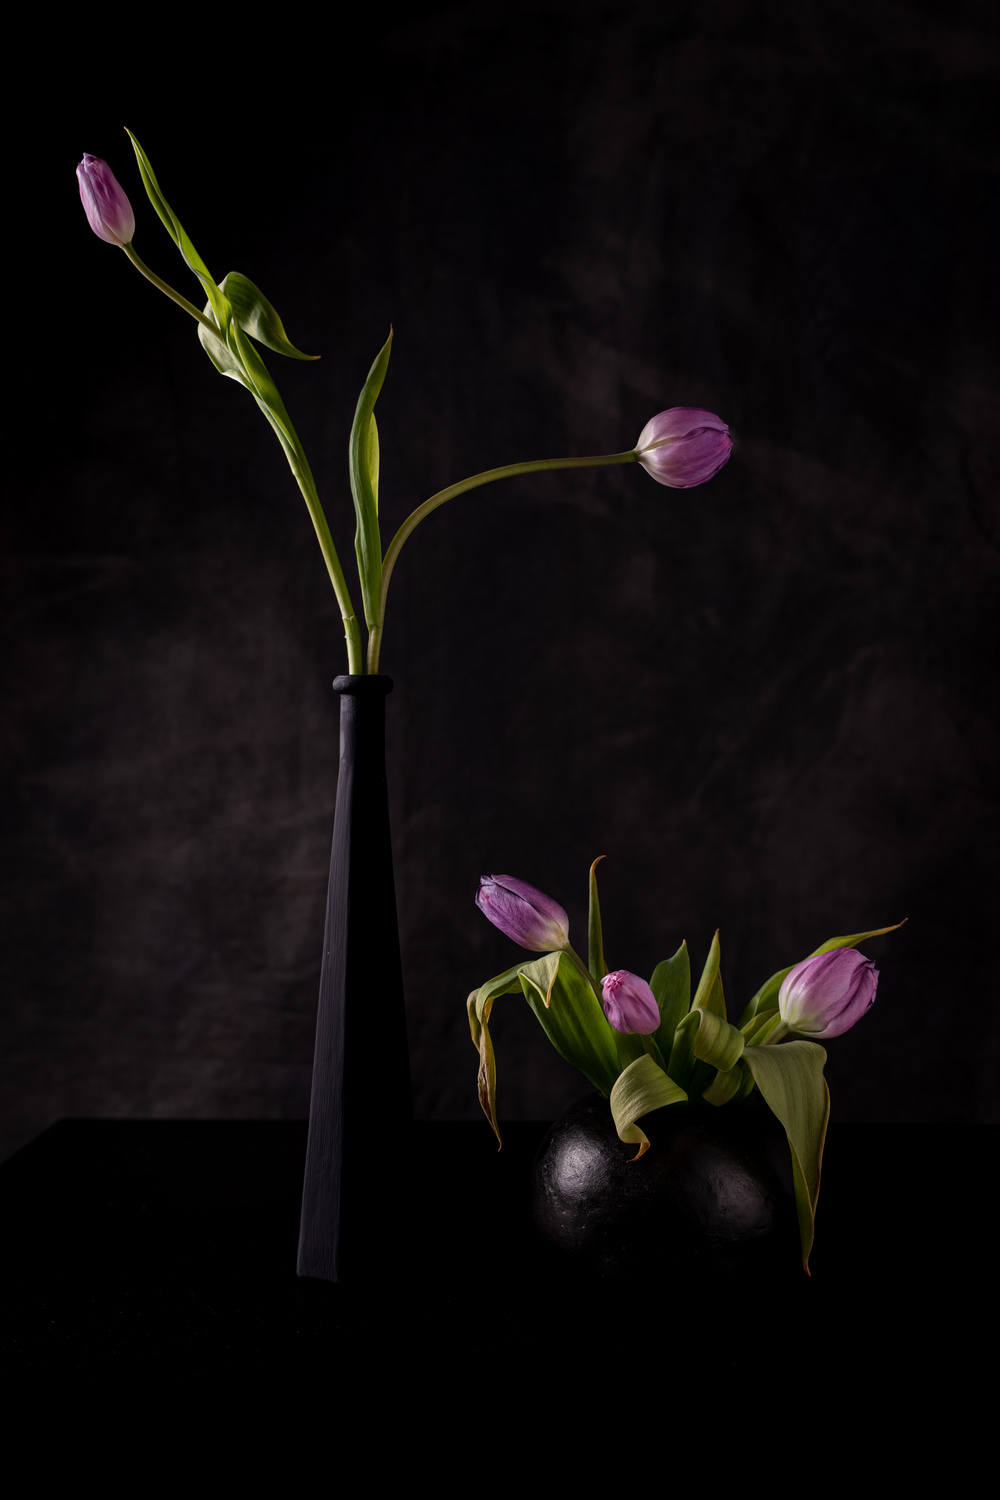
'Still life with five pink tulips' by Vito Guarino
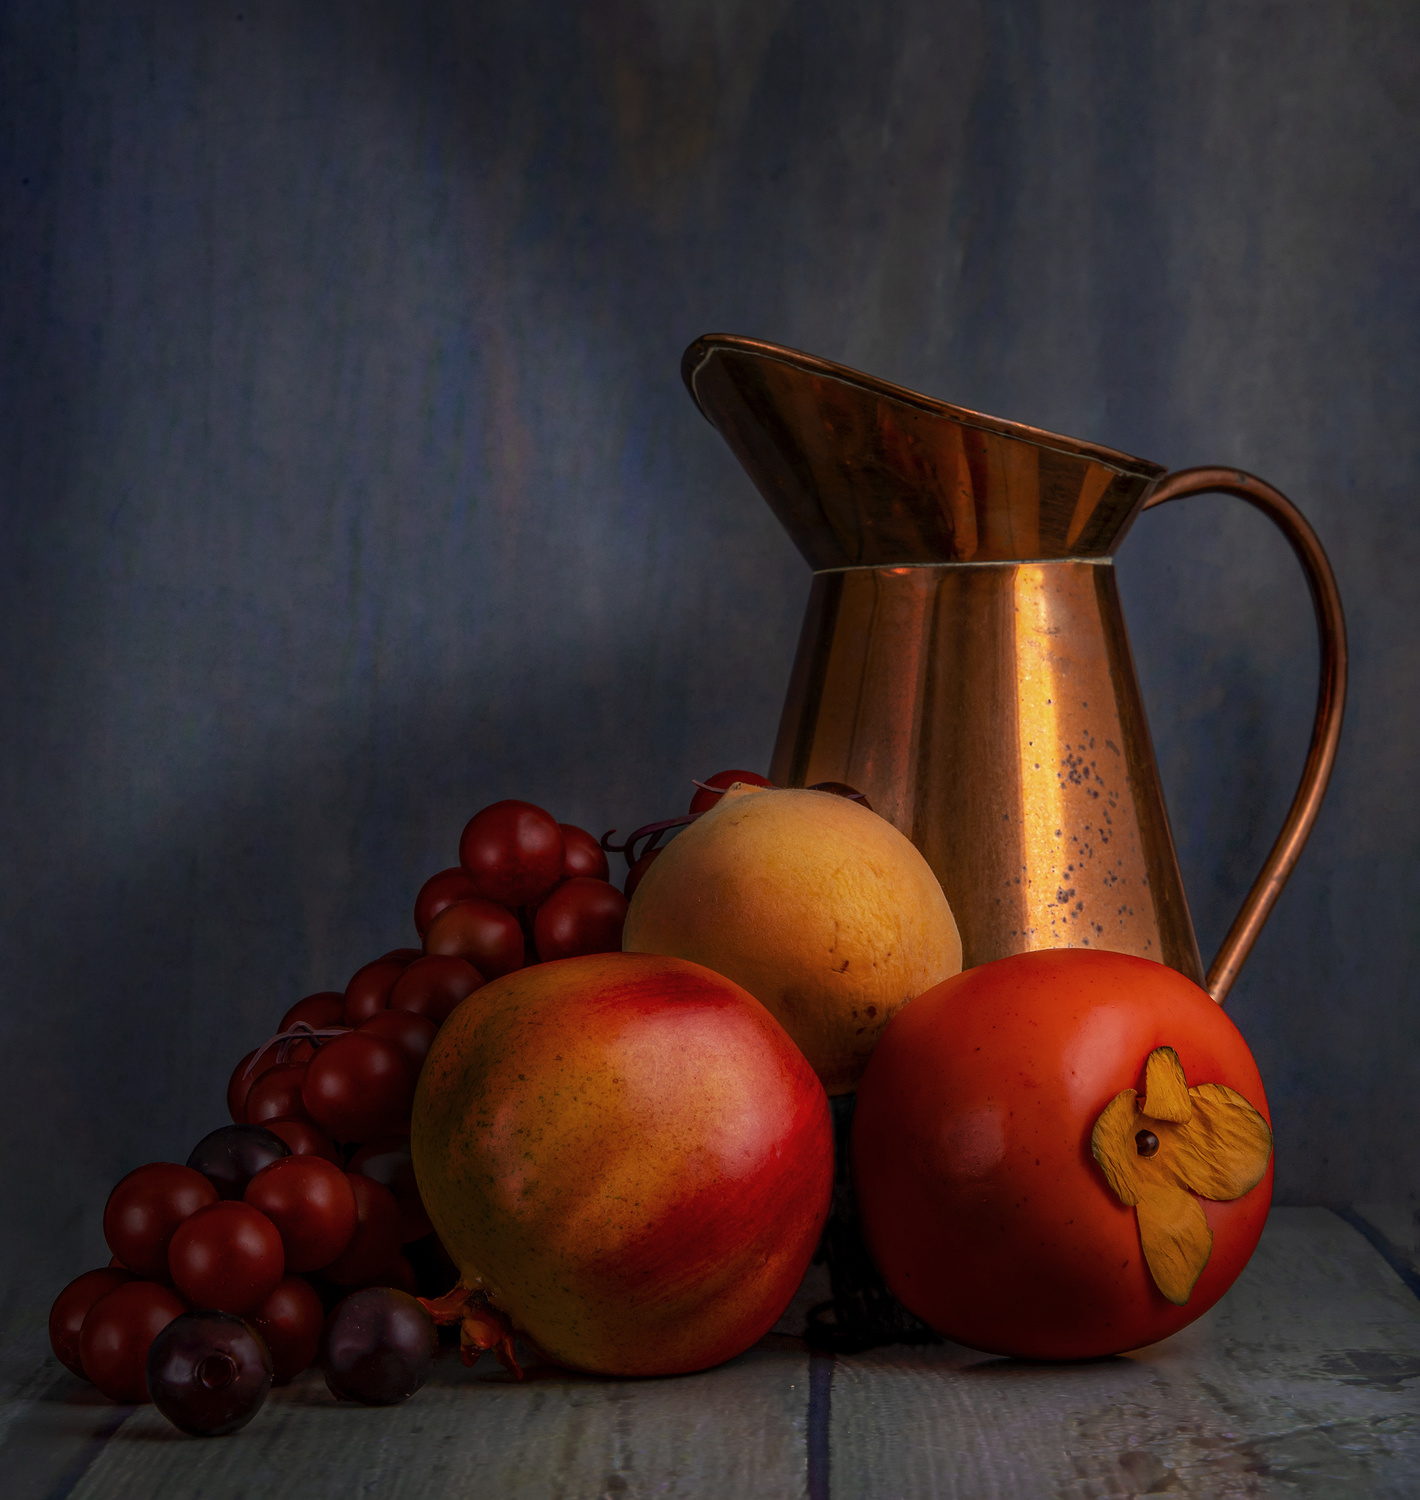
'Still Life with Fruit' by Lourens Durand
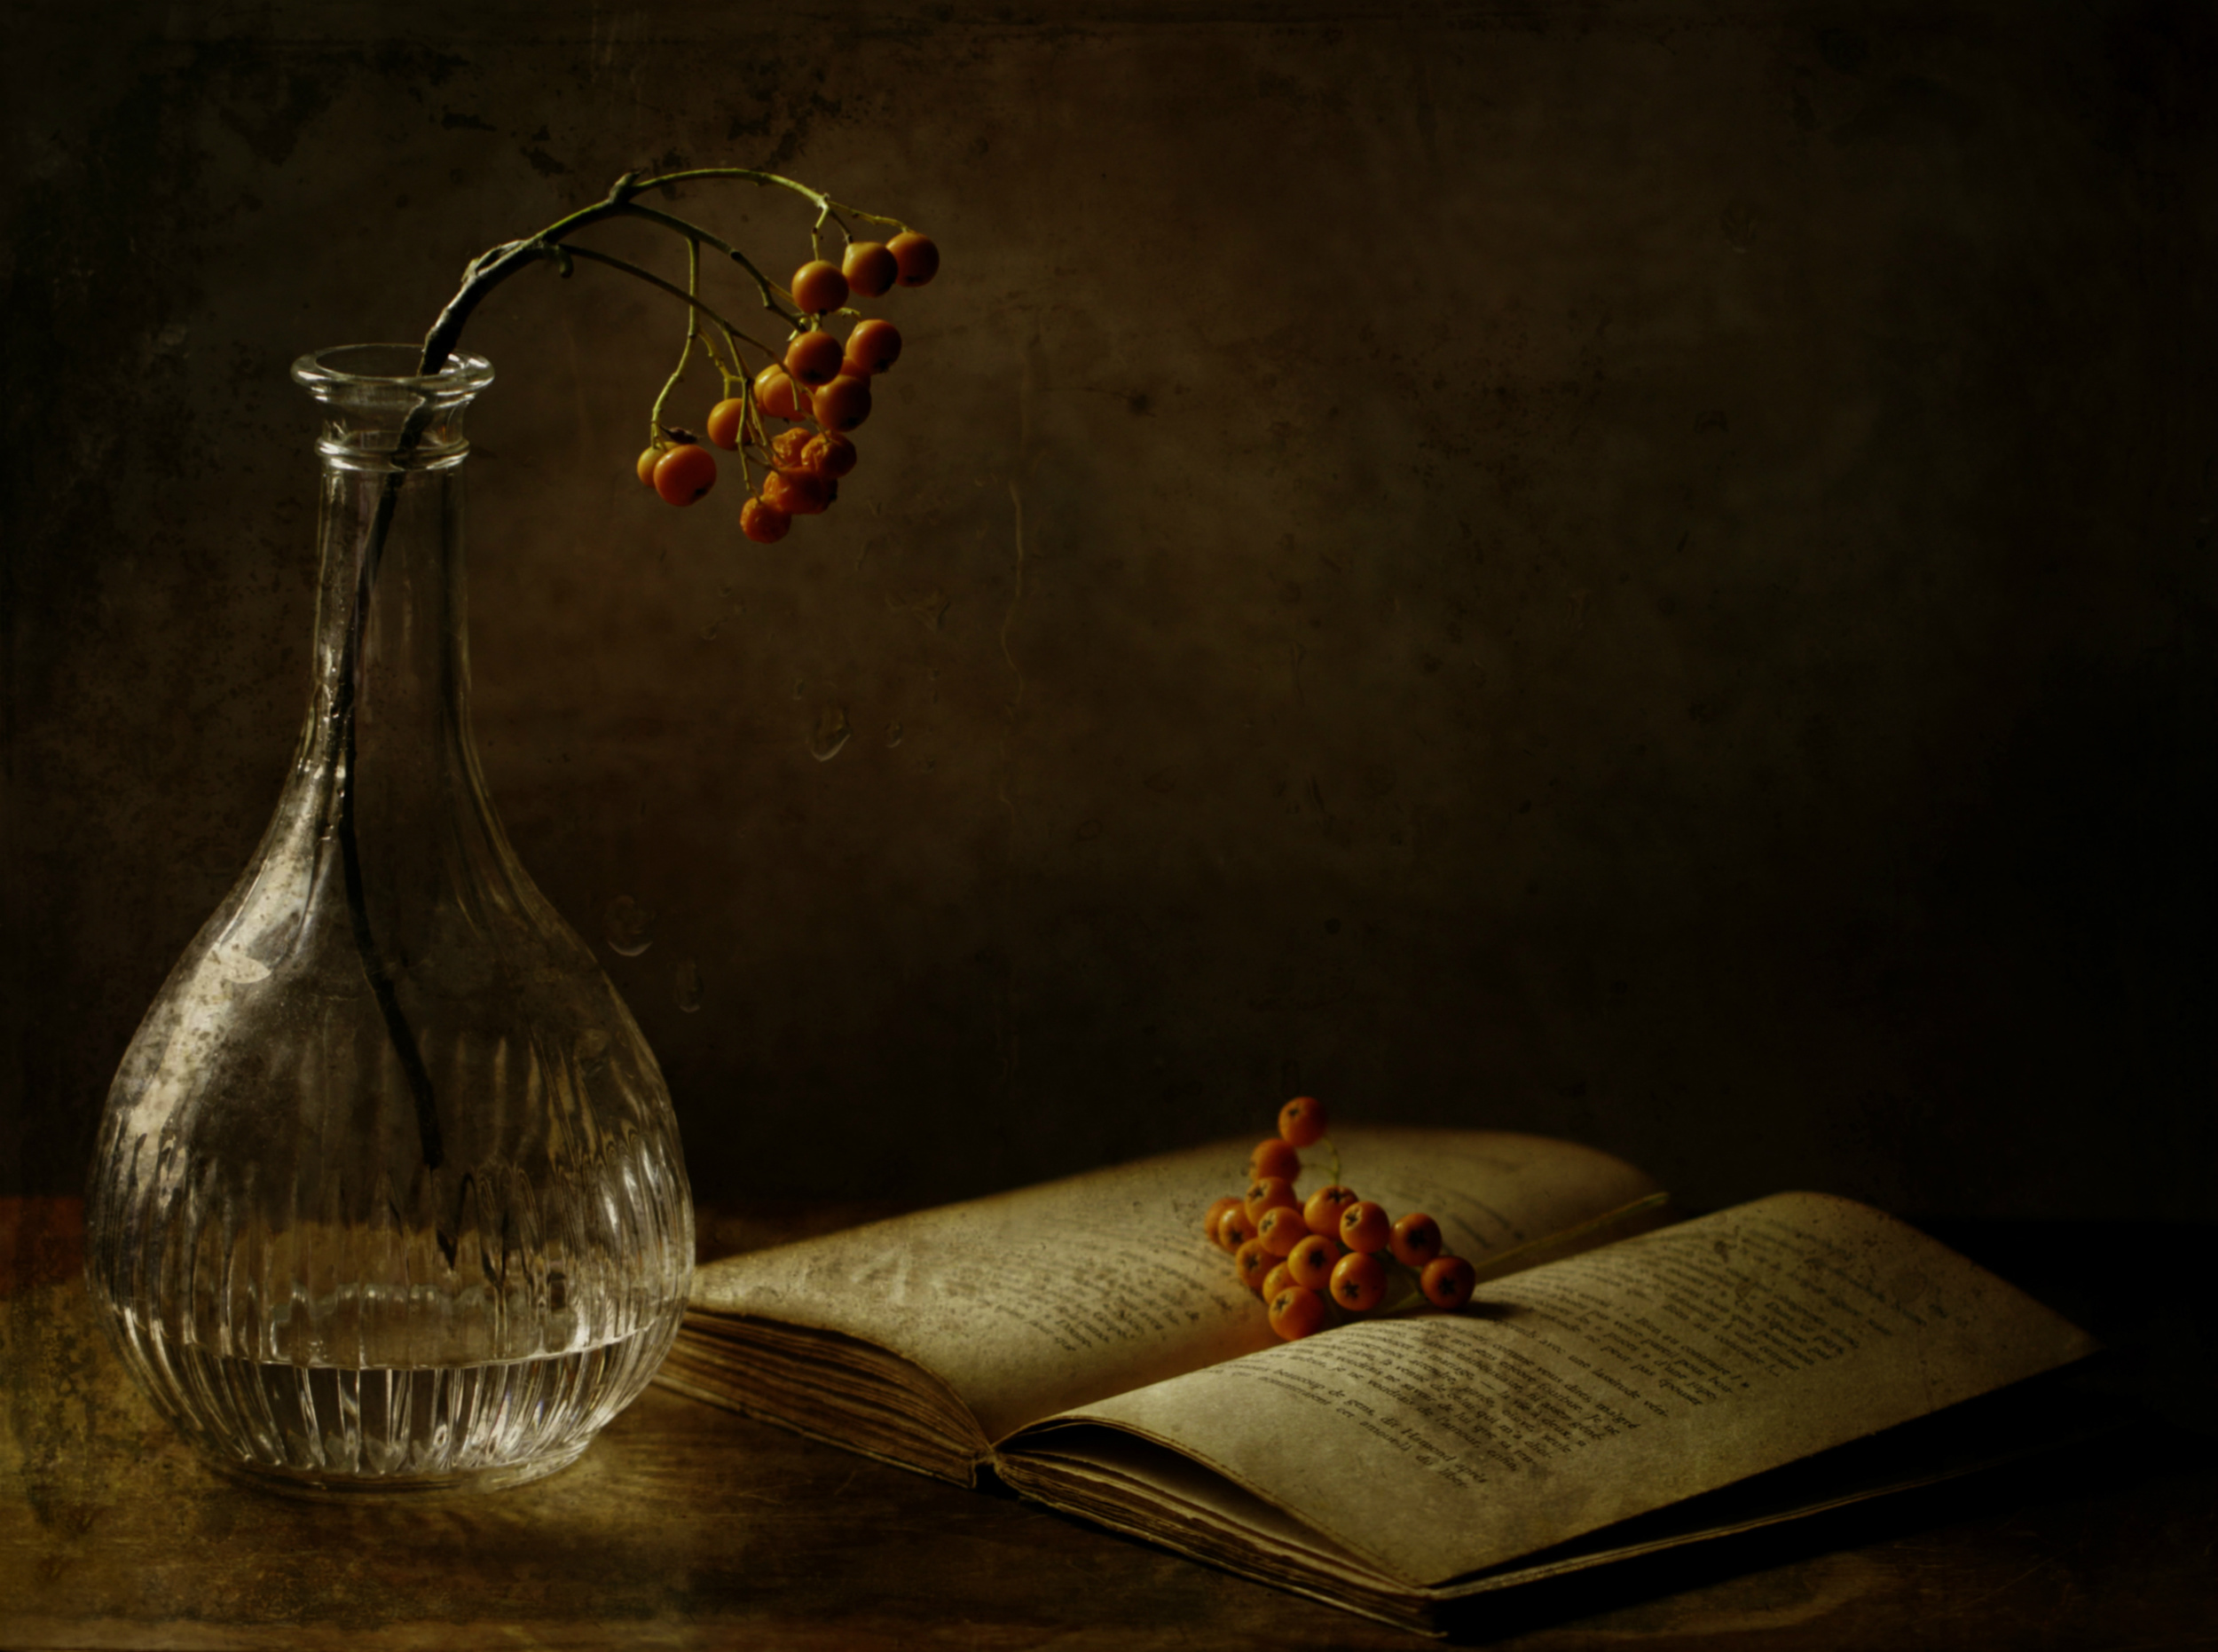
'In the dark of my days' by Delphine Devos
'A Sour Taste' by Lydia Jacobs
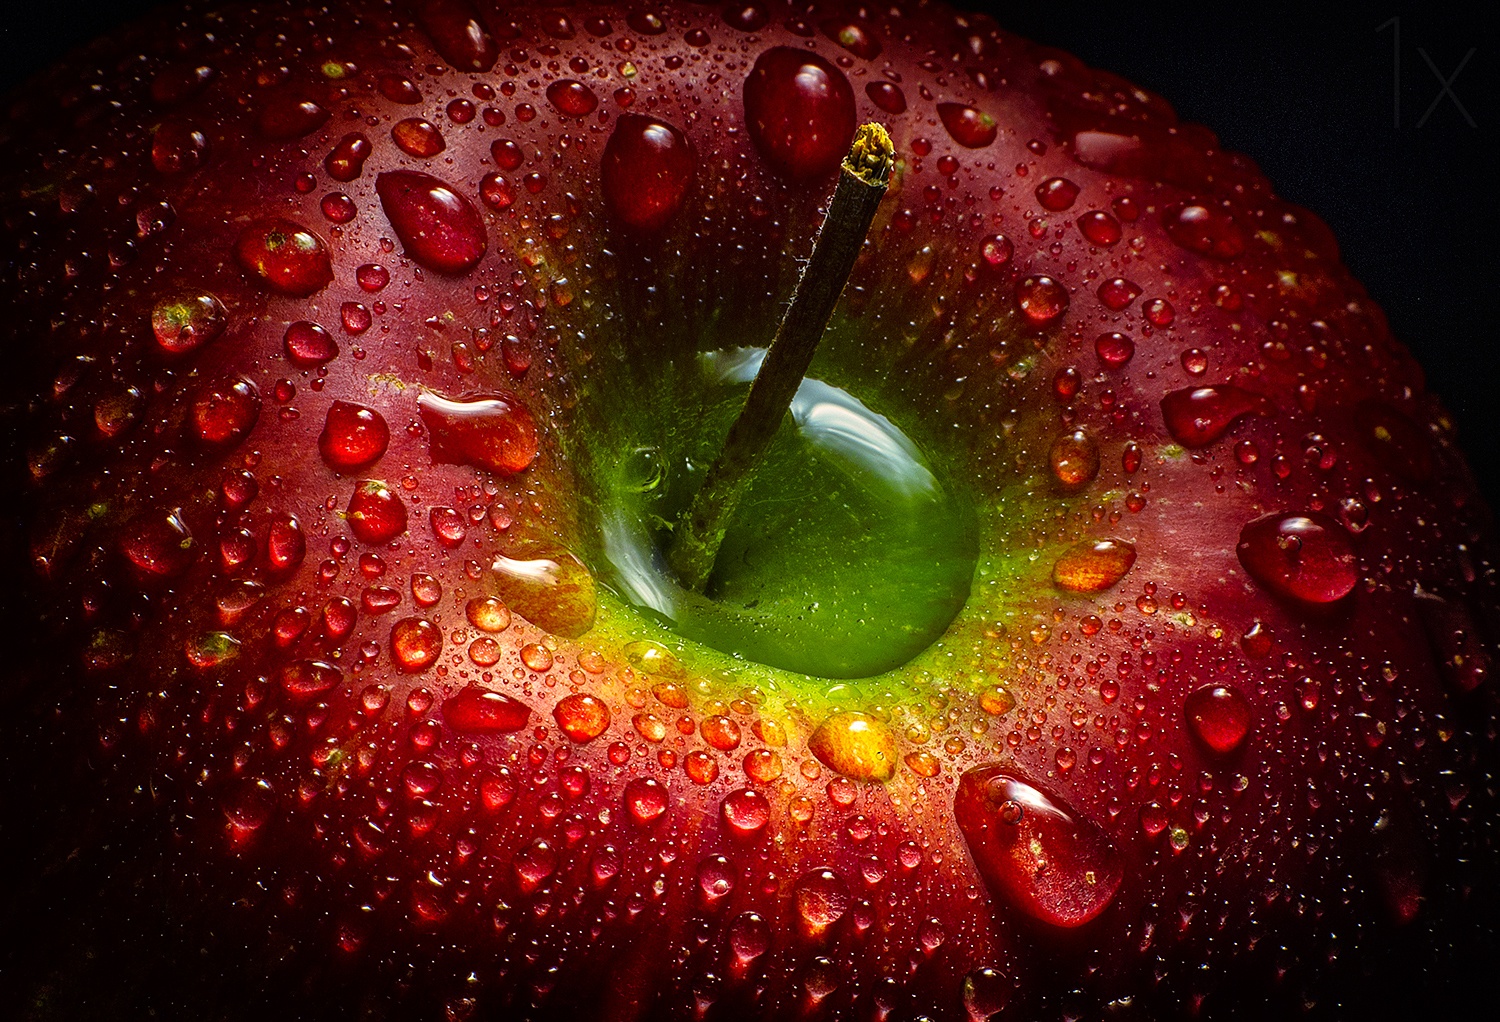
'Red Apple' by Aida Ianeva
'About summer' by Tatyana Skorokhod
'Apple core' by Christian Roustan (Kikroune)
Untitled by Emine Basa
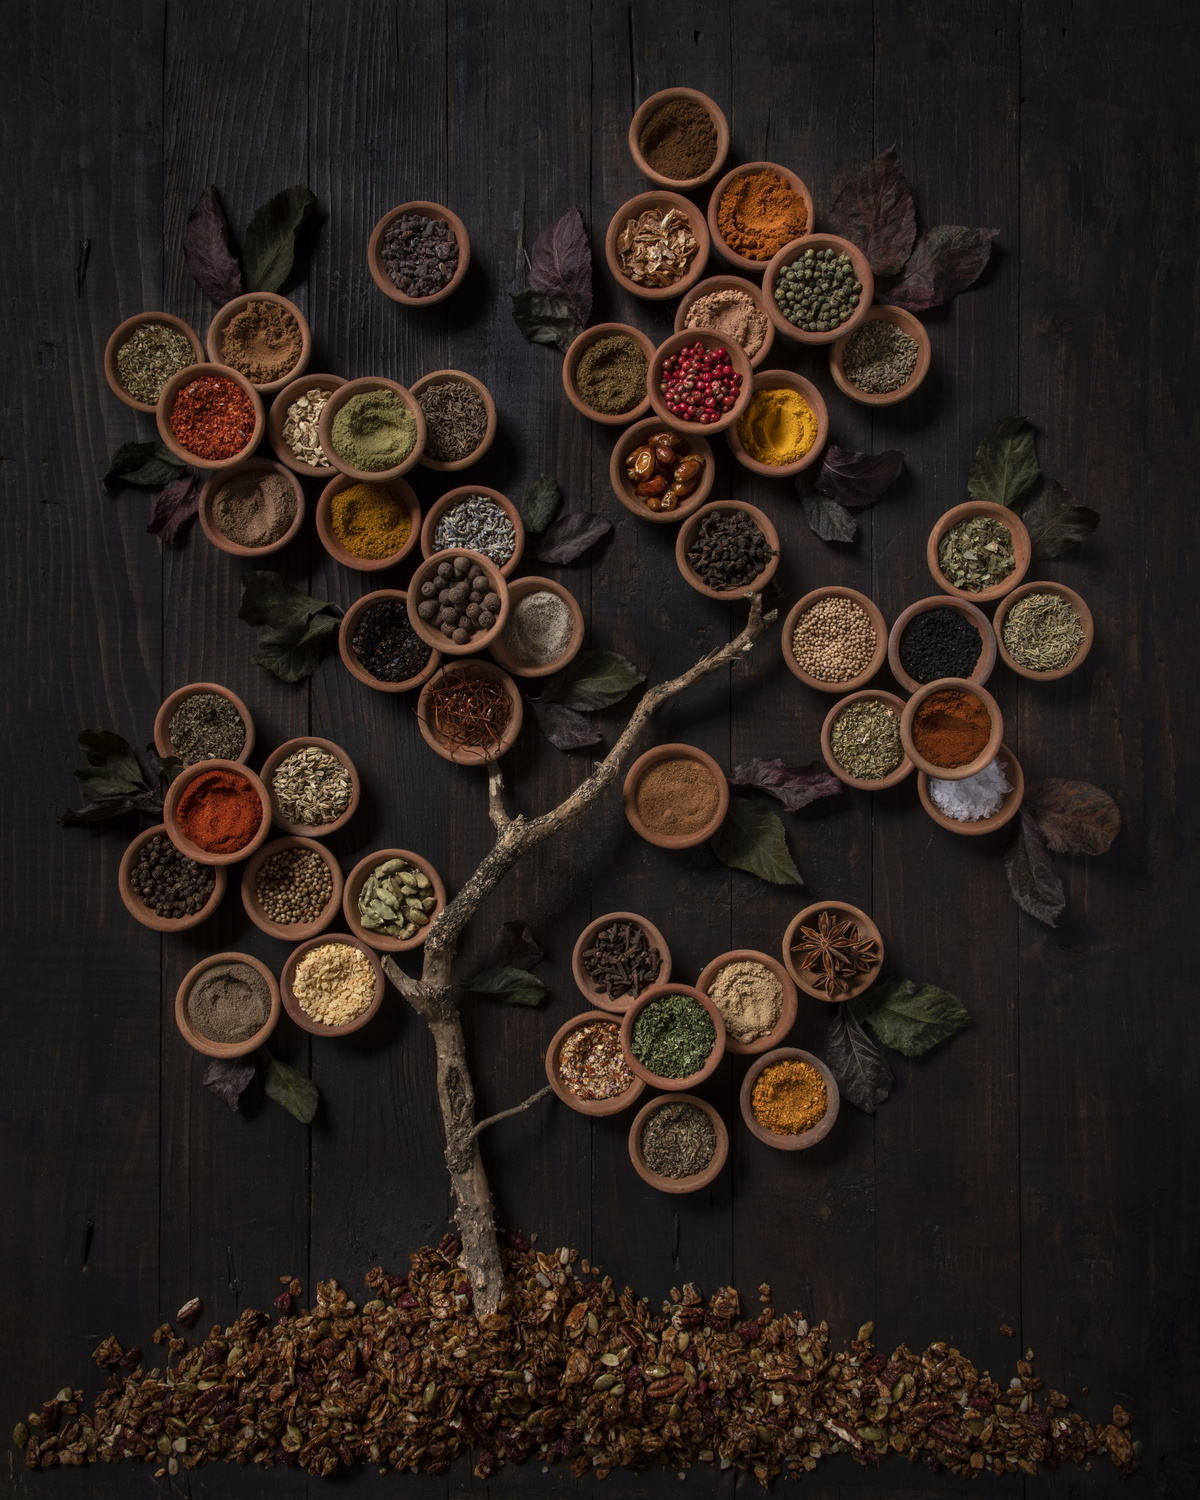
'Tree of spice' by Diana Popescu
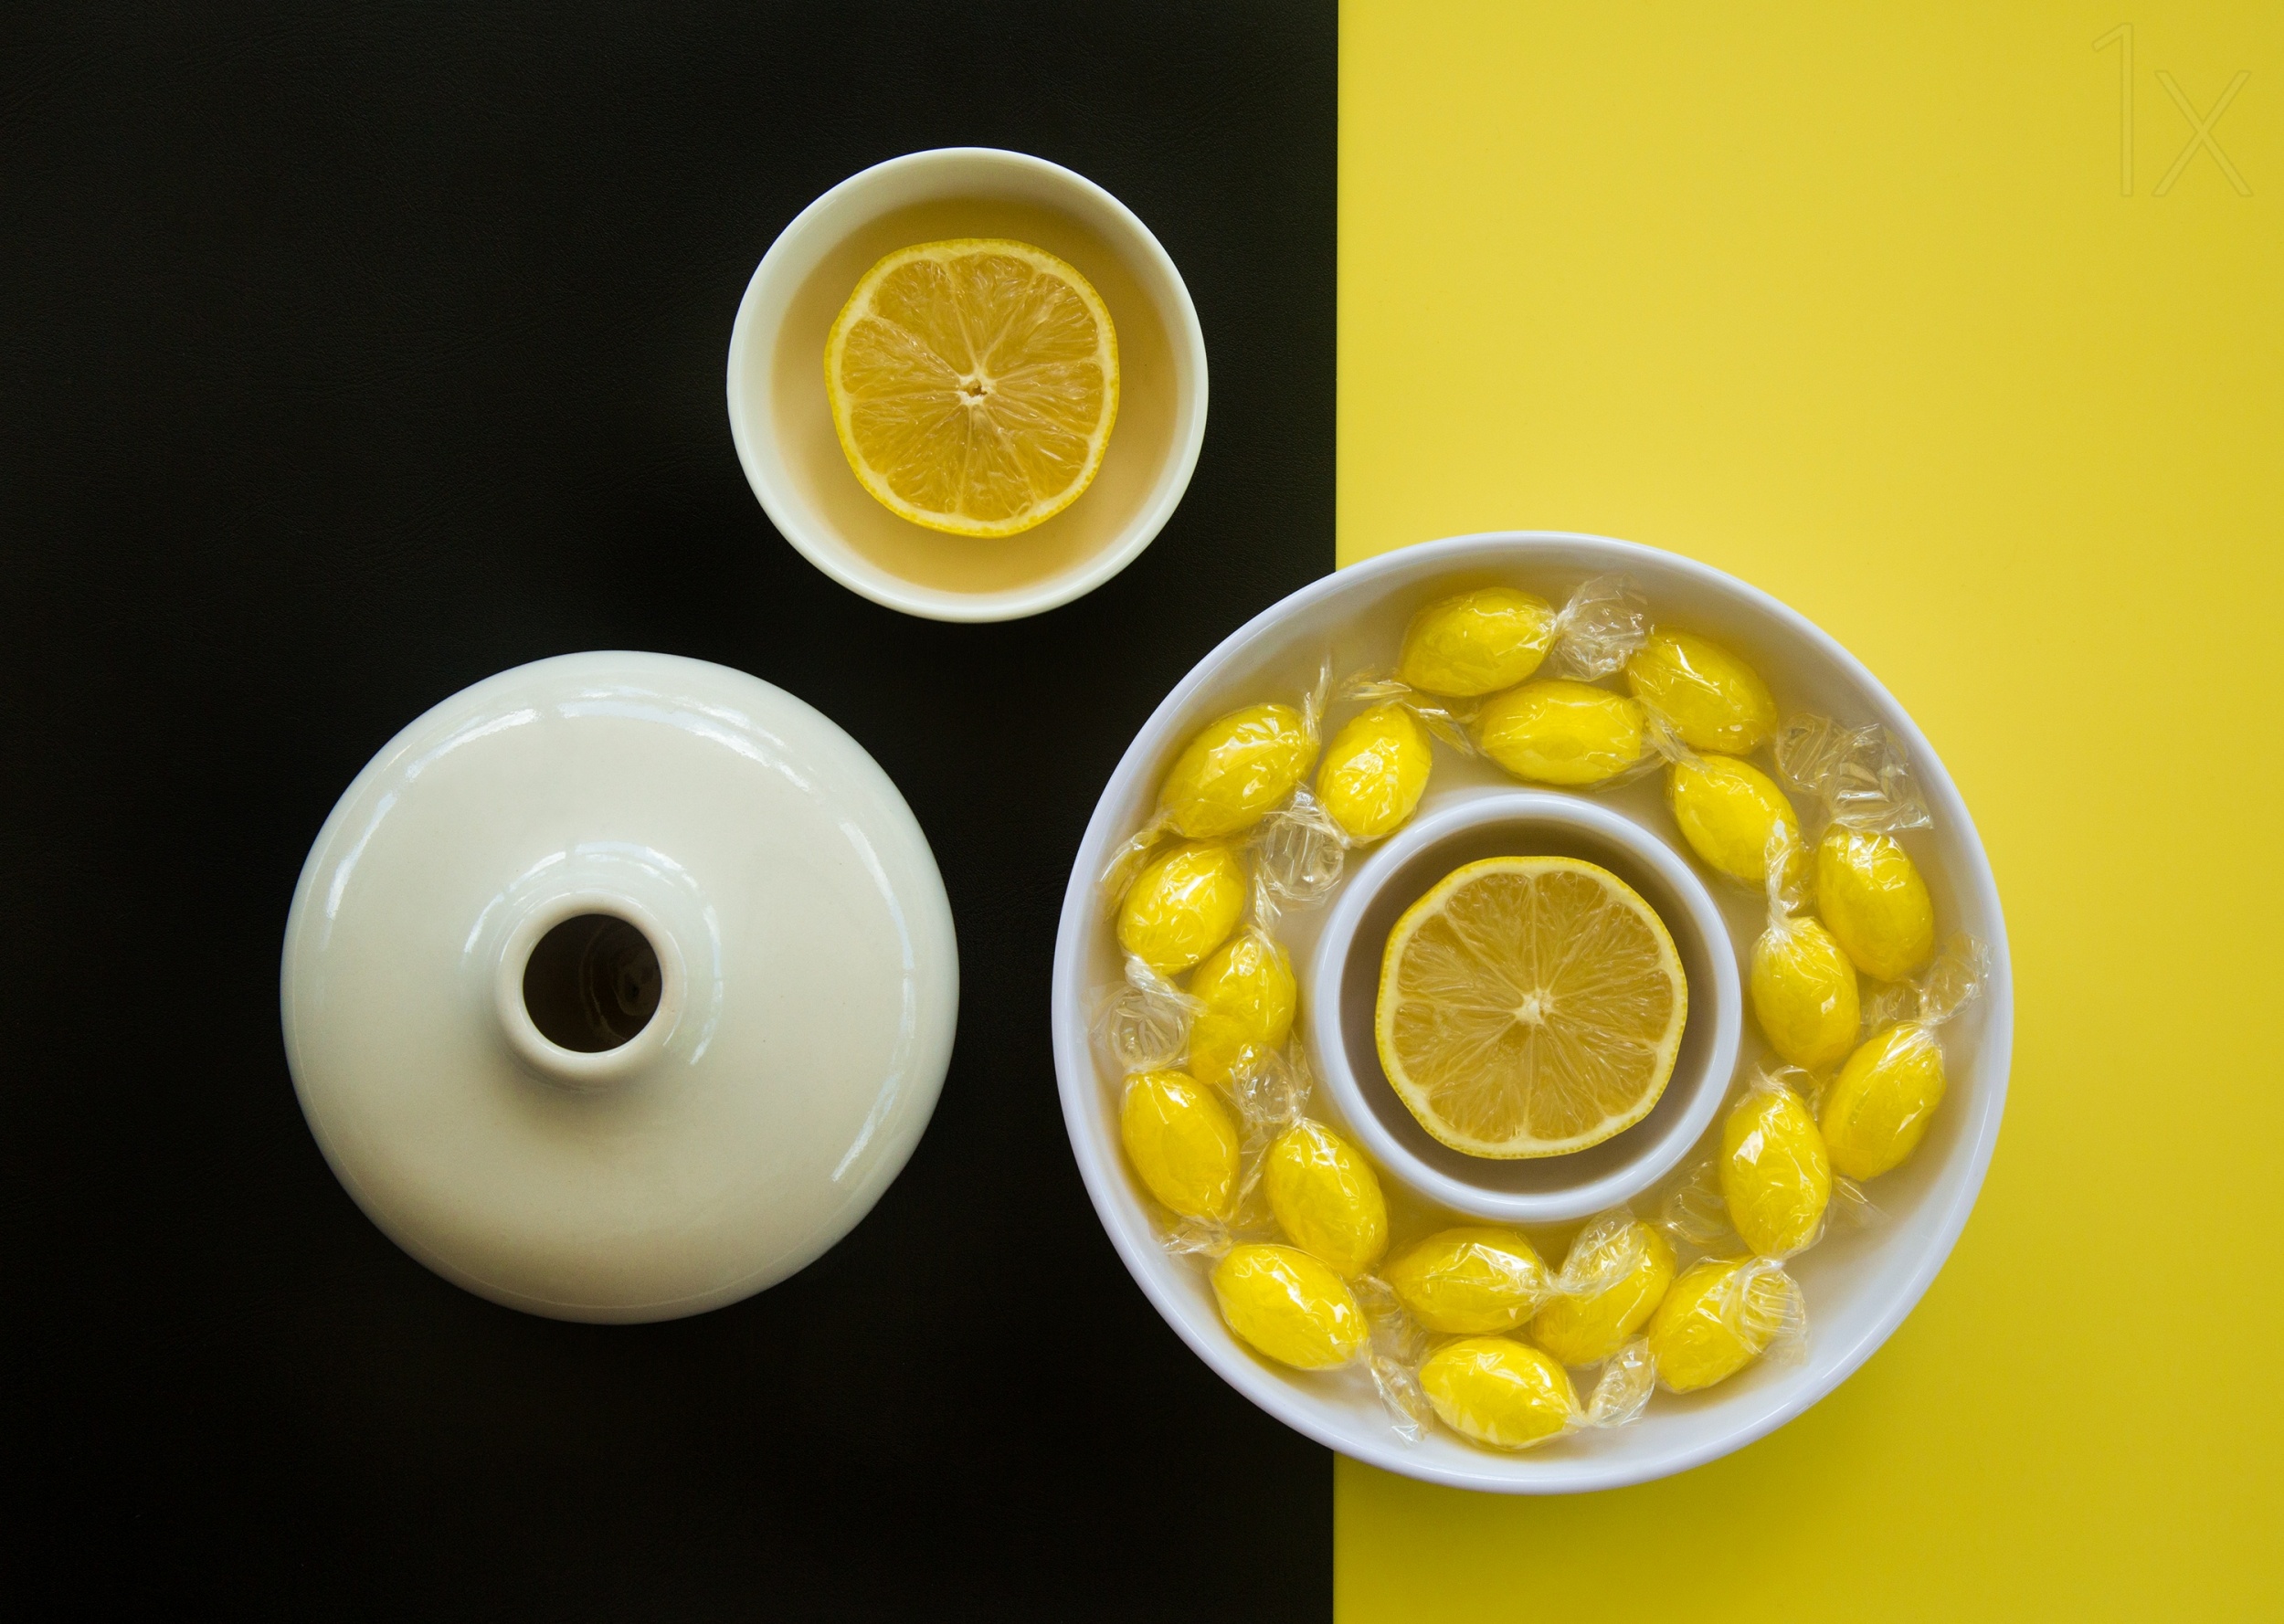
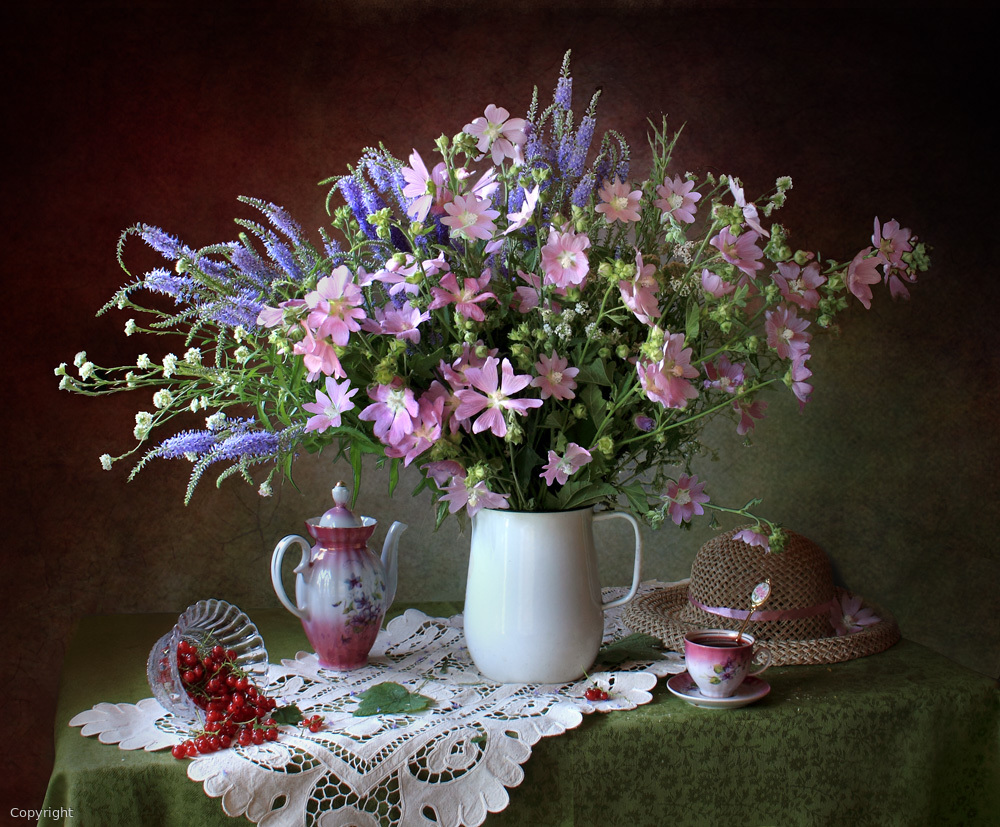
'Circular Arrangement' by Jacqueline Hammer
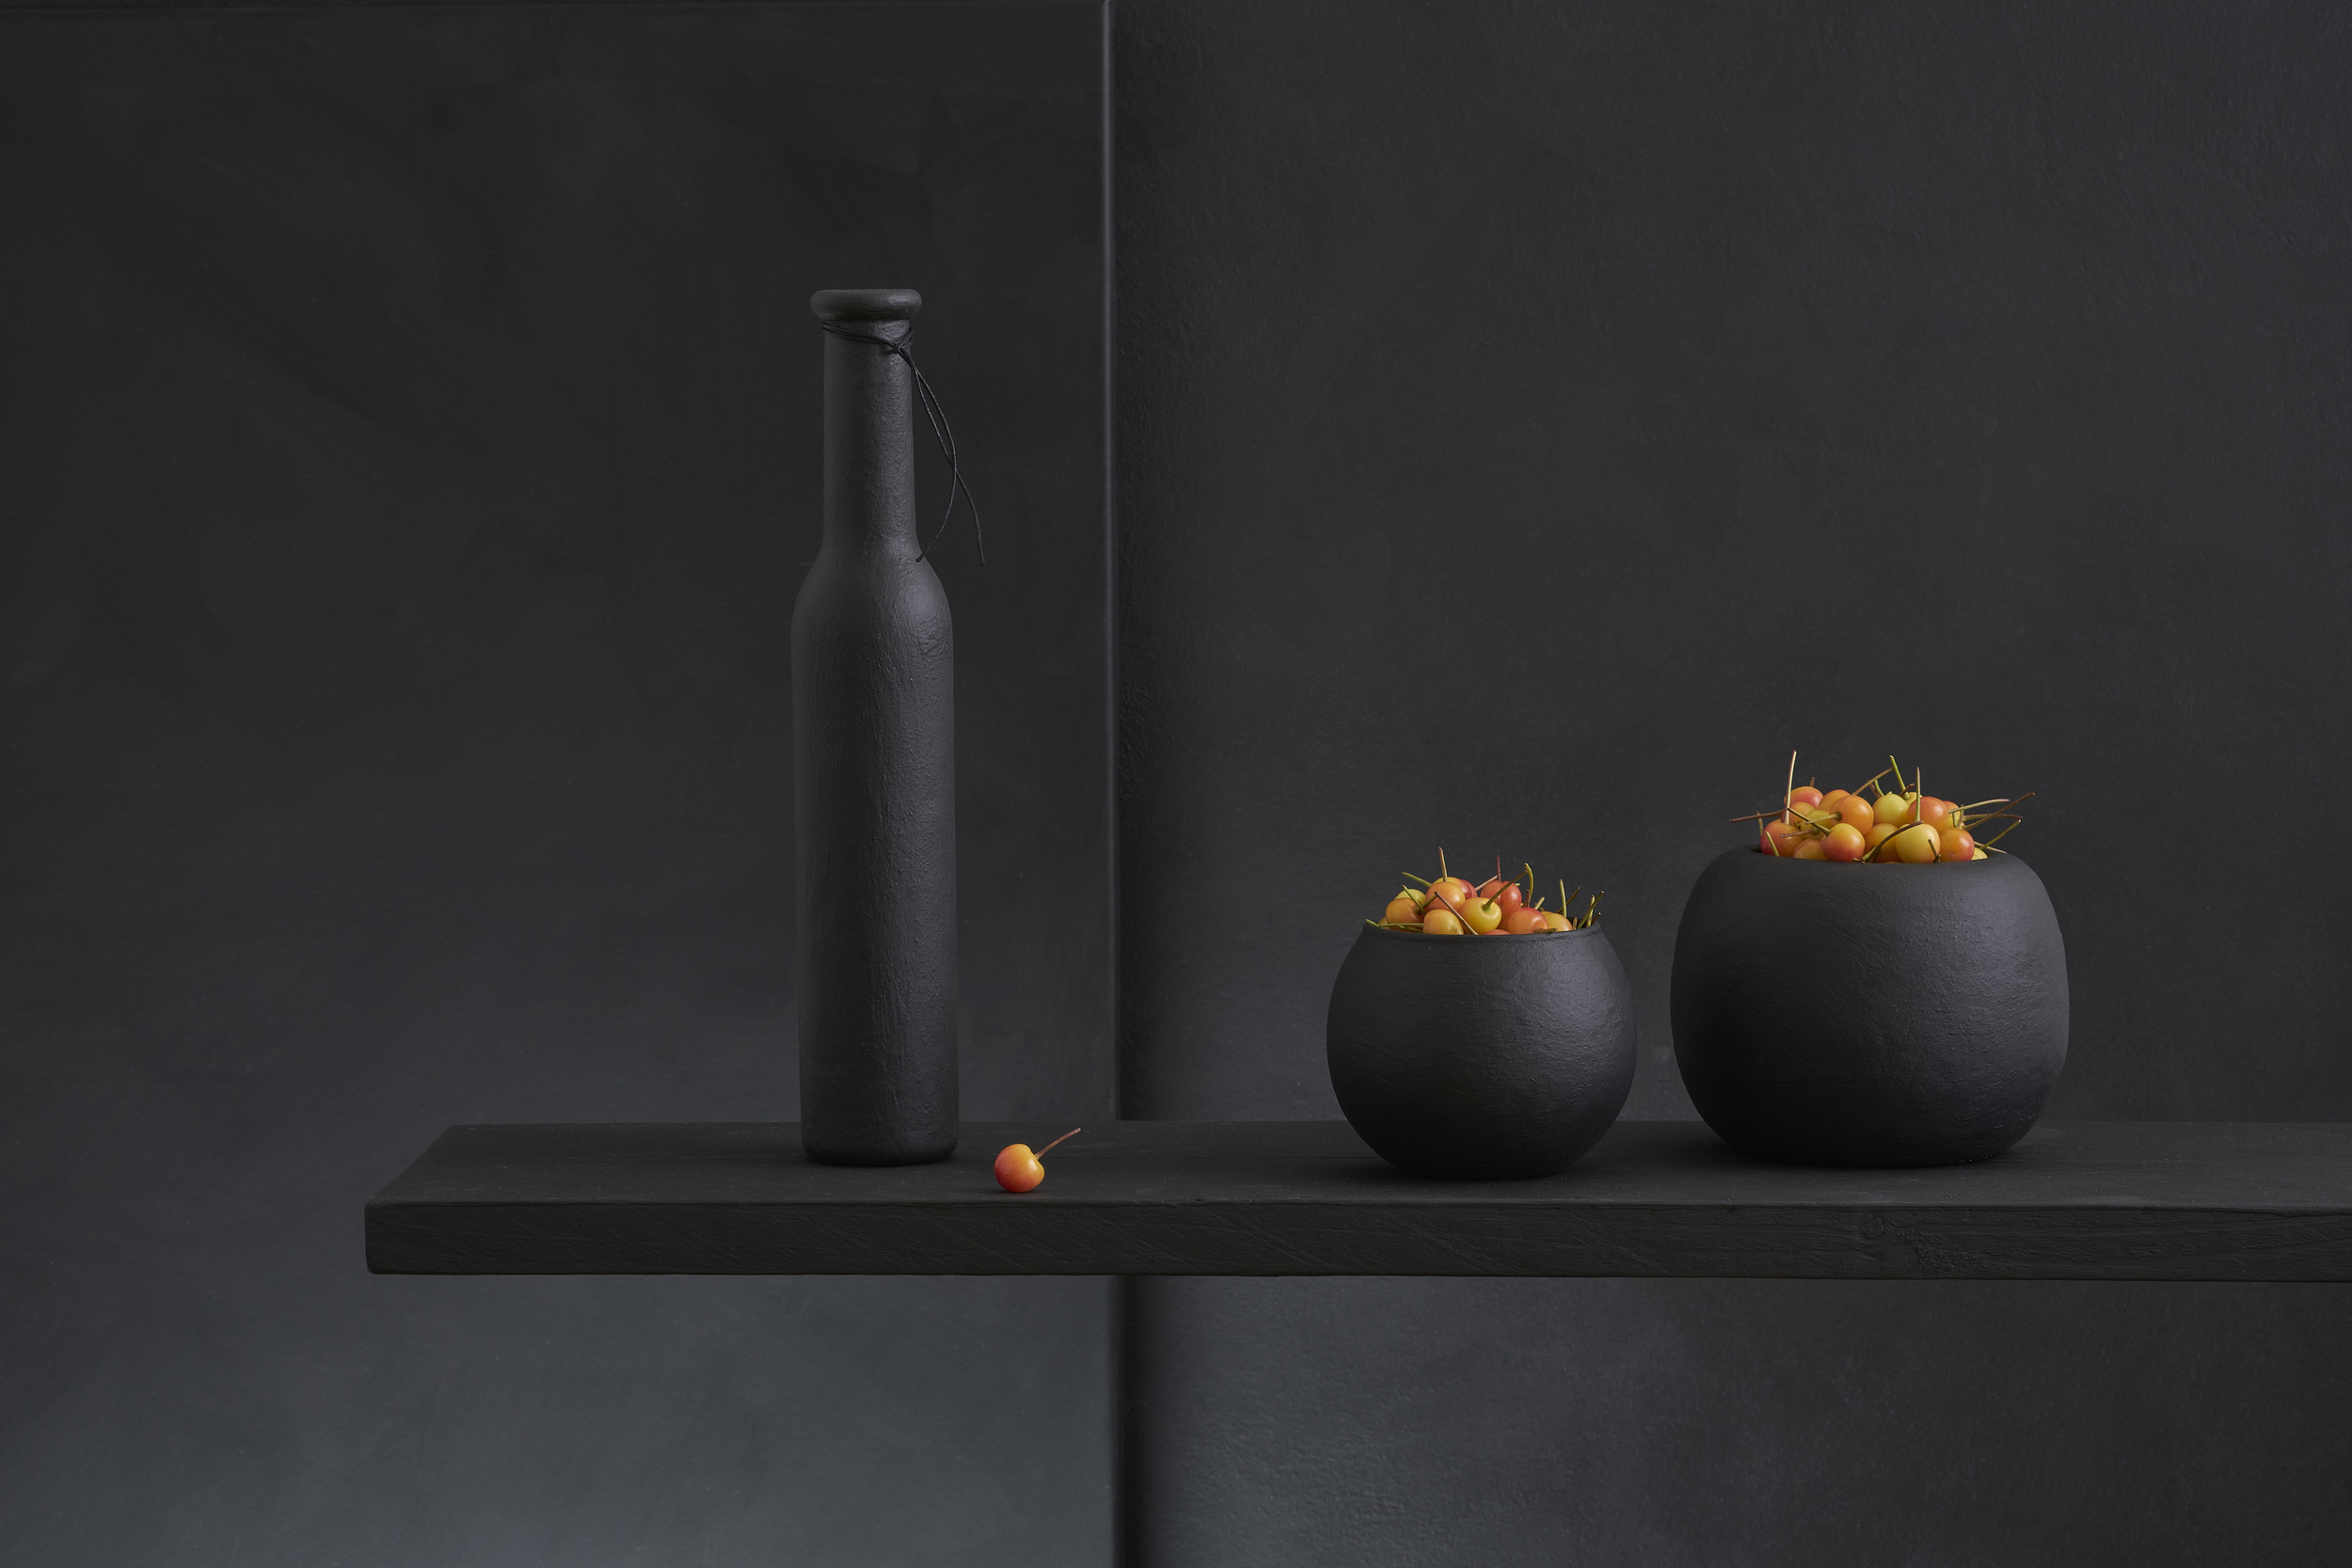
'Prunus Avium N°3' by Christophe Verot
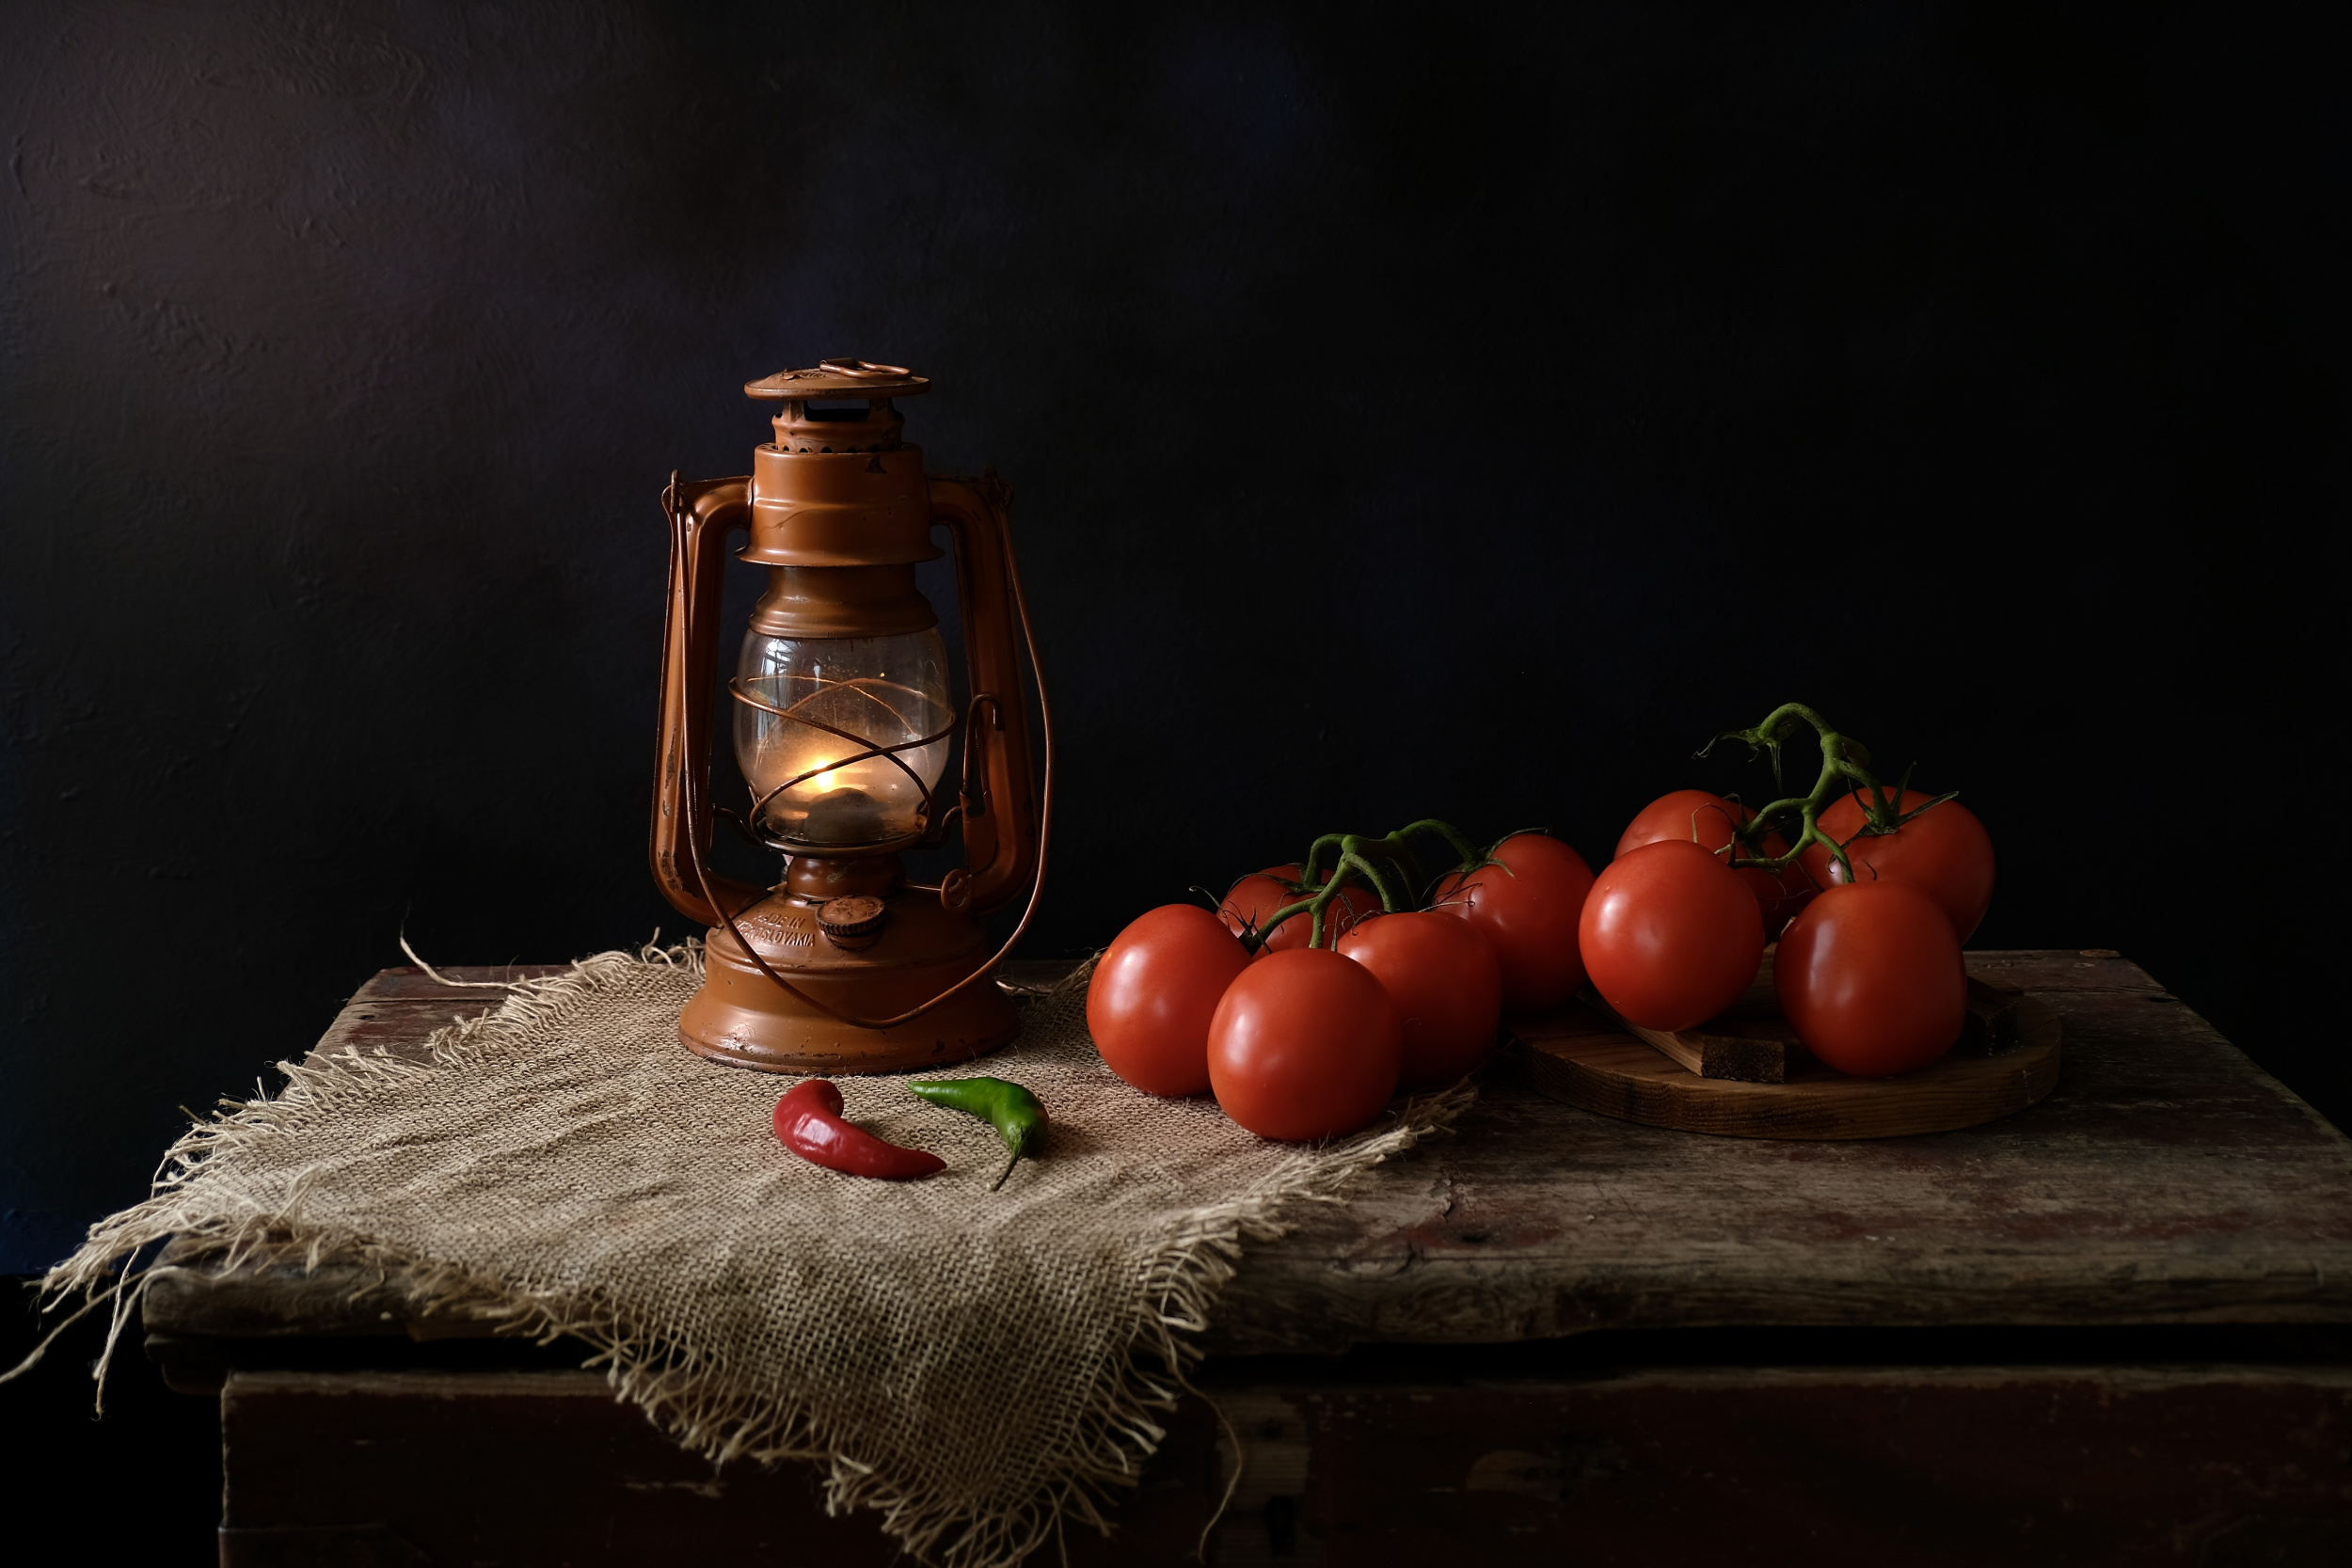
'Tomatoes that smell' by Svetlana Povarova Ree
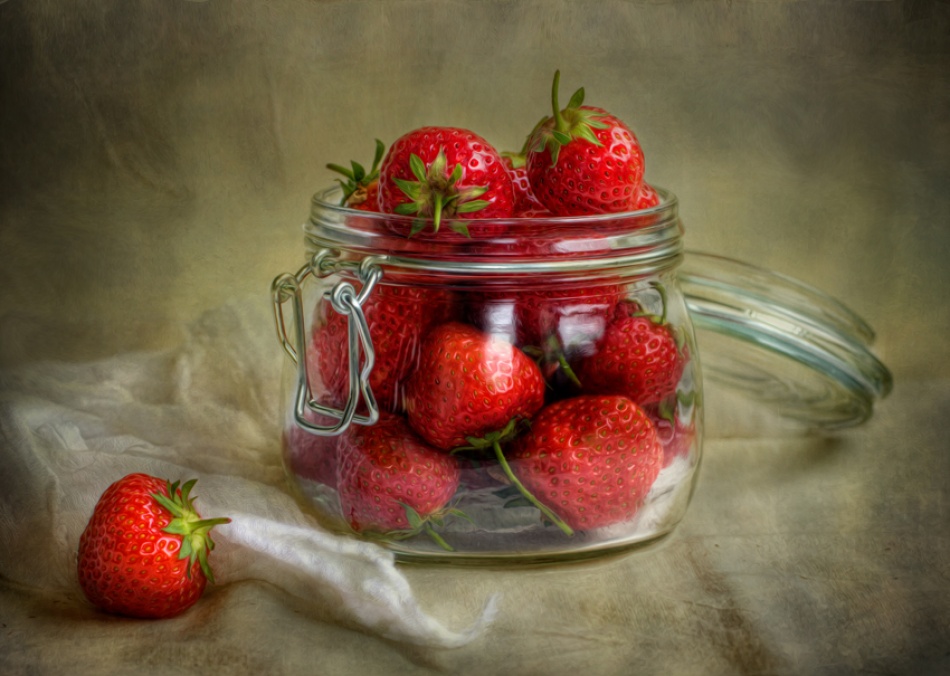
'Tastes of Summer' by Mandy Disher
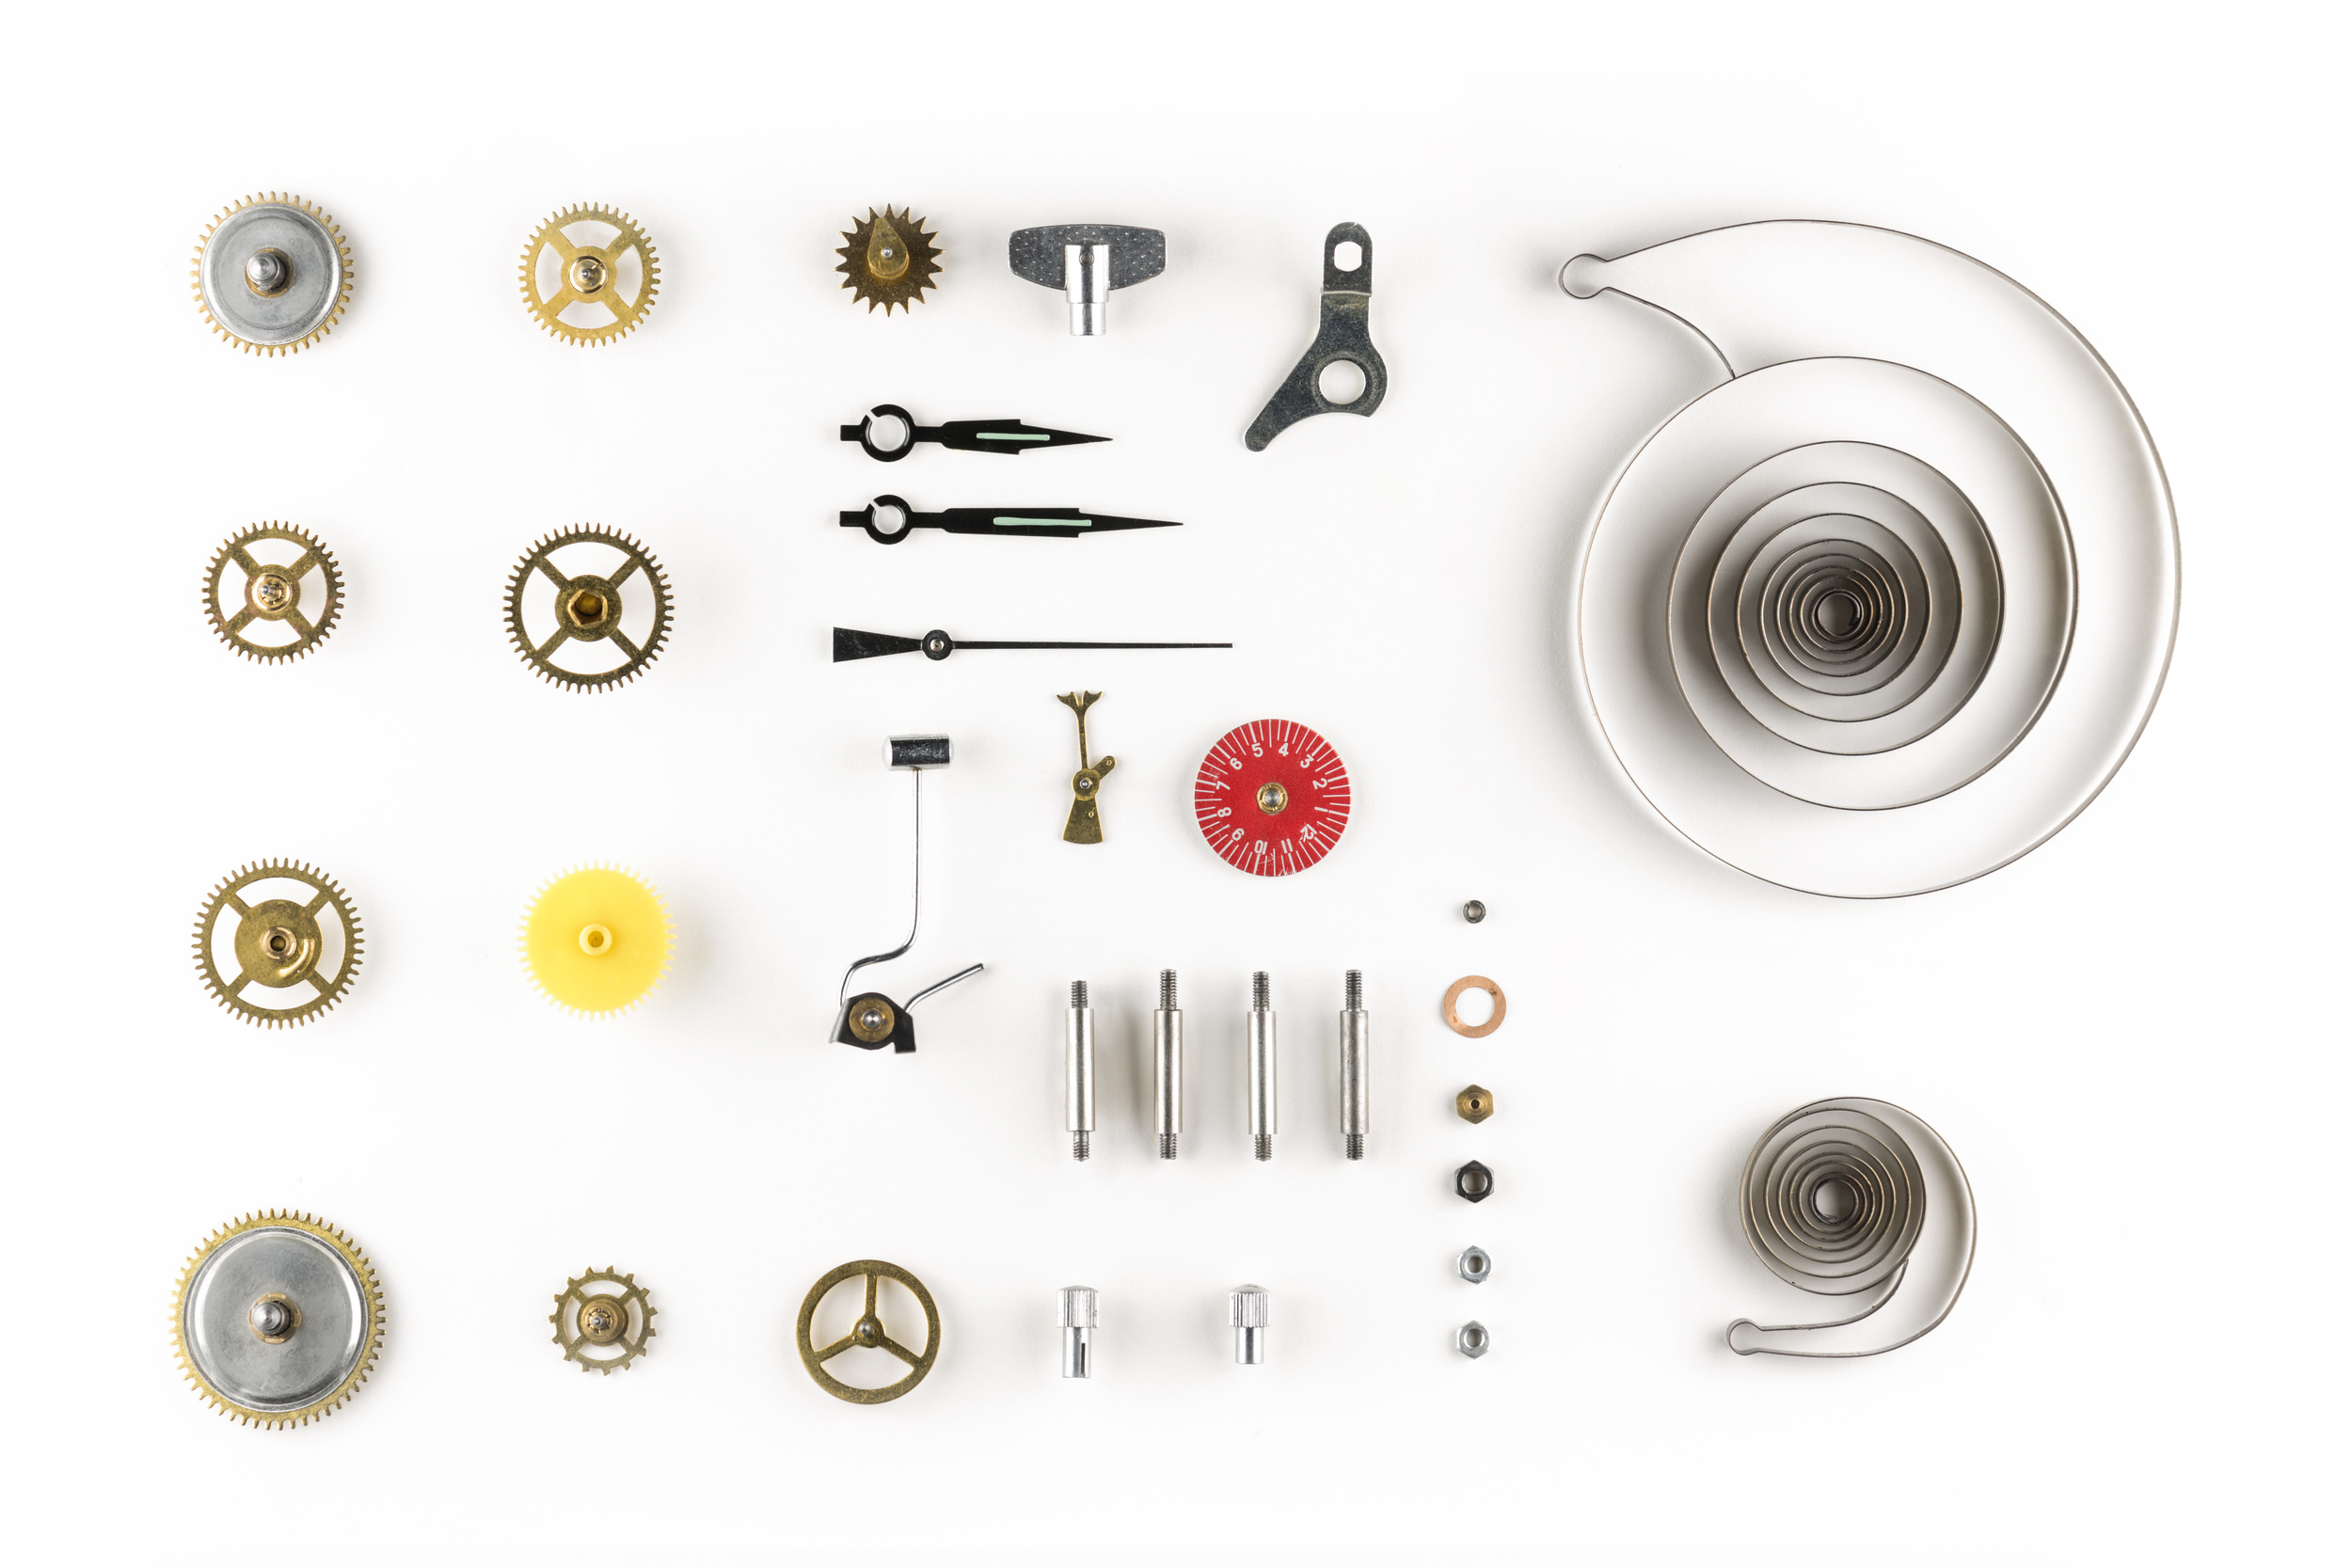
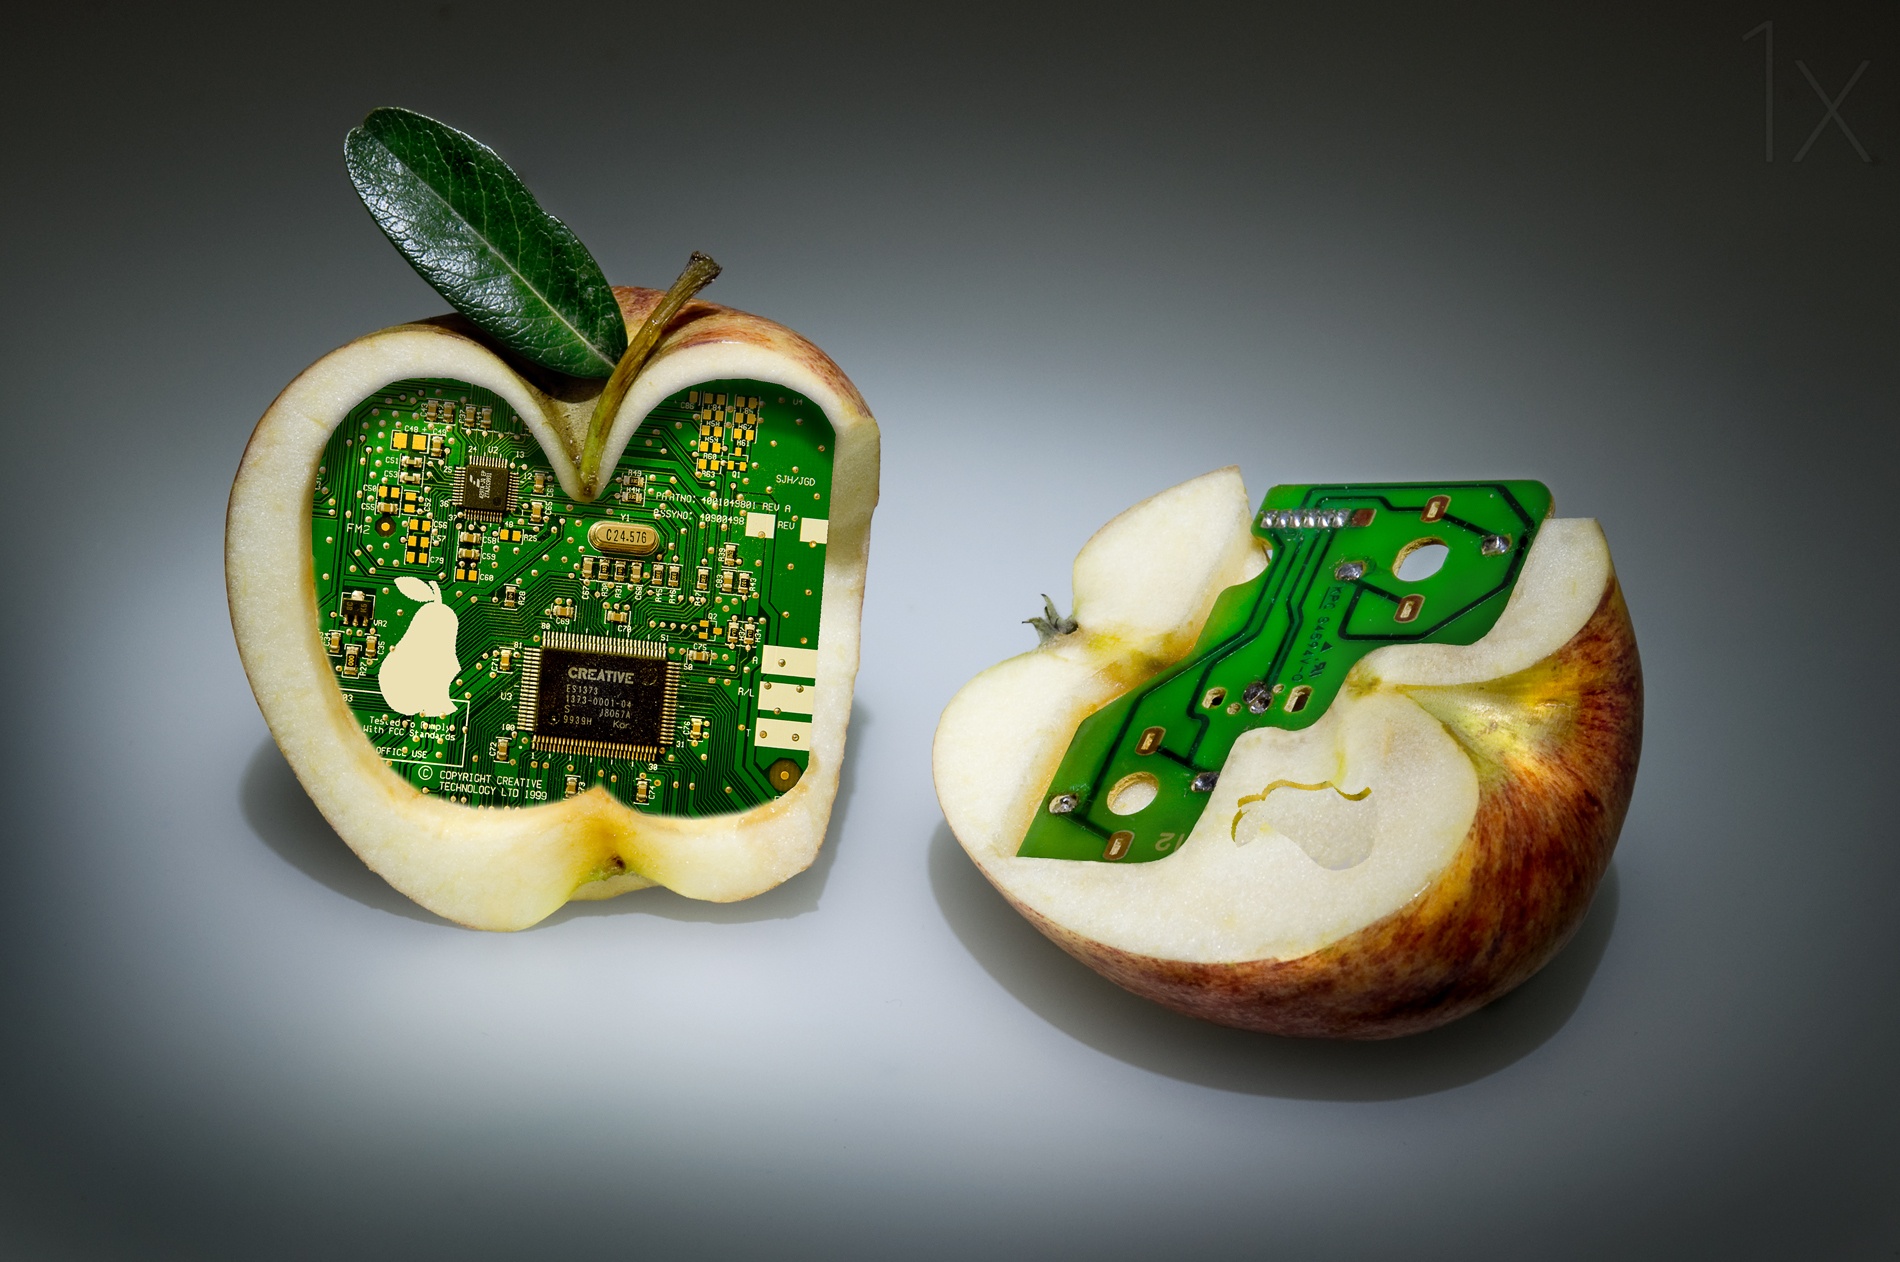
'Clockworks' by Thomas Lenne
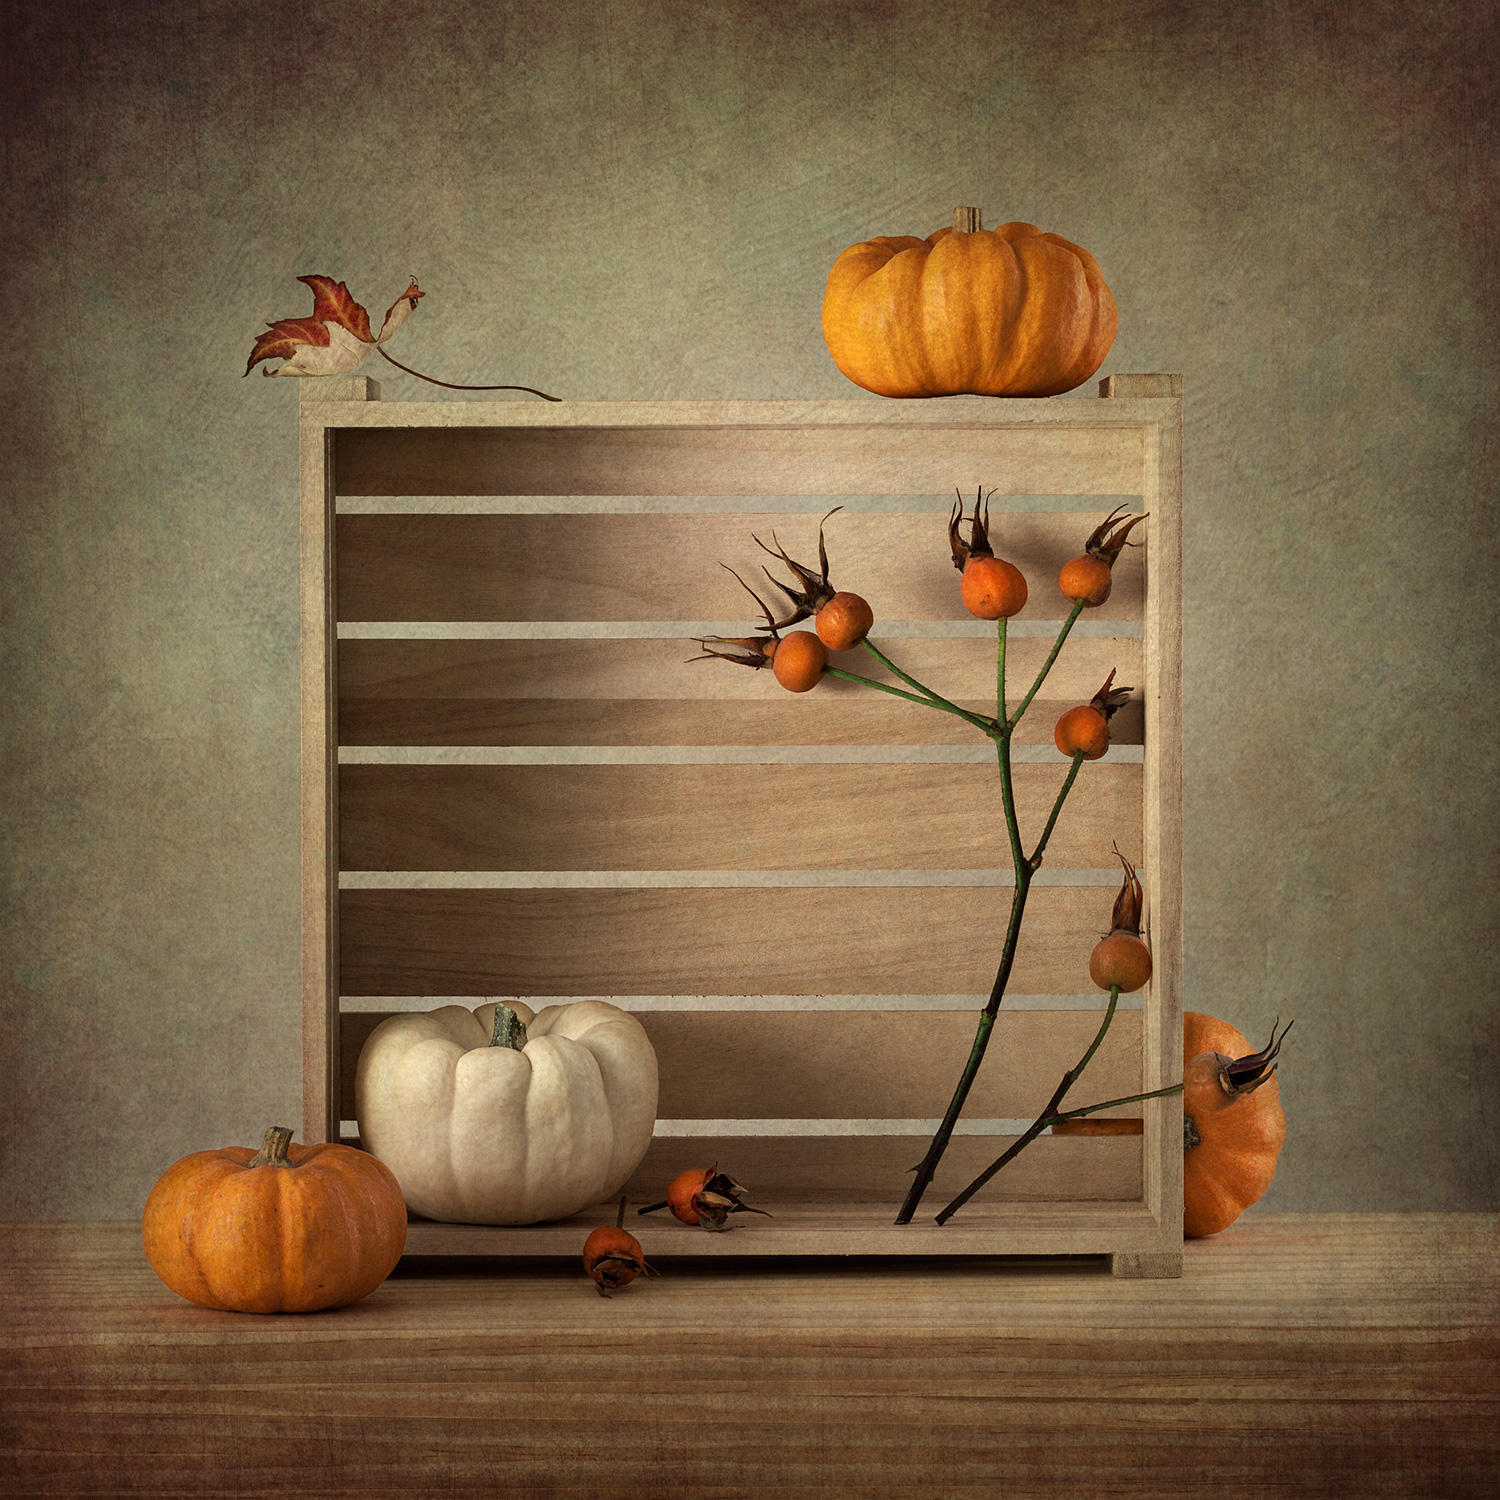
'Autumn Box' by Inna Karpova
MACRO PHOTOGRAPHY
One of the difficulties with macro photography is lack of light – the camera is very close to the subject and the lens needs to be opened wide, resulting in a very small depth of field. Adding a source of light allows one to close up the lens to get a greater depth of field. There are countless ways of doing this, but merely putting a flash on top of the camera is not one of them, as there will be an enormous number of bright areas in the photo.
A common way around this is to use a mini soft-box attached to the flash head, preferably one that is angled downwards to facilitate close-up shooting. There are many variations on the market at reasonable prices (and numerous home-made versions not for sale).
Another device is the ring flash, which is a ring of light fitted around the lens. This works well, but sometimes give weird reflections.
There are also flash heads attached to brackets with joints on flexible arms that can be moved around to give optimal lighting. Also available are small twin flashes attached directly to the side of the lens.If the subject you are photographing is portable, any studio lighting can be used, including LEDs on flexible arms (although the light is a bit dim compared to others), and a light-box is particularly useful.
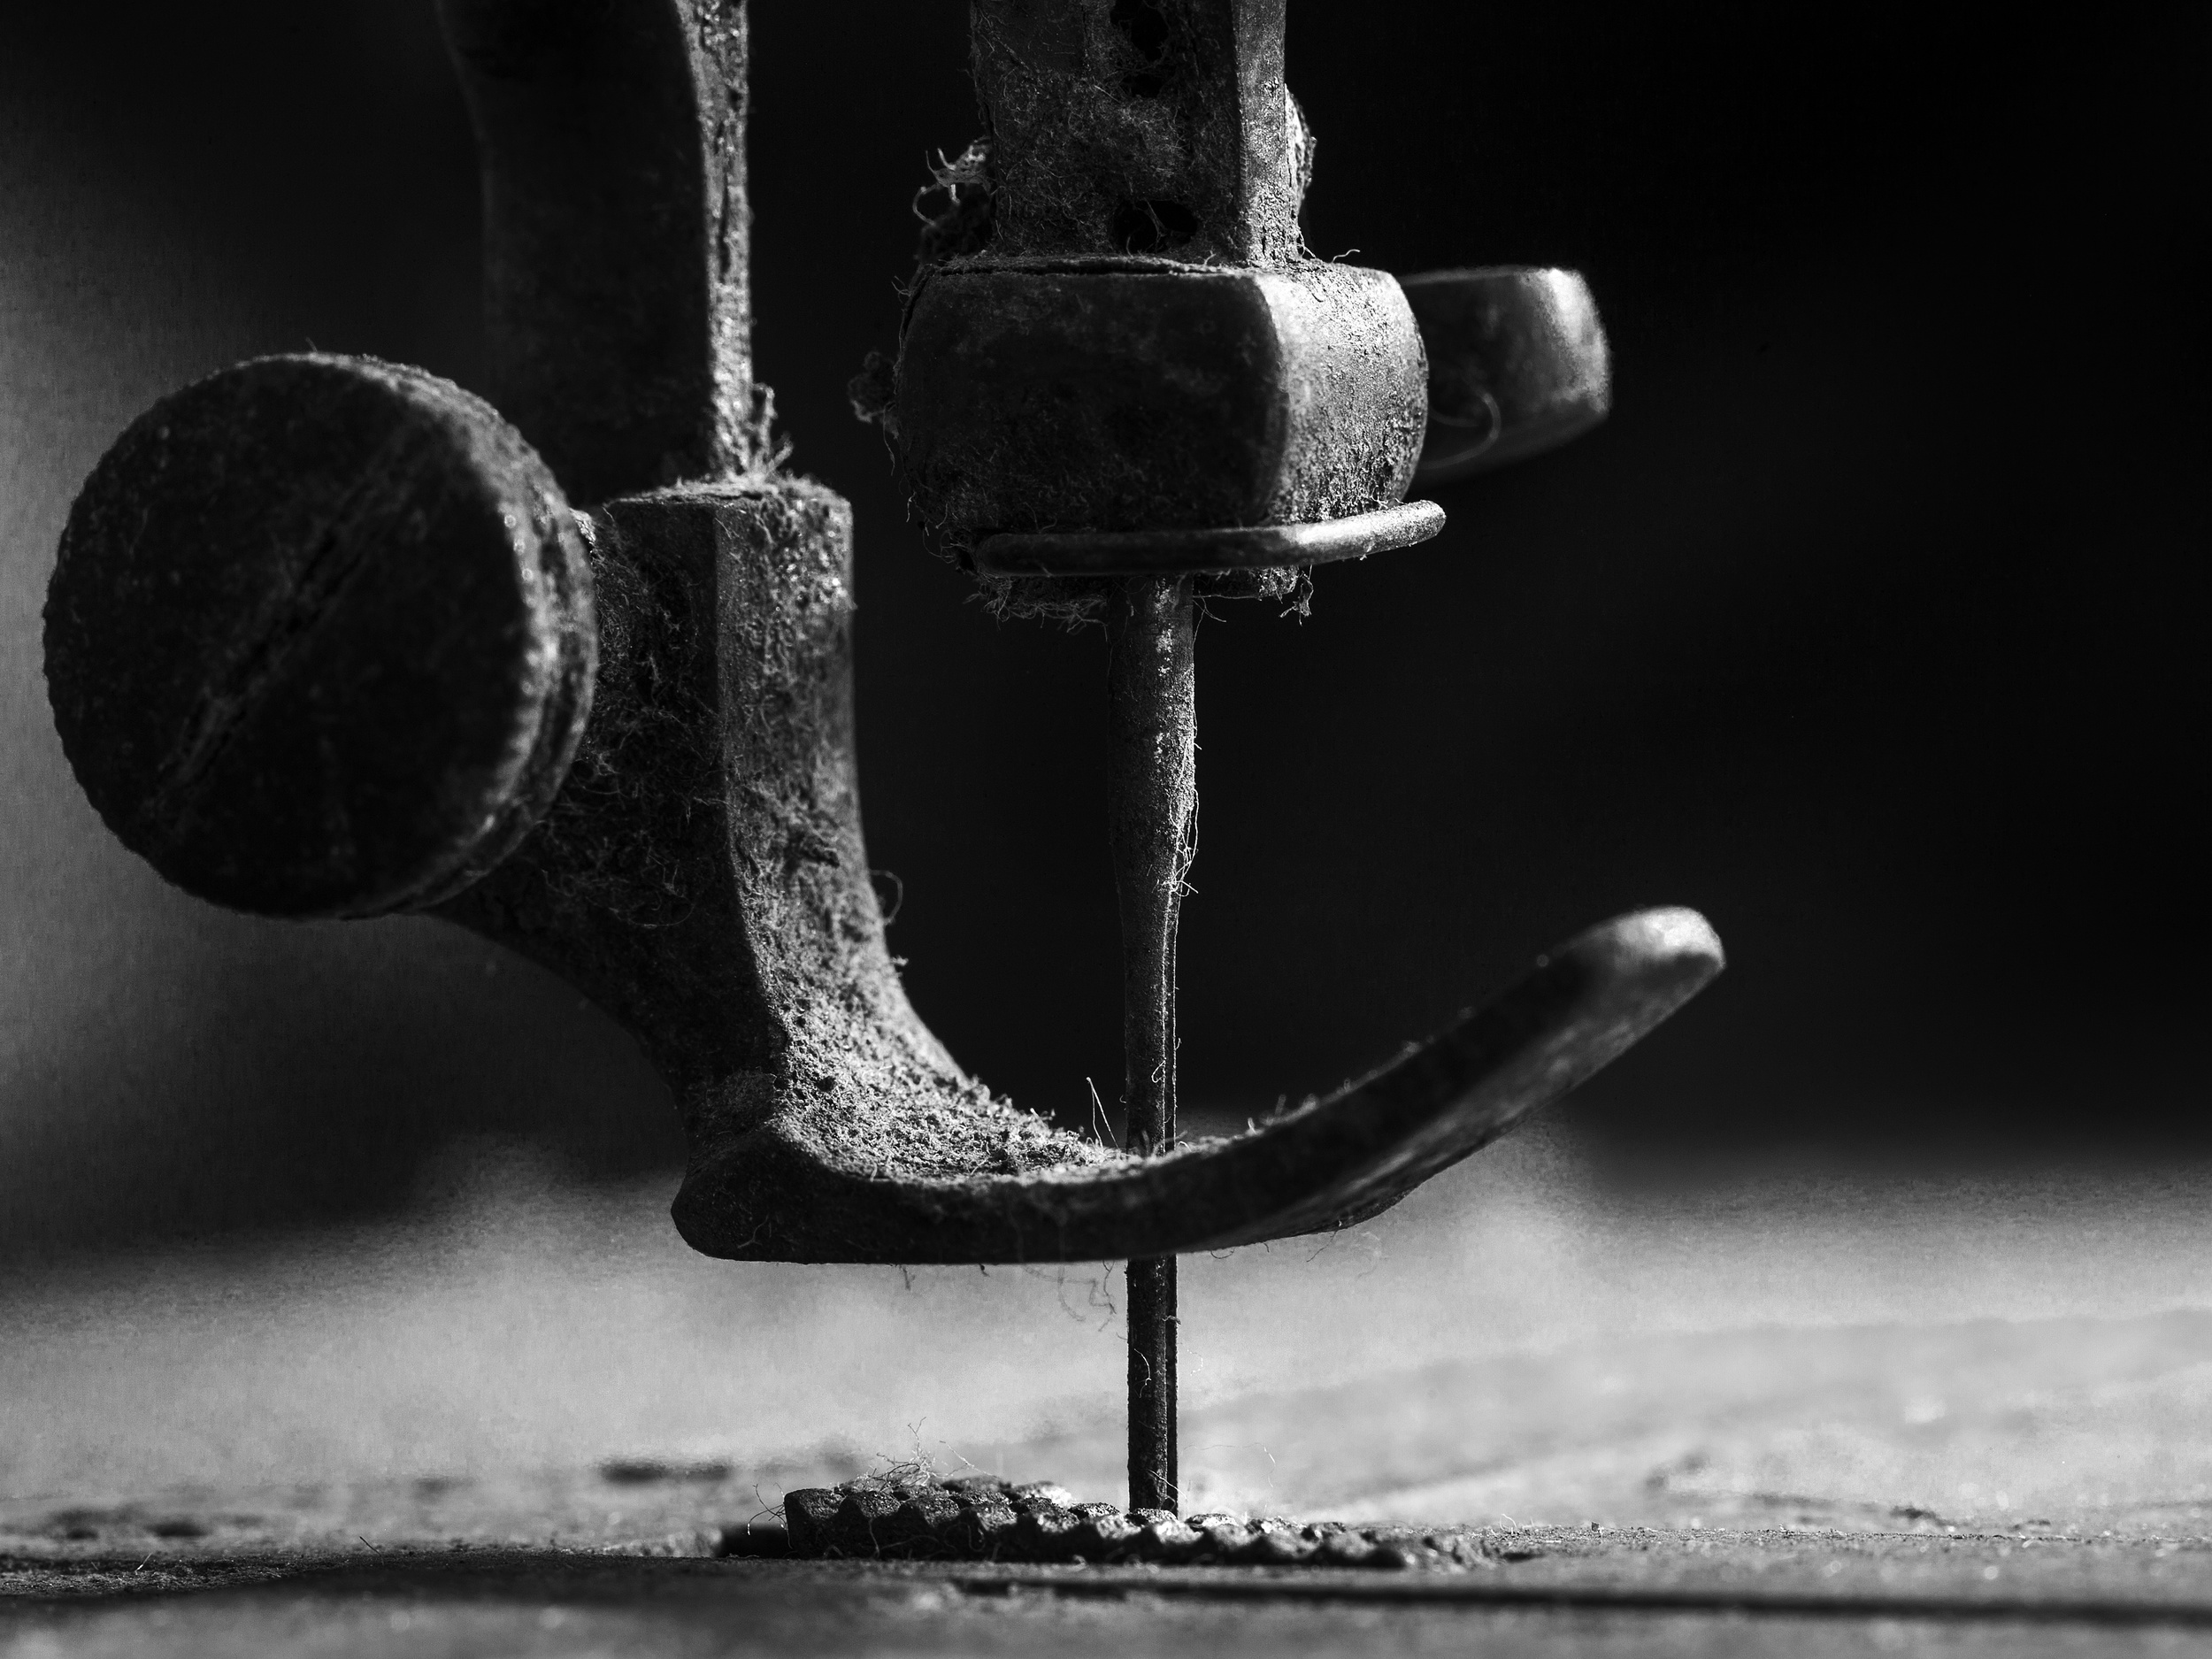
… Element sewing machine … by Johanes Januar
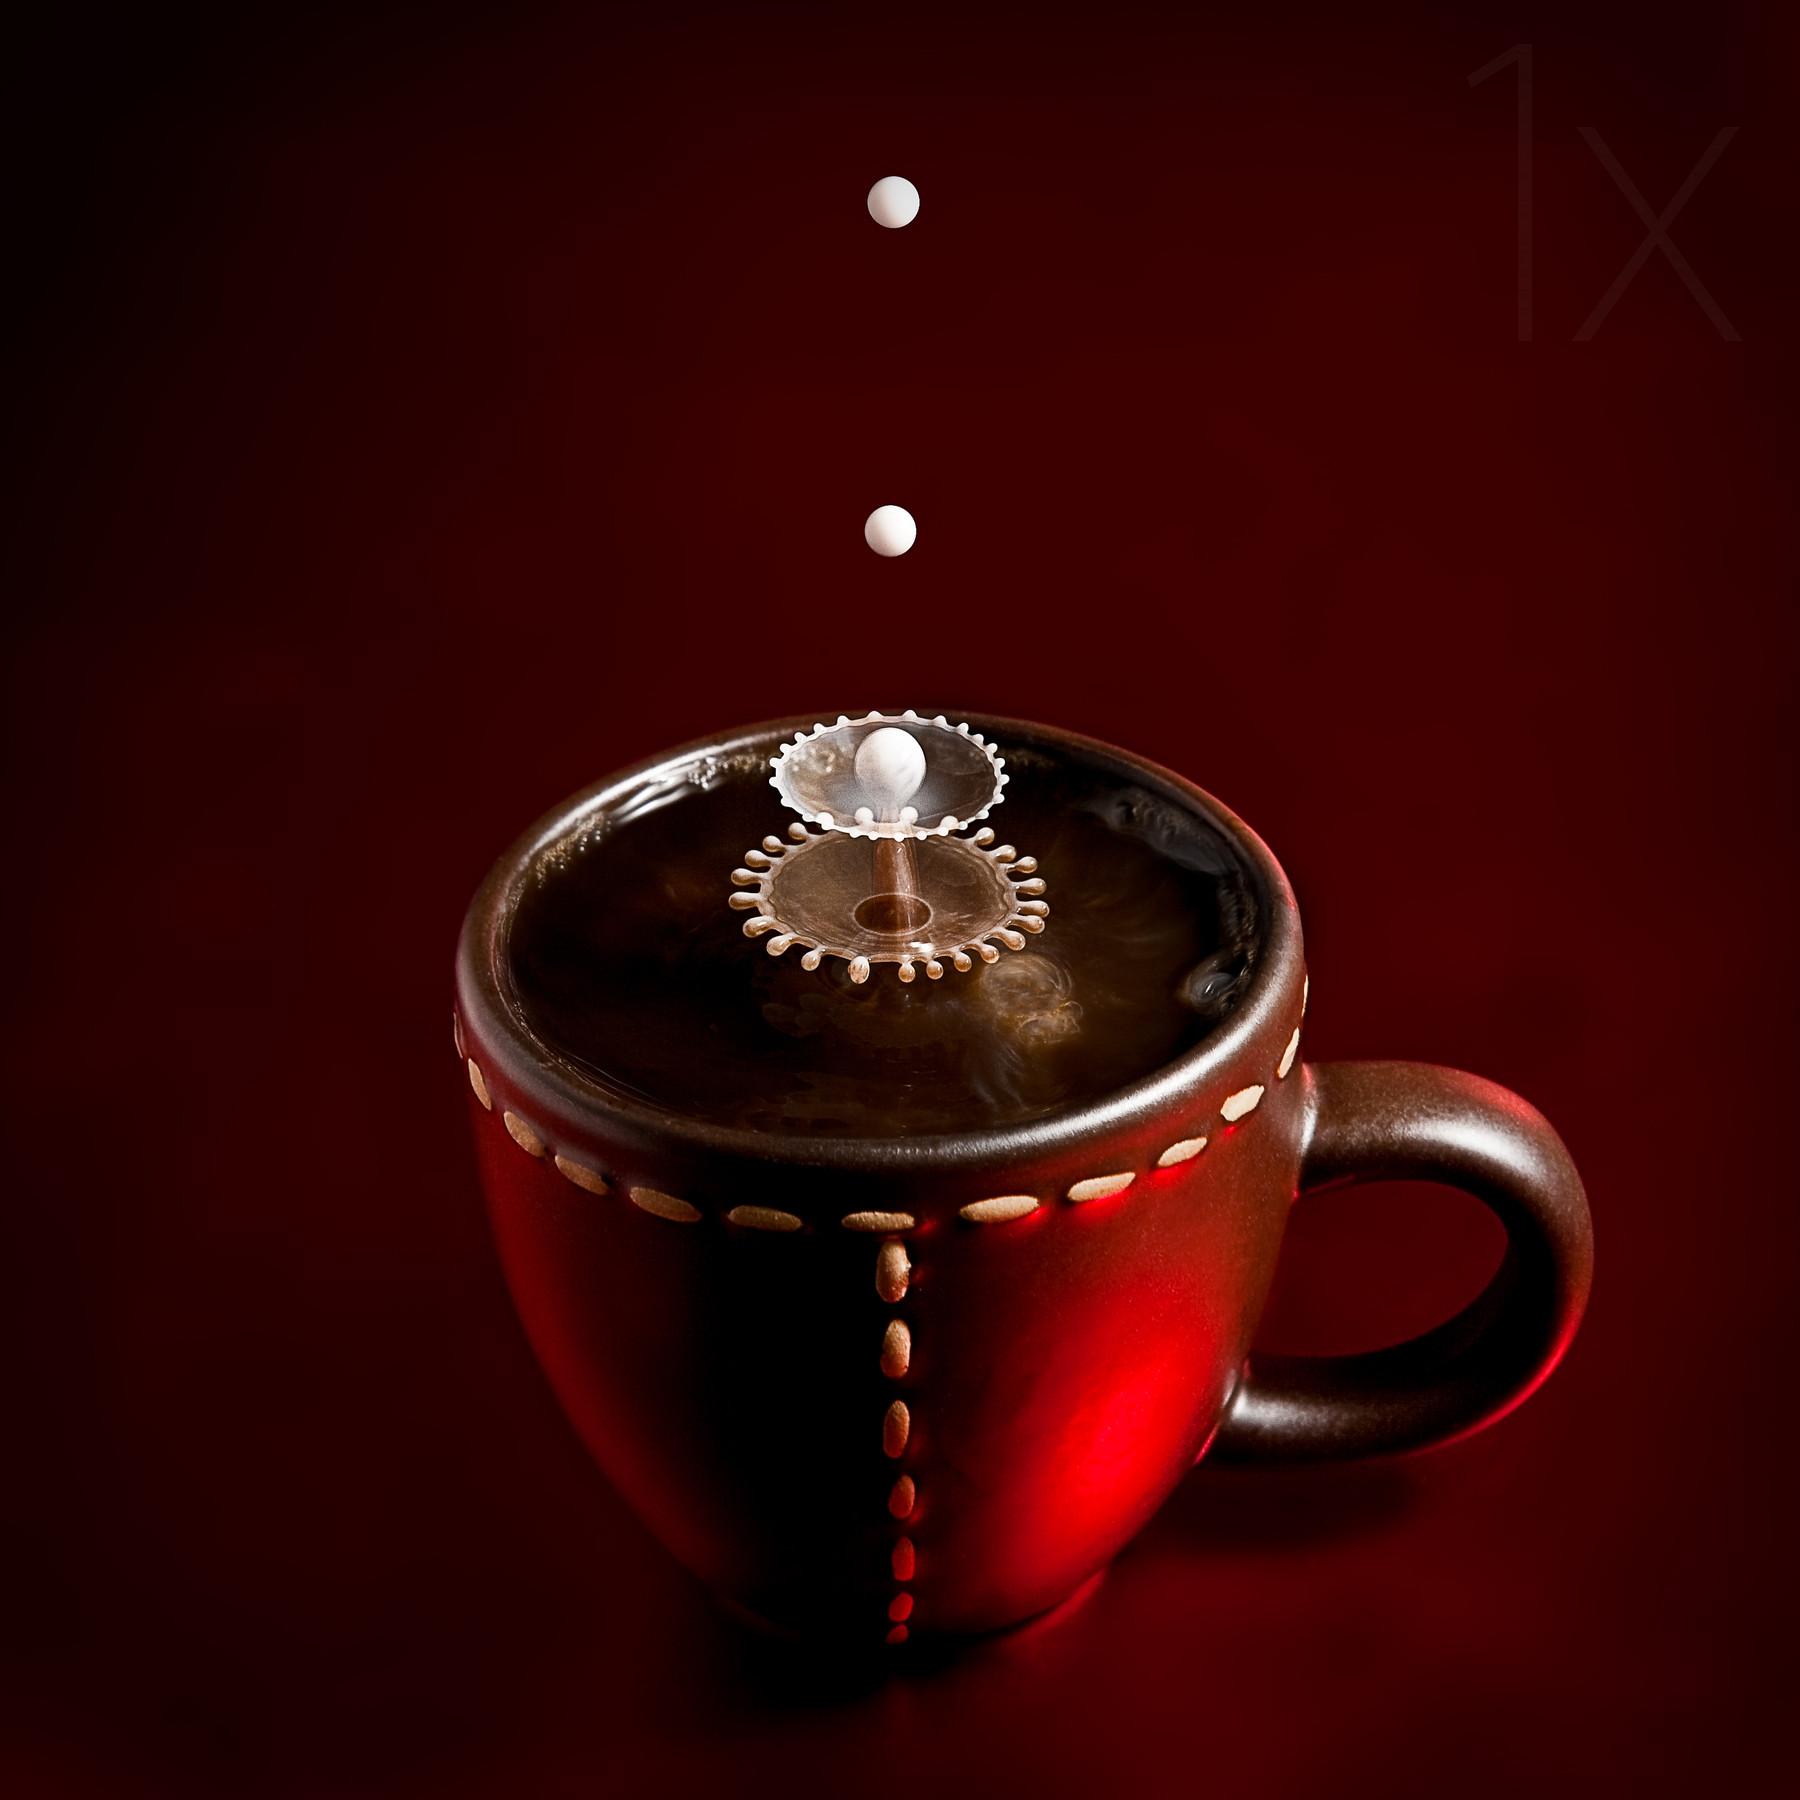
'Boom boom' by Christophe Kiciak
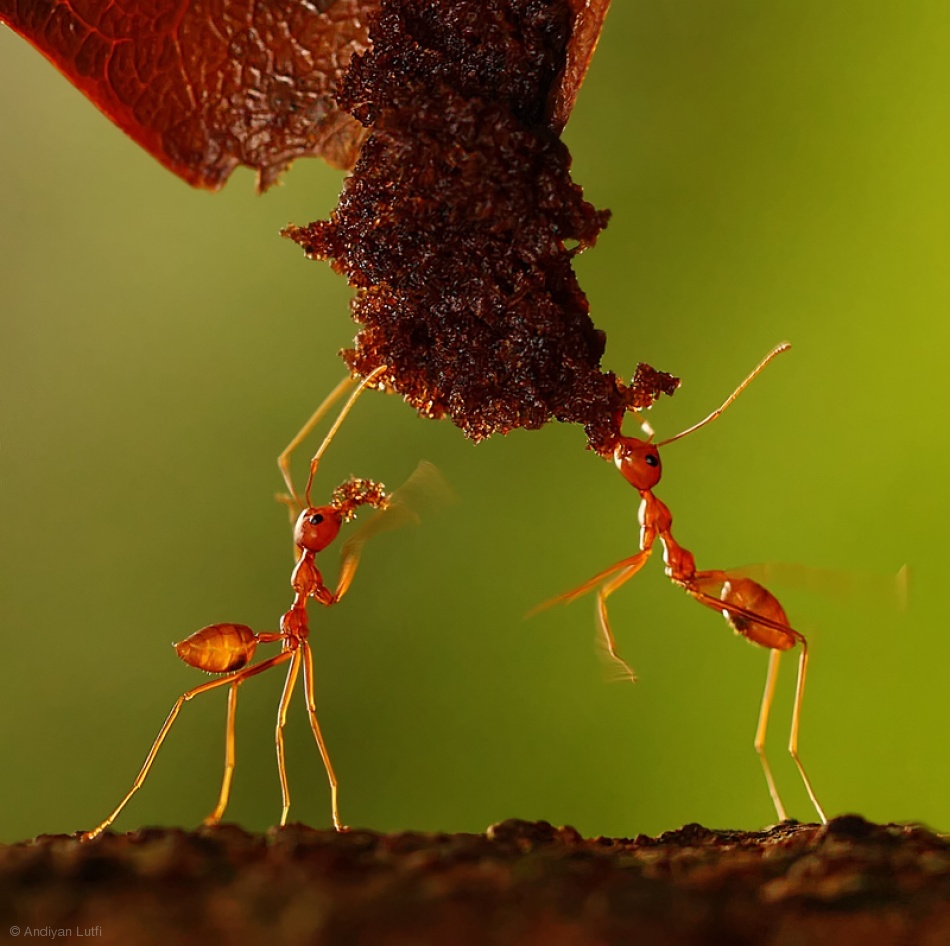
'Ration' by Andiyan Lutfi
'The color is stronger than the words...' by Thierry Dufour

'Blue Rays' by Þorsteinn H. Ingibergsson
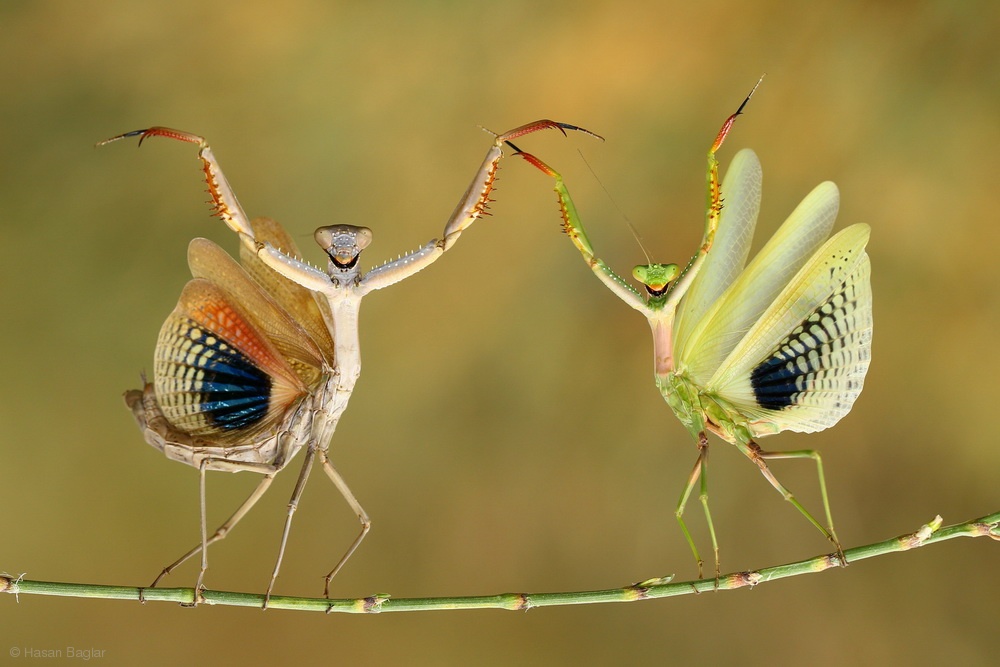
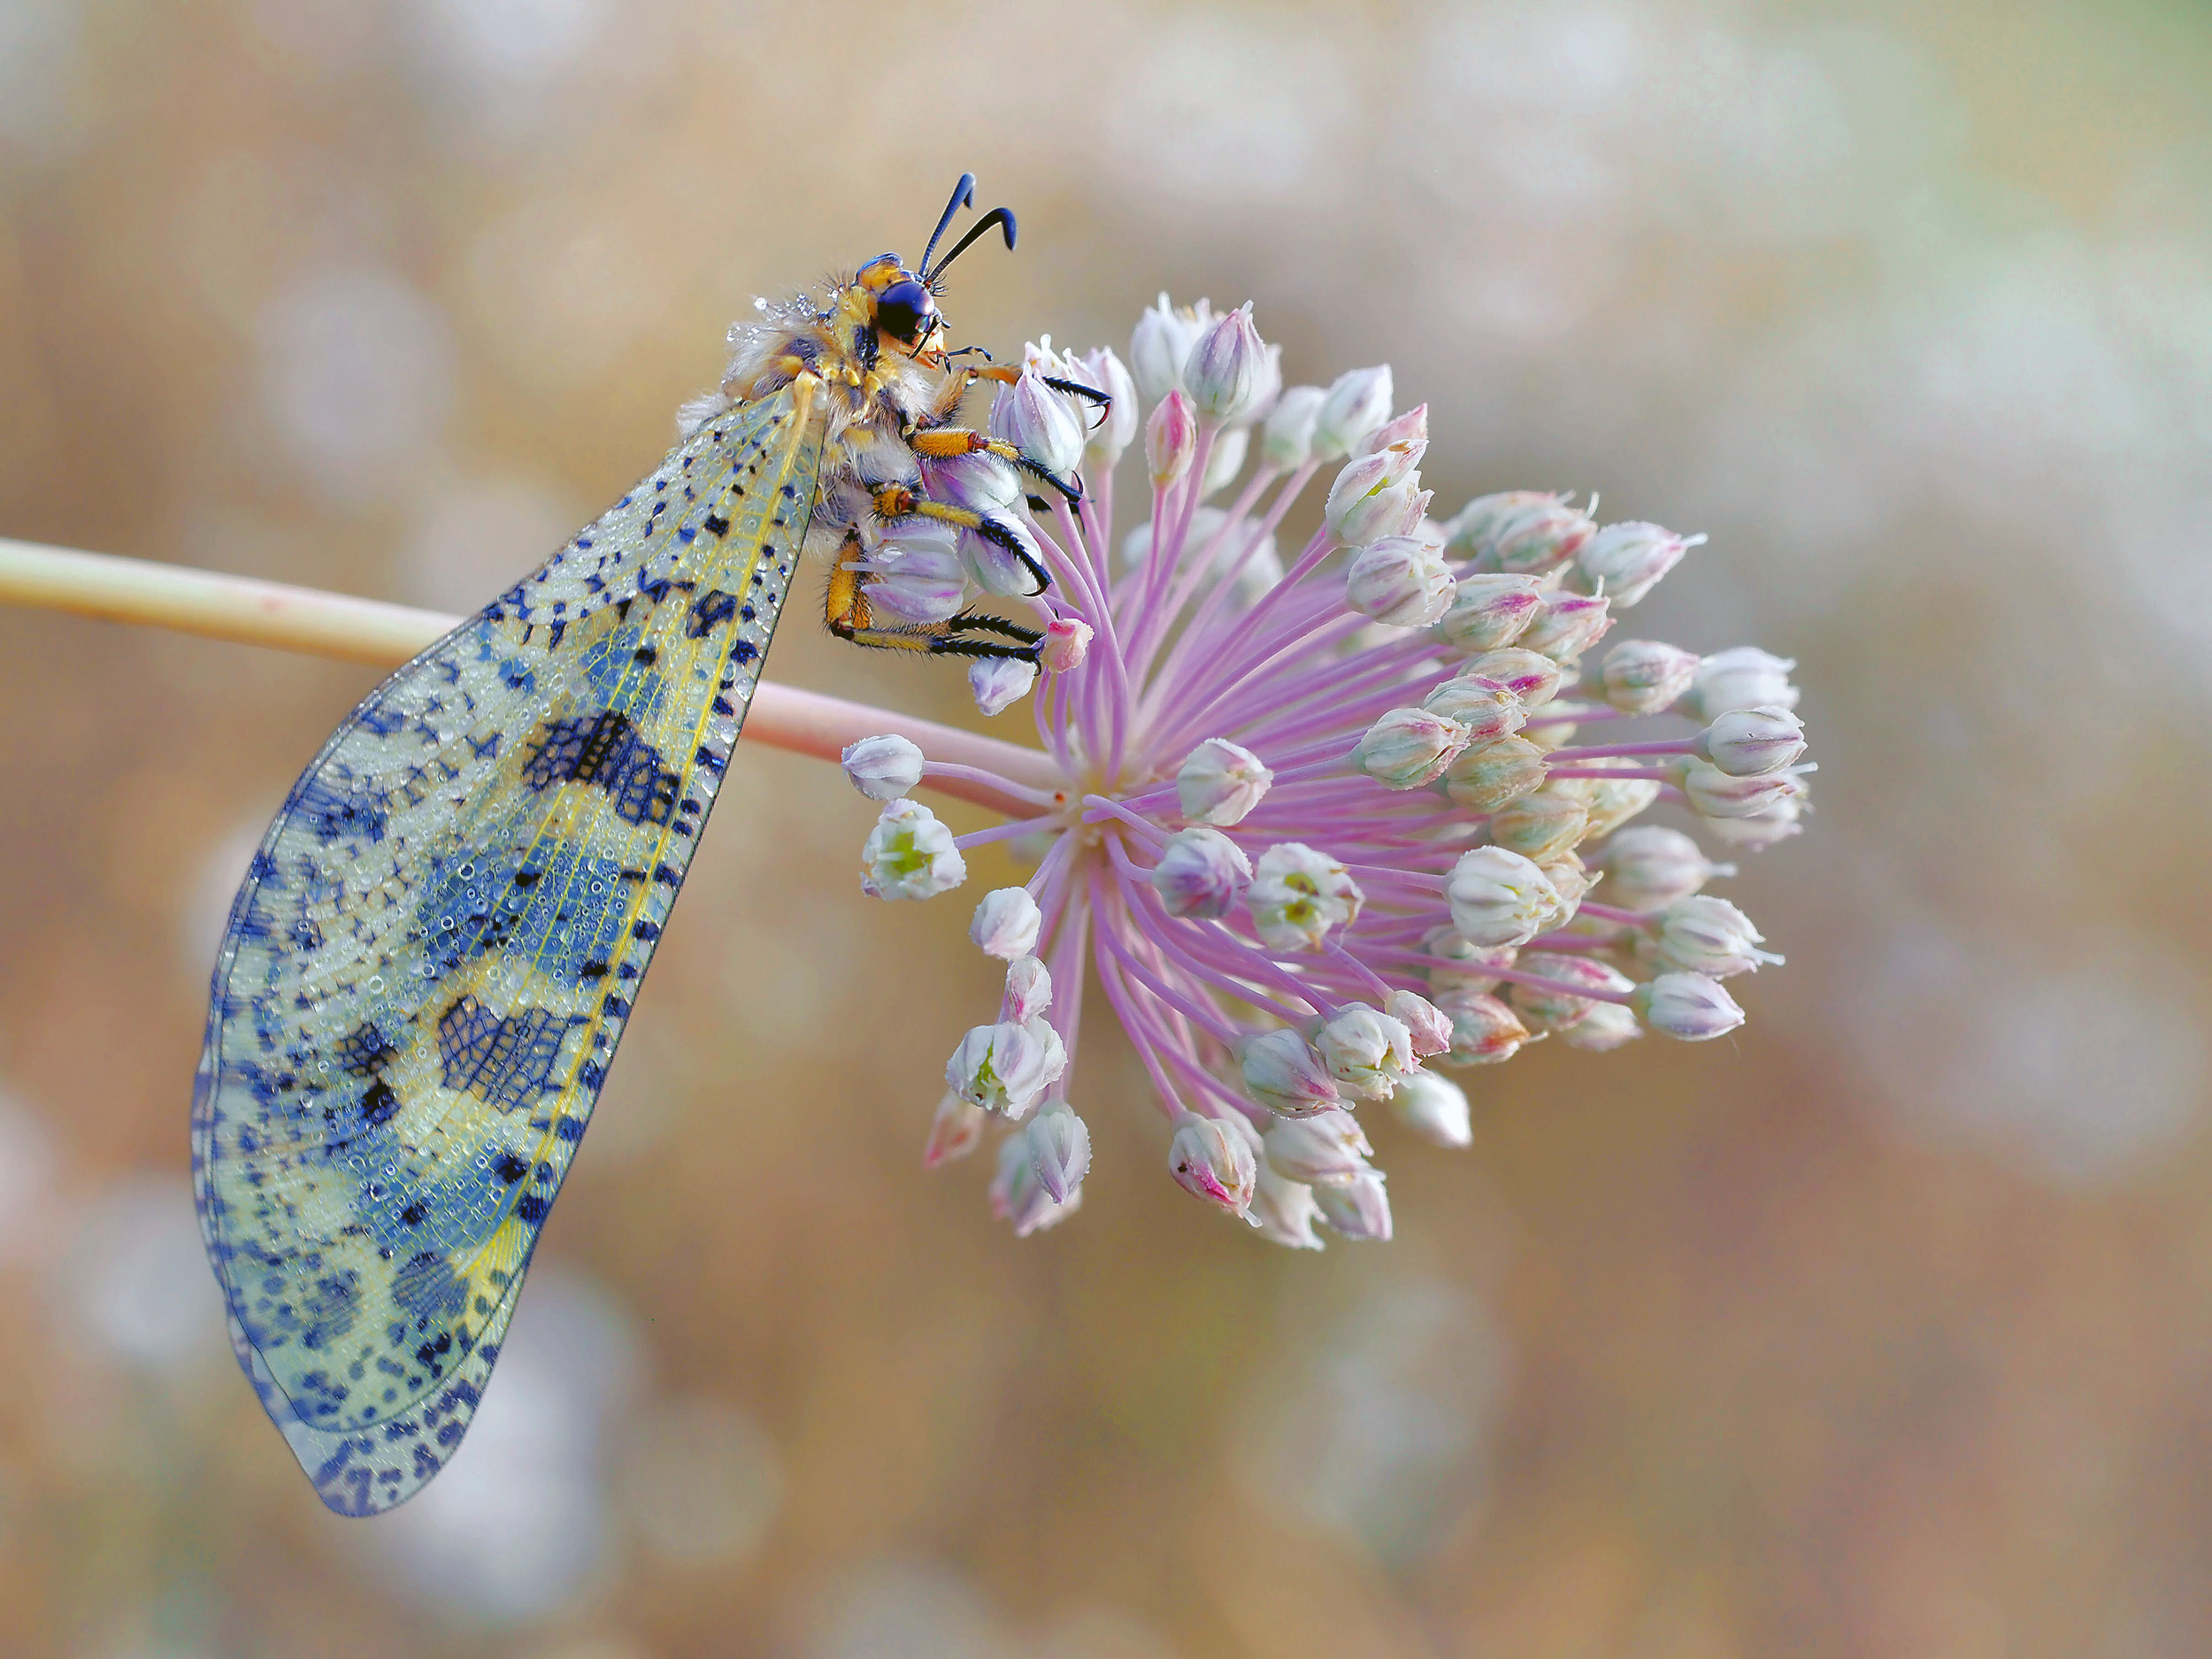
'Show Time' by Hasan Baglar
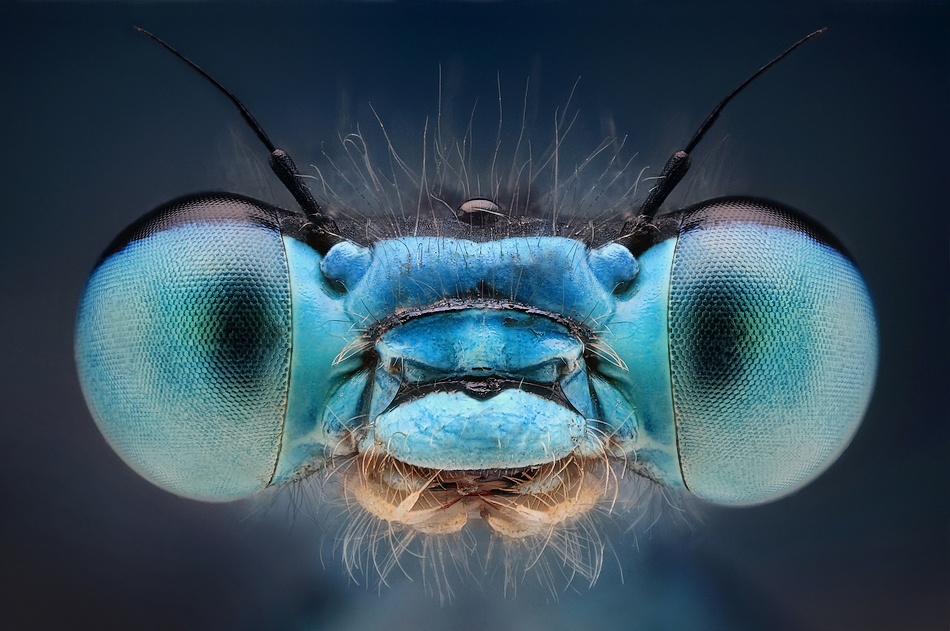
'Coenagrion puella' by Dusan Beno

'Lost' by Jimmy Hofmann
Conclusion
There is an abundance of lighting techniques for still life, tabletop and food photography, but the best way to learn is to experiment – start with one light and build it up, noting what effect each addition makes, looking for the Family of Angles and adjusting as needed to create the effect that you are looking for.
I hope you enjoyed this selection of photos by 1X.com photographers to whet your appetite.
 | Write |
 | Dan Colisnic wonderful photo choices to sustain the ideas of article. Thanks! |
 | Lourens Durand CREW Thank you. |
 | Miro Susta CREW Excellent educative article accompanied by wonderful photographs, many thanks Laurens. |
| Lourens Durand CREW Thank you Miro. |
 | Gabriela Pantu PRO Great article and superb pictures!Very helpful and inspiring,Thank you so much for sharing!<3<3 |
| Lourens Durand CREW Thank you Gabriela. |
 | Lydia Jacobs CREW Many thanks Lourens and Yvette for the great article! |
| Lourens Durand CREW Thank you Lydia. |
 | Bole Kuljic PRO Beatiful and inspiring. Thank you ! |
| Lourens Durand CREW Thank you Bole. |
 | Cristiano Giani PRO ...what a splendid images. Many congrats... |
 | Jacob (Jian) Xu CREW Great series, thank you very much!!! |
| Lourens Durand CREW Thank you Jian. |
 | Thierry Dufour PRO Thank you very much !!! |
| Lourens Durand CREW Thank you Thierry. |
 | Emine Basa Thank you so much... |
| Lourens Durand CREW Thank you Emine. |
 | Eduardo Blanco García PRO Excellent |
| Lourens Durand CREW Thank you Eduardo. |